blog
Sewing Tips
My collection of sewing tips from my trials and errors over the years:
Supplies
- Sewing Machine (optional: serger)
- Iron / Ironing Board
- Pins or Clips (wonder clips or binder clips)
- Snips
- Fabric scissors
- Seam ripper
- Measuring Tape
- Bobbins
- For each project (or buy in bulk)
- Needles
- Pattern
- Fabric
- Thread (cones are best value, or gray thread looks good with almost any color)
- Notions
- Zippers
- Ribbon
- Bias Tape
- Interfacing
- Elastics
- Buttons
- Nice to have
- Medical pattern paper for tracing patterns
- Heatnbond
- Rotary blade and mat
Prewash
Wash and iron all fabric before using
Check Your Needle
Can get about 8 hours of sewing with a needle
Switch after every project:
- Light-Weight: Type 2020 red shank - 11/80 orange band
- Medium Weight: Type 2020 red shank - 14/90 blue band
- Medium-Heavy: Type 2020 red shank - 16/100 purple band or 18/110 yellow band
Press Each Seam
You're not taking up sewing, you're taking up ironing with some sewing scattered in between.
Patterns
- Trace on to parchment or medical paper to save the pattern – you can buy a roll of medical exam table paper that will last forever for like $20
- Make sure to mark name of piece, face up side, how many to cut, and all notches and marks on the traced pattern
- You can iron pattern paper on the lowest heat setting
Cutting Out Fabric
- Wash fabric and then iron everything before you cut
- Hold patterns in place with weights if you don’t want to pin
- Don’t need to cut out triangles – just a small snip where the mark is
- Use rotary cutter for straight edges
Sewing
- Wash and iron all fabric before using.
- Check which foot and needle you’re using for each project
- Needles
- Light-Weight: Type 2020 red shank – 11/80 orange band
- Medium Weight: Type 2020 red shank – 14/90 blue band
- Medium-Heavy: Type 2020 red shank – 16/100 purple band or 18/110 yellow band
- Stitch length – standard is 2.5 Stitch width – standard is 3.5
- For corners, leave the needle in the fabric, lift the foot and turn.
- Seam Allowance – 5/8 is standard seam allowance
- Press Each Seam. You’re not taking up sewing, you’re taking up ironing with some sewing scattered in between.
Serger
- Serge over thread tails to secure stitches
- Remember, you cannot go backward on a serger
Hem
- For full skirts, can take needle out of serger and use the blade to hem
Rolled hem
- Attach a rolled hem presser foot to your sewing machine. Align the raw edge of the hem with the outer edge of the foot.
- Sew 4–5 stitches, then lift the presser foot and pull the garment away from the machine.
- Pull the threads to the back and place the hem beneath the foot again. Hold the threads at back and use them to guide the edge into the rolled section of the foot. Stitch the remainder of the hem, allowing the foot to guide the fabric into the crevice and roll it as you sew. A baby hem looks similar to a finished rolled hem but can be created without a rolled hem foot.
Bias Tape
- Just do it by hand.
- Fold the tape at the end
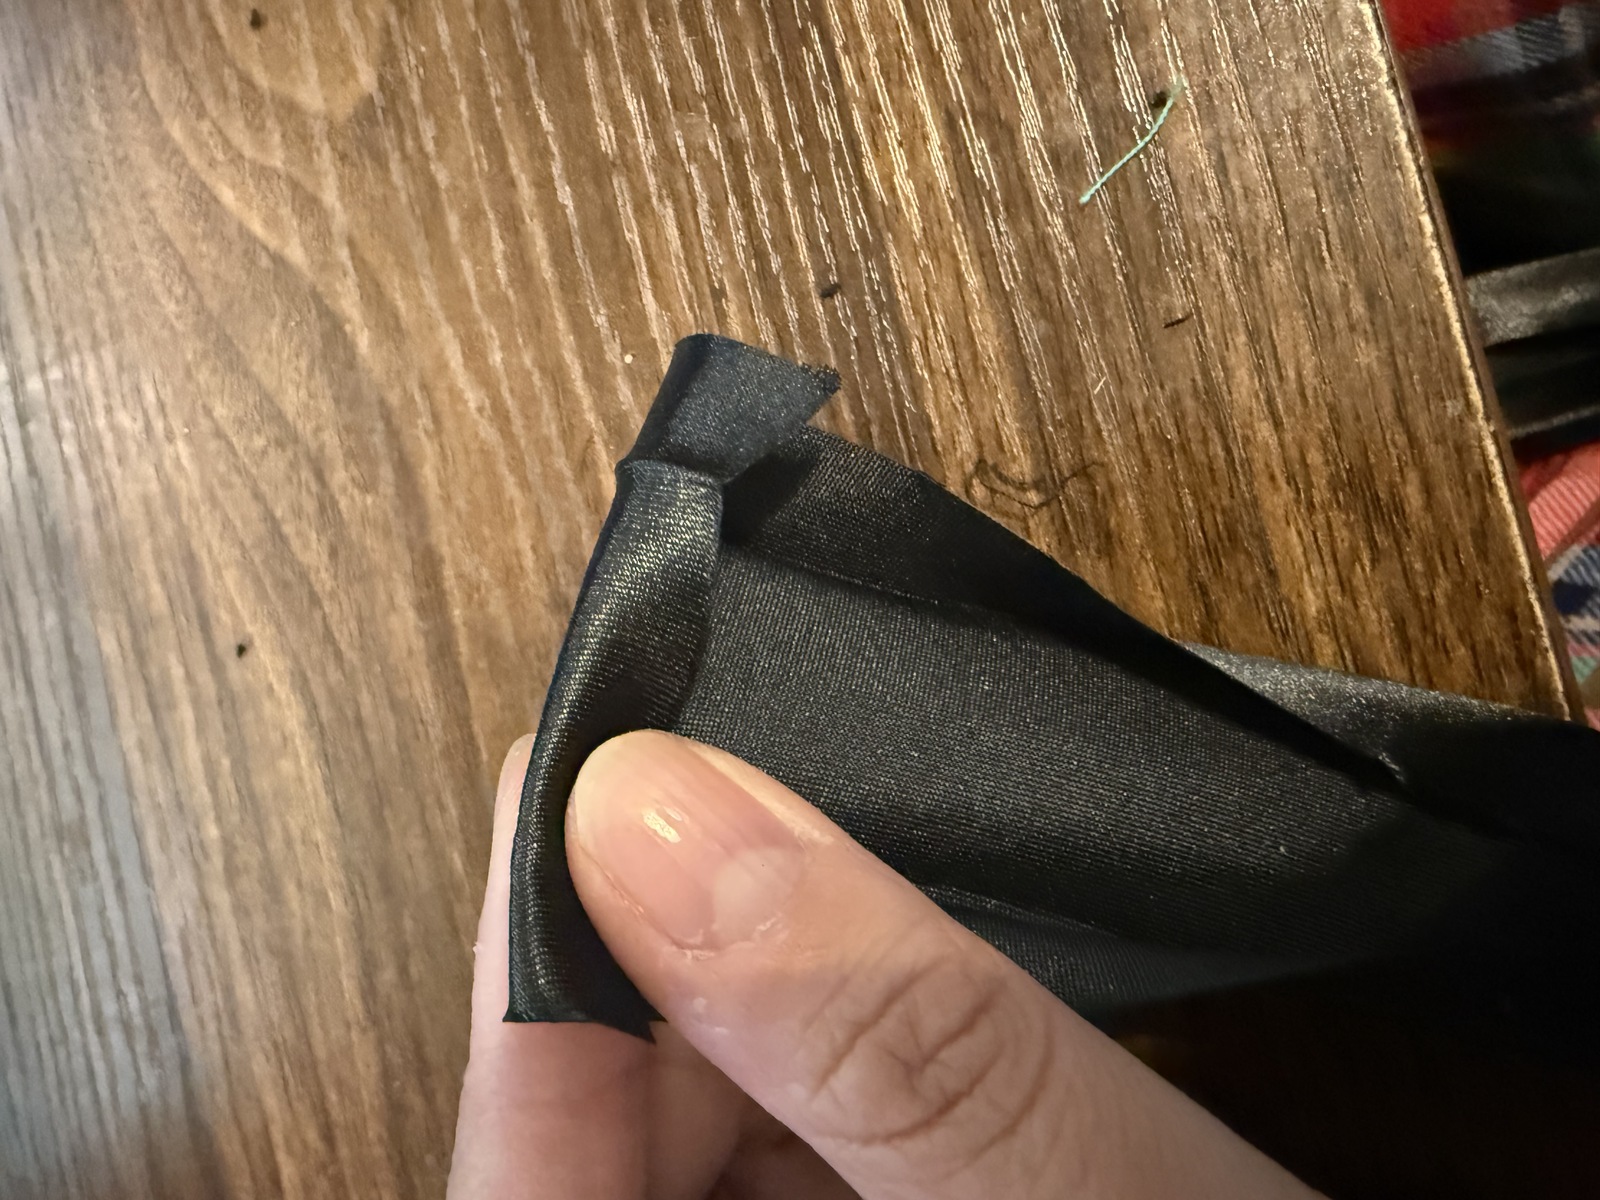
- Sew to right side of fabric (baste stitch first if placement is important)
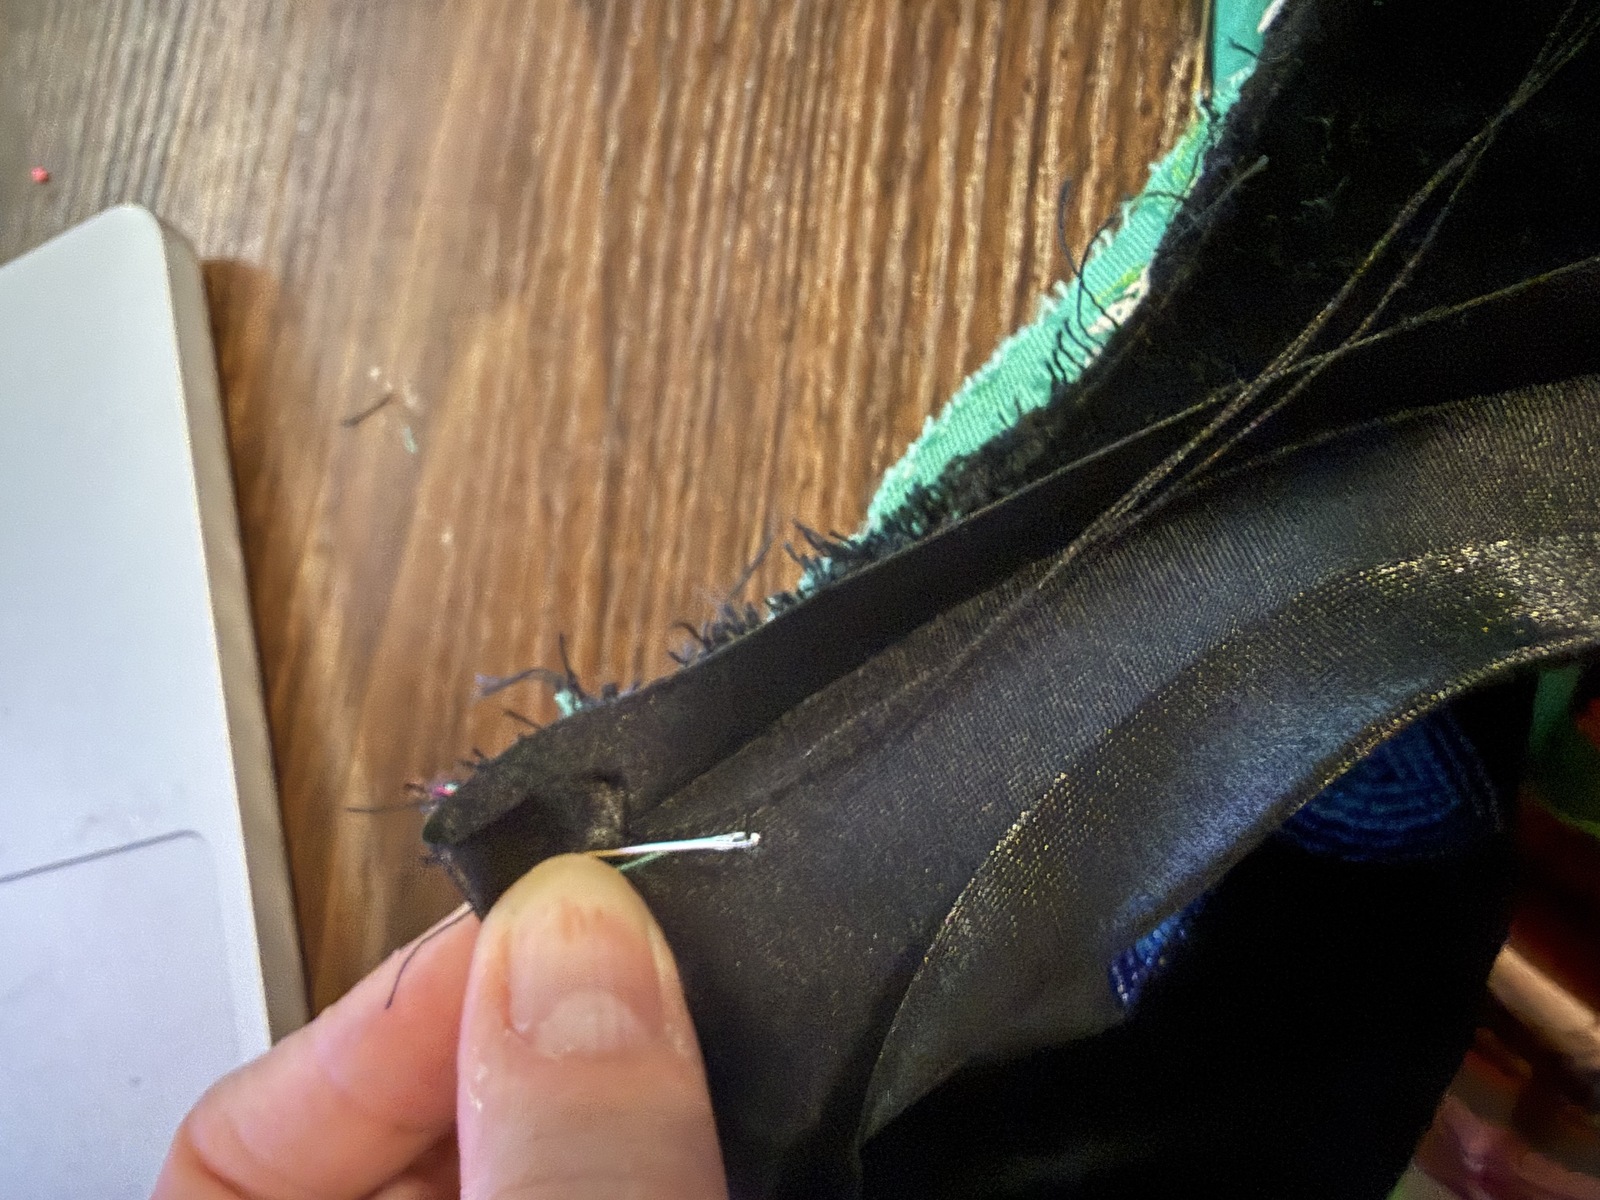
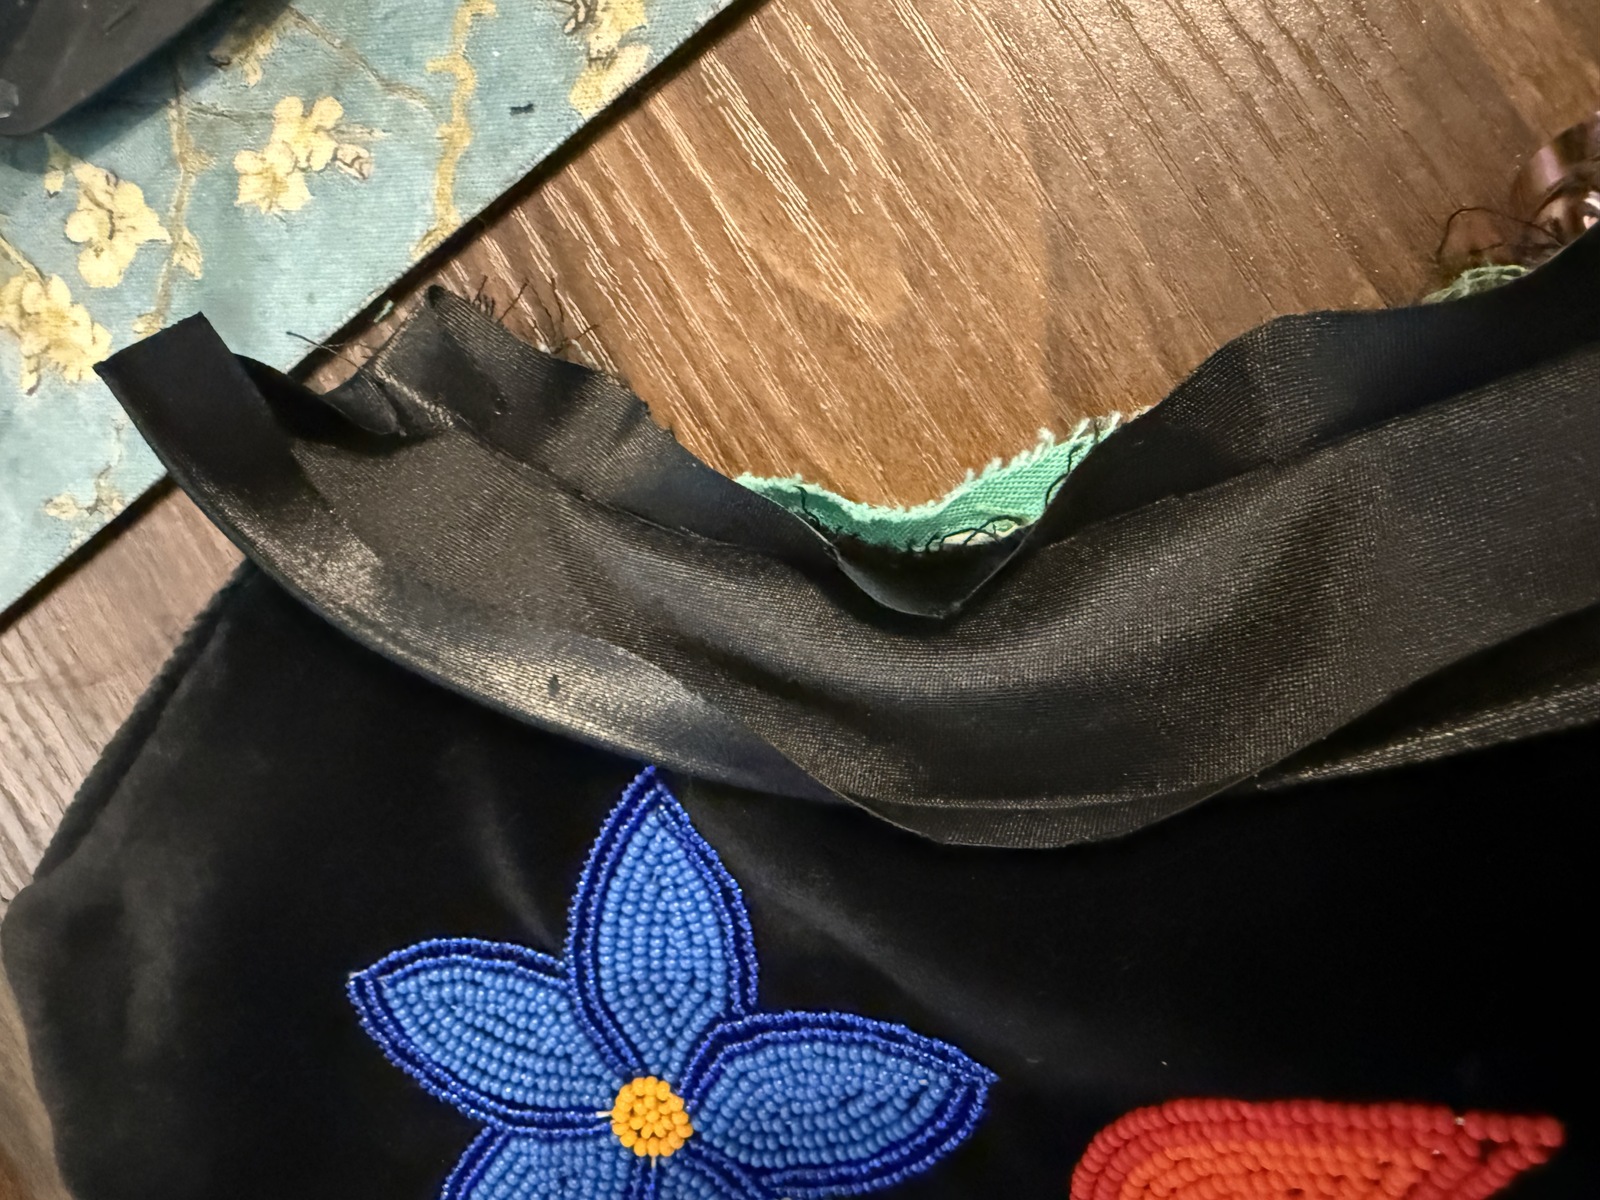
- Stitch along fold line
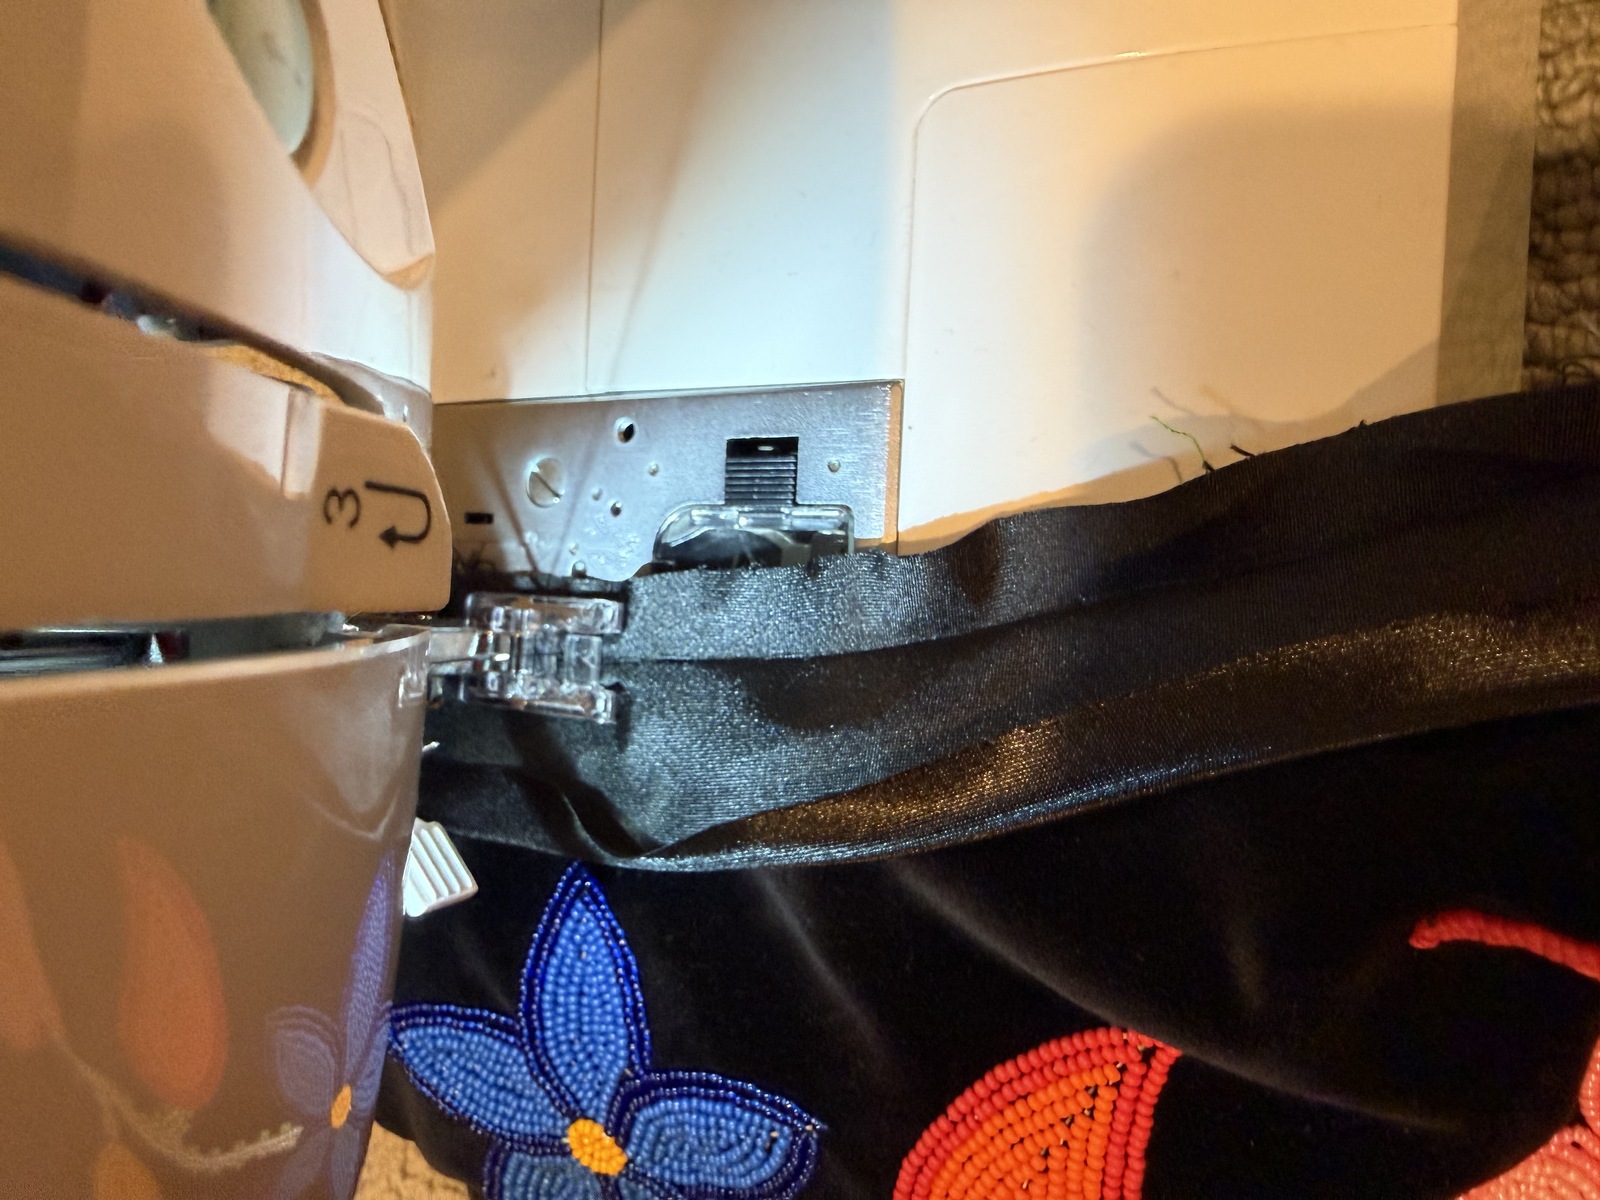
- Fold to just cover the first stitch
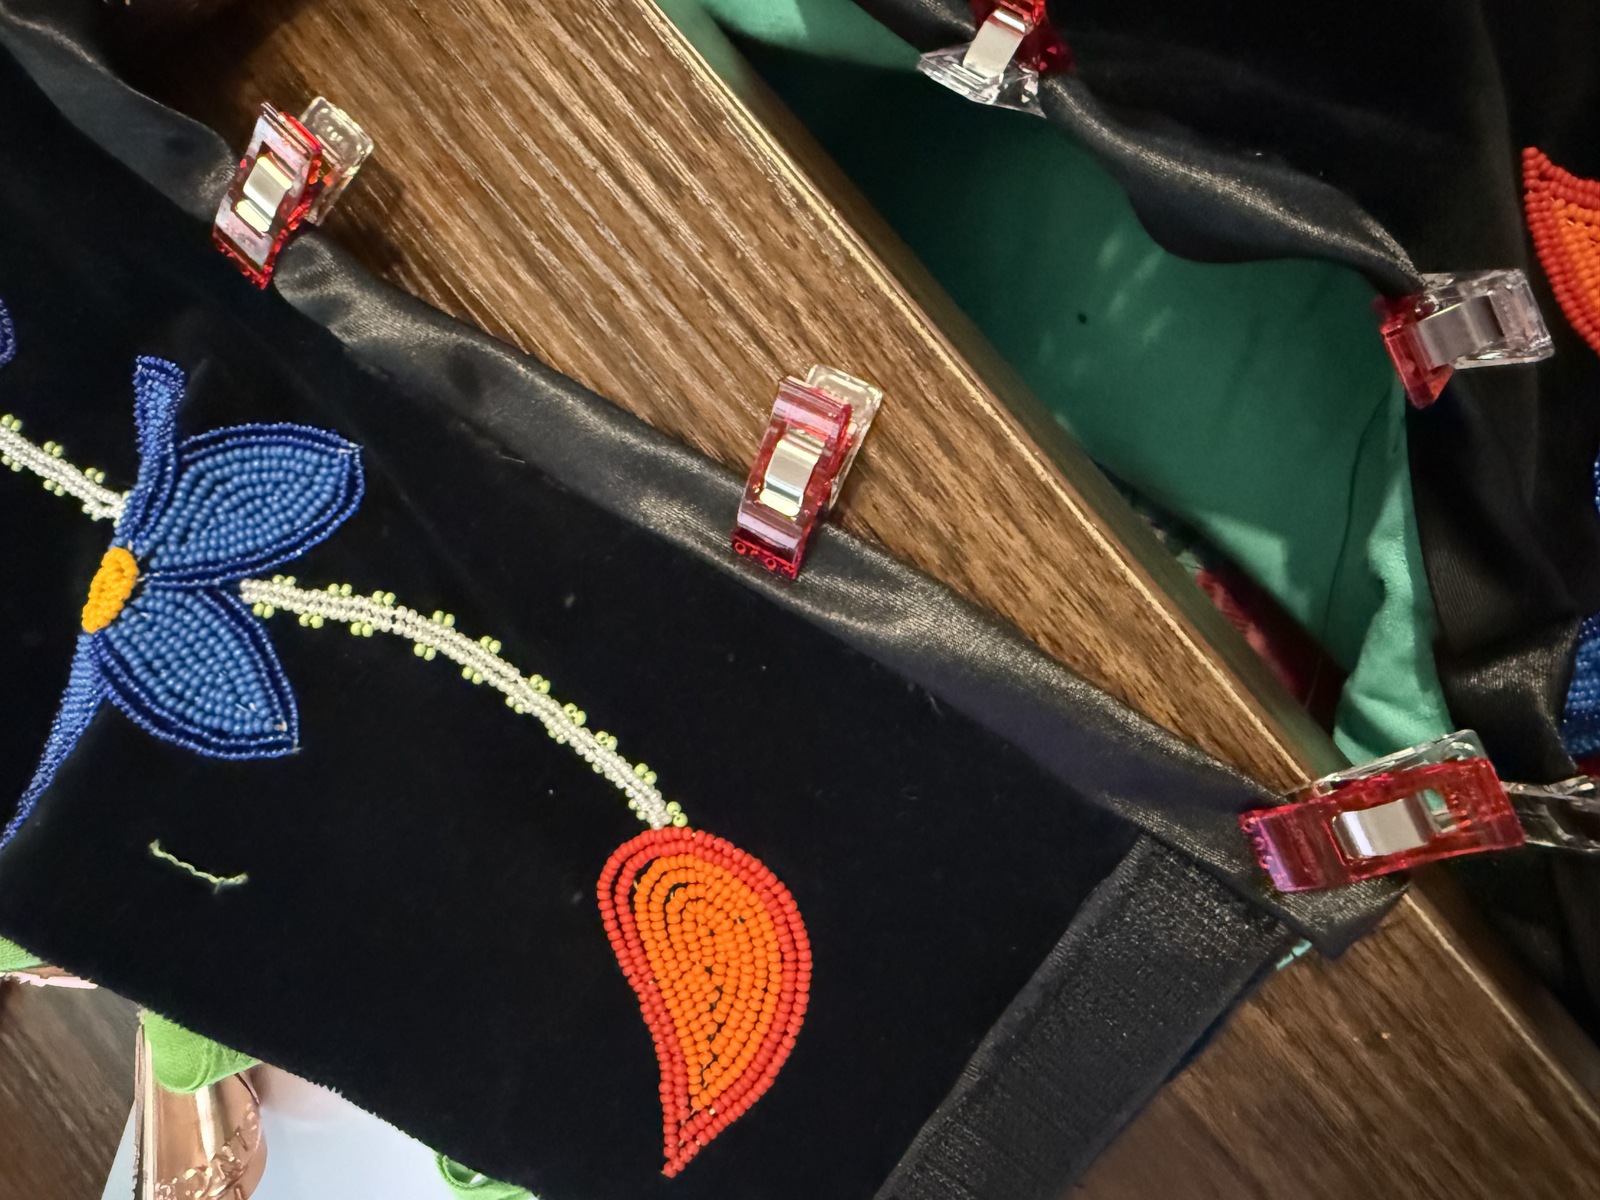
- Option 1: Slip stitch on the back
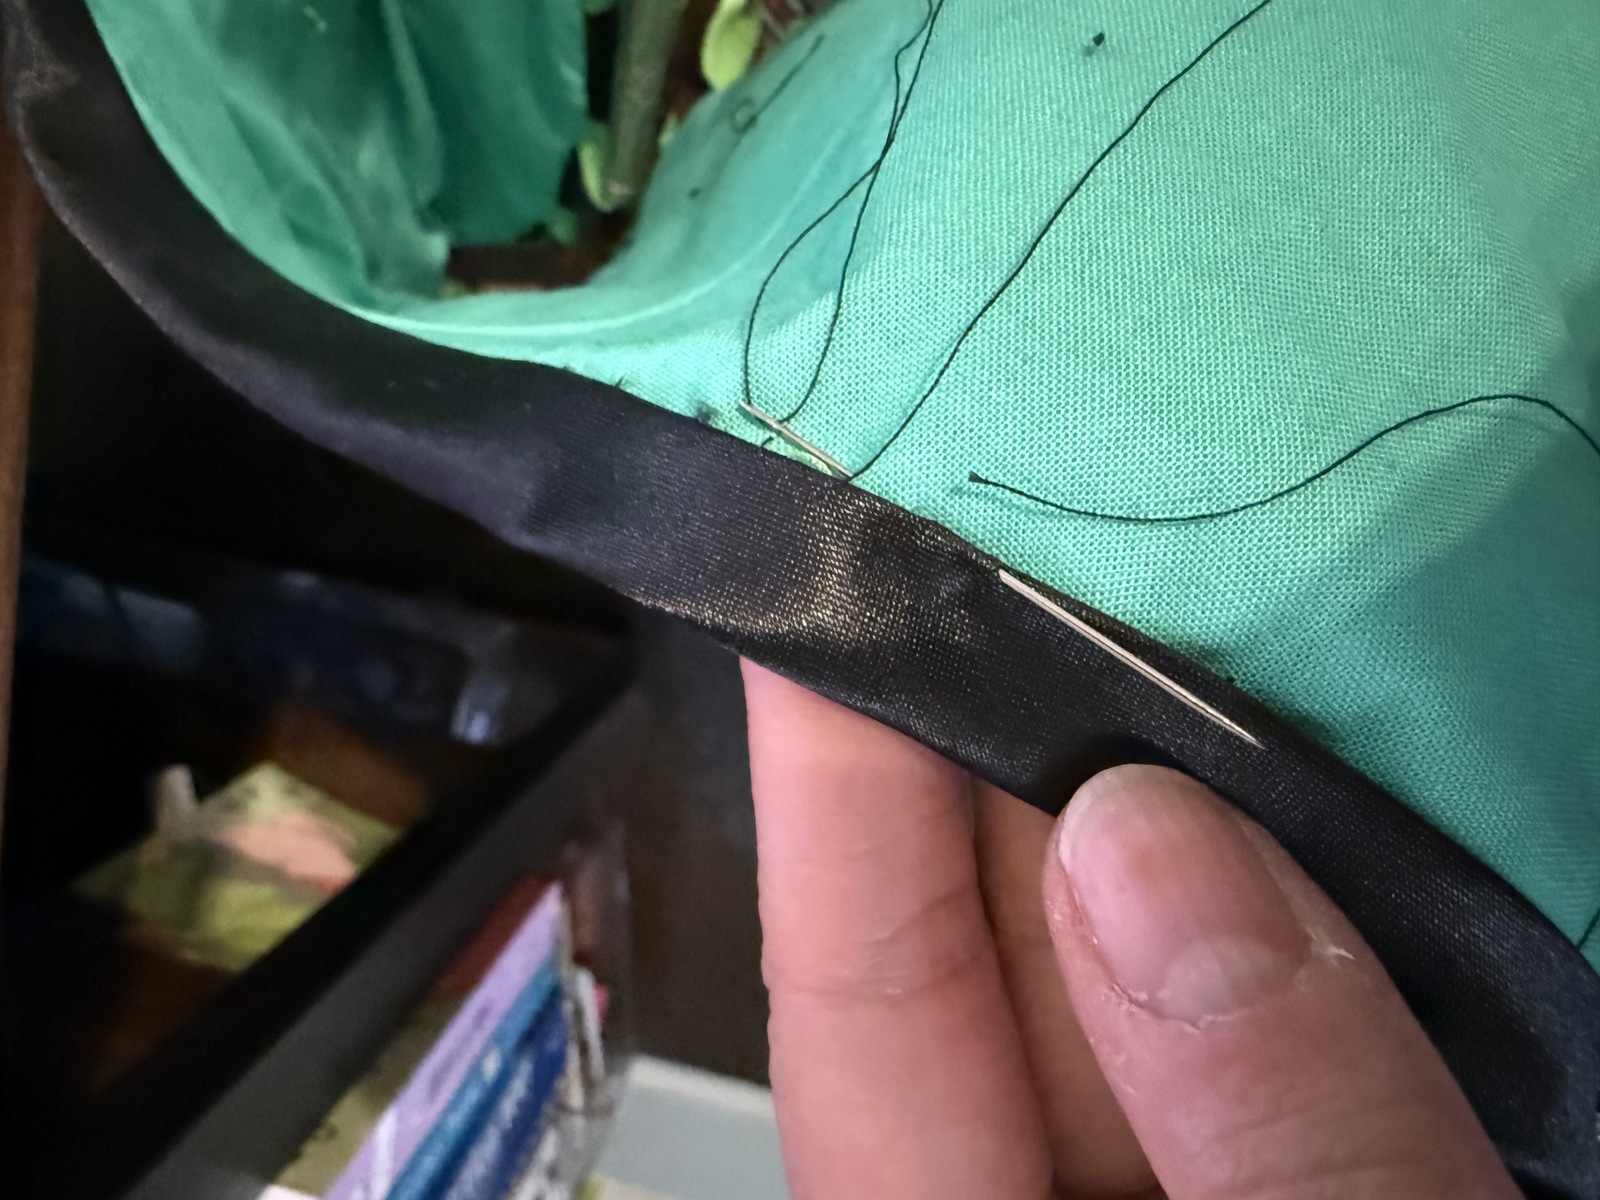
- Option 2: Stitch in the ditch on the right side of the fabric
Zippers
Let's be real. Just hand-baste the zipper in already. It will take less time than pinning, and re-pinning, and ripping out and re-doing. Same with set-in sleeves.
Invisible Zipper
- Place serged edges of the fabric together where you want the zipper, right sides touching
- Baste sides together with 5/8 seam allowance, leaving 1.5" from bottom with straight stitch
- Place basted bodice face down and press seams flat
- Center zipper along basted seam, with shiny side face down. Make sure the fabric is moved out of the way so you're only sewing on the seam part of the fabric. Teeth of zipper will be on basted seam and fabric part of zipper will extend to right edge of the pressed seam.
- Starting at top of zipper, sew zipper to right side of pressed seam after you lower zipper tab. Sew on the right side of the foot.
- Place bodice back face up and iron along the seam pressing zipper flat.
- Top stitch zipper in place
- Repeat on other side of zipper
- Sew across the zipper two inches above bottom hem to secure in place.
- Carefully remove basting stitches