blog tagged
tutorial
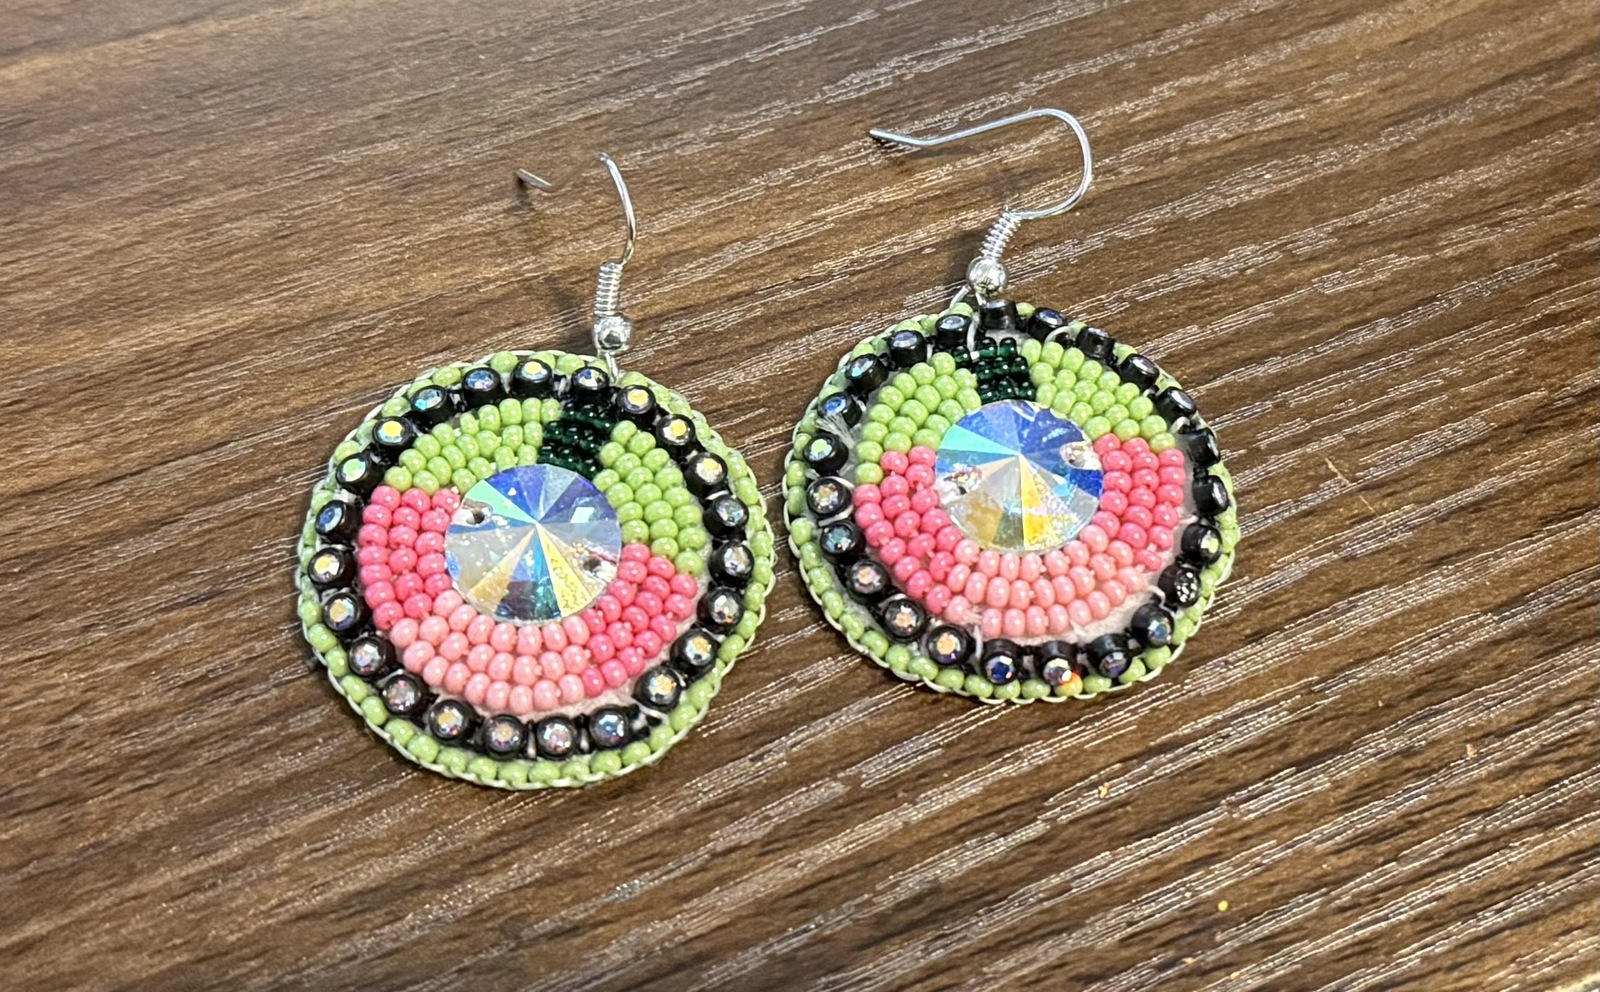
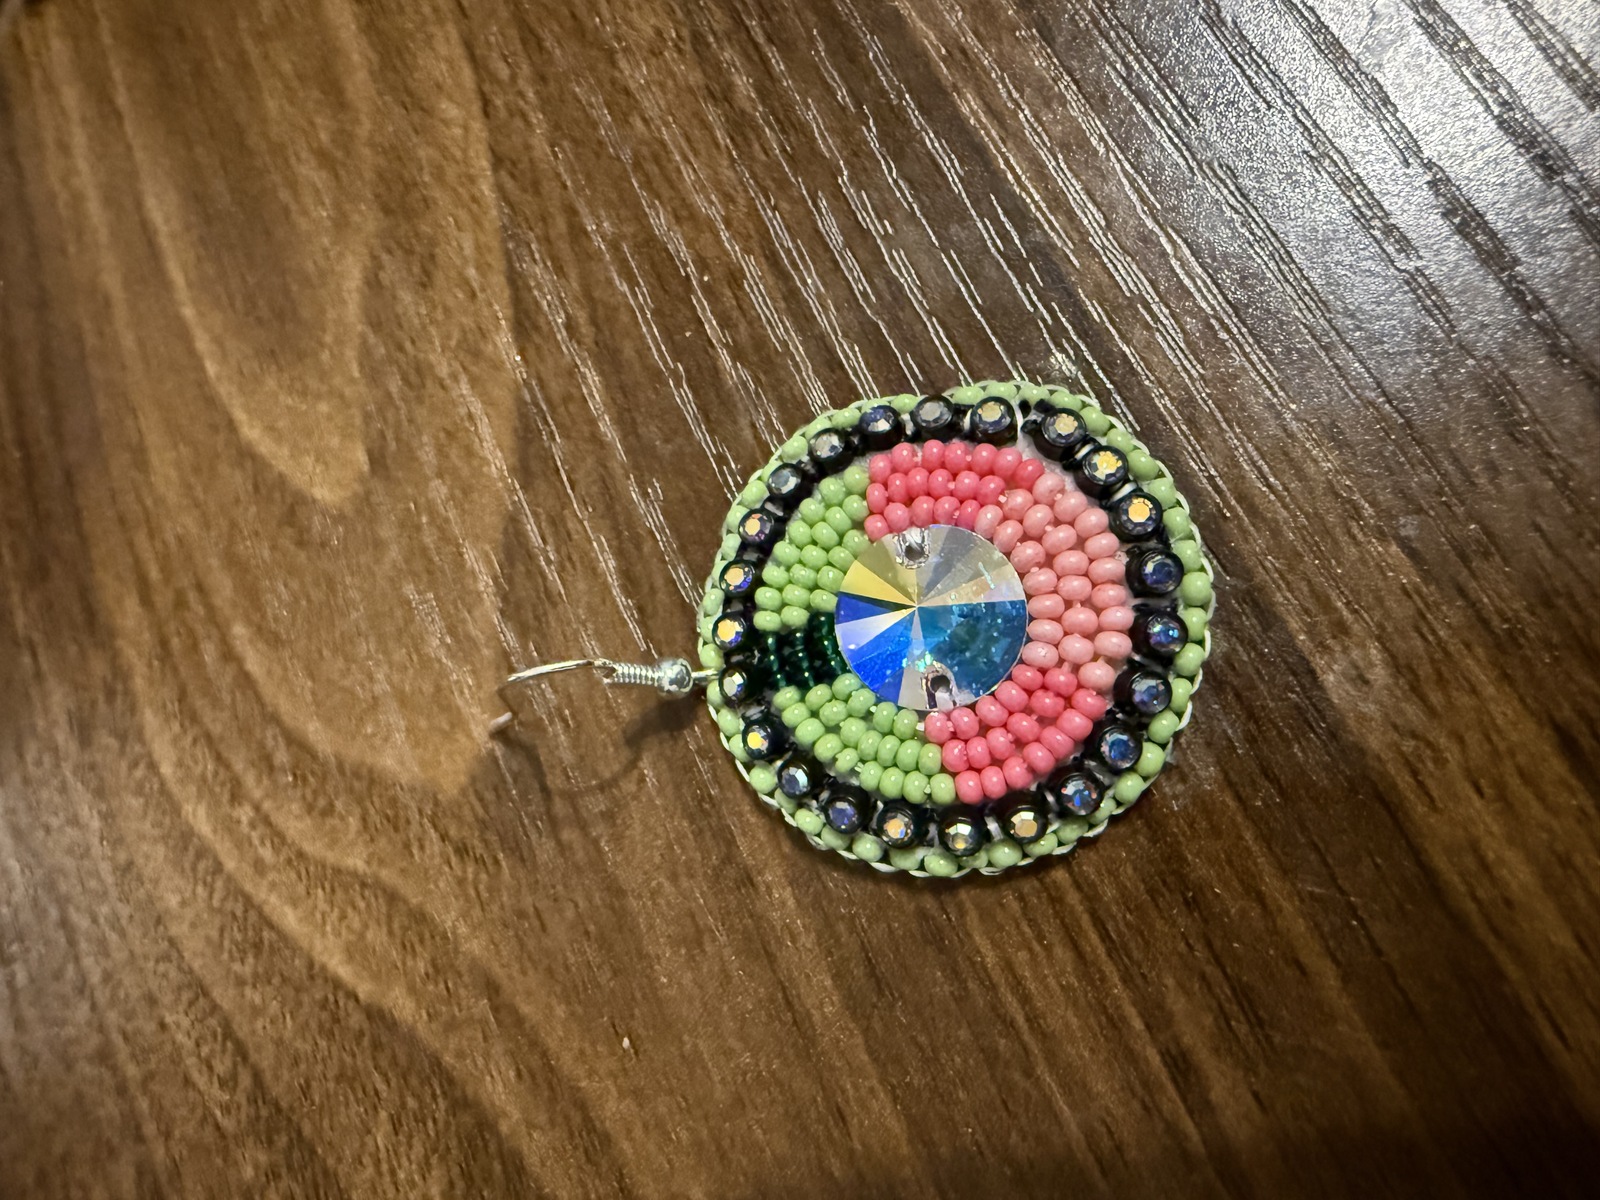
Beaded earring with gem in middle
SUPPLIES
- Seed beads (size 11)
- Nylon thread (size d)
- Beading needles (size 10)
- Snips
- Stabilizer (stiffened felt or similar)
- Backing (I use black canvas)
- Tacky glue
HOW TO
- Sit with good posture and don't slouch
- Gather supplies
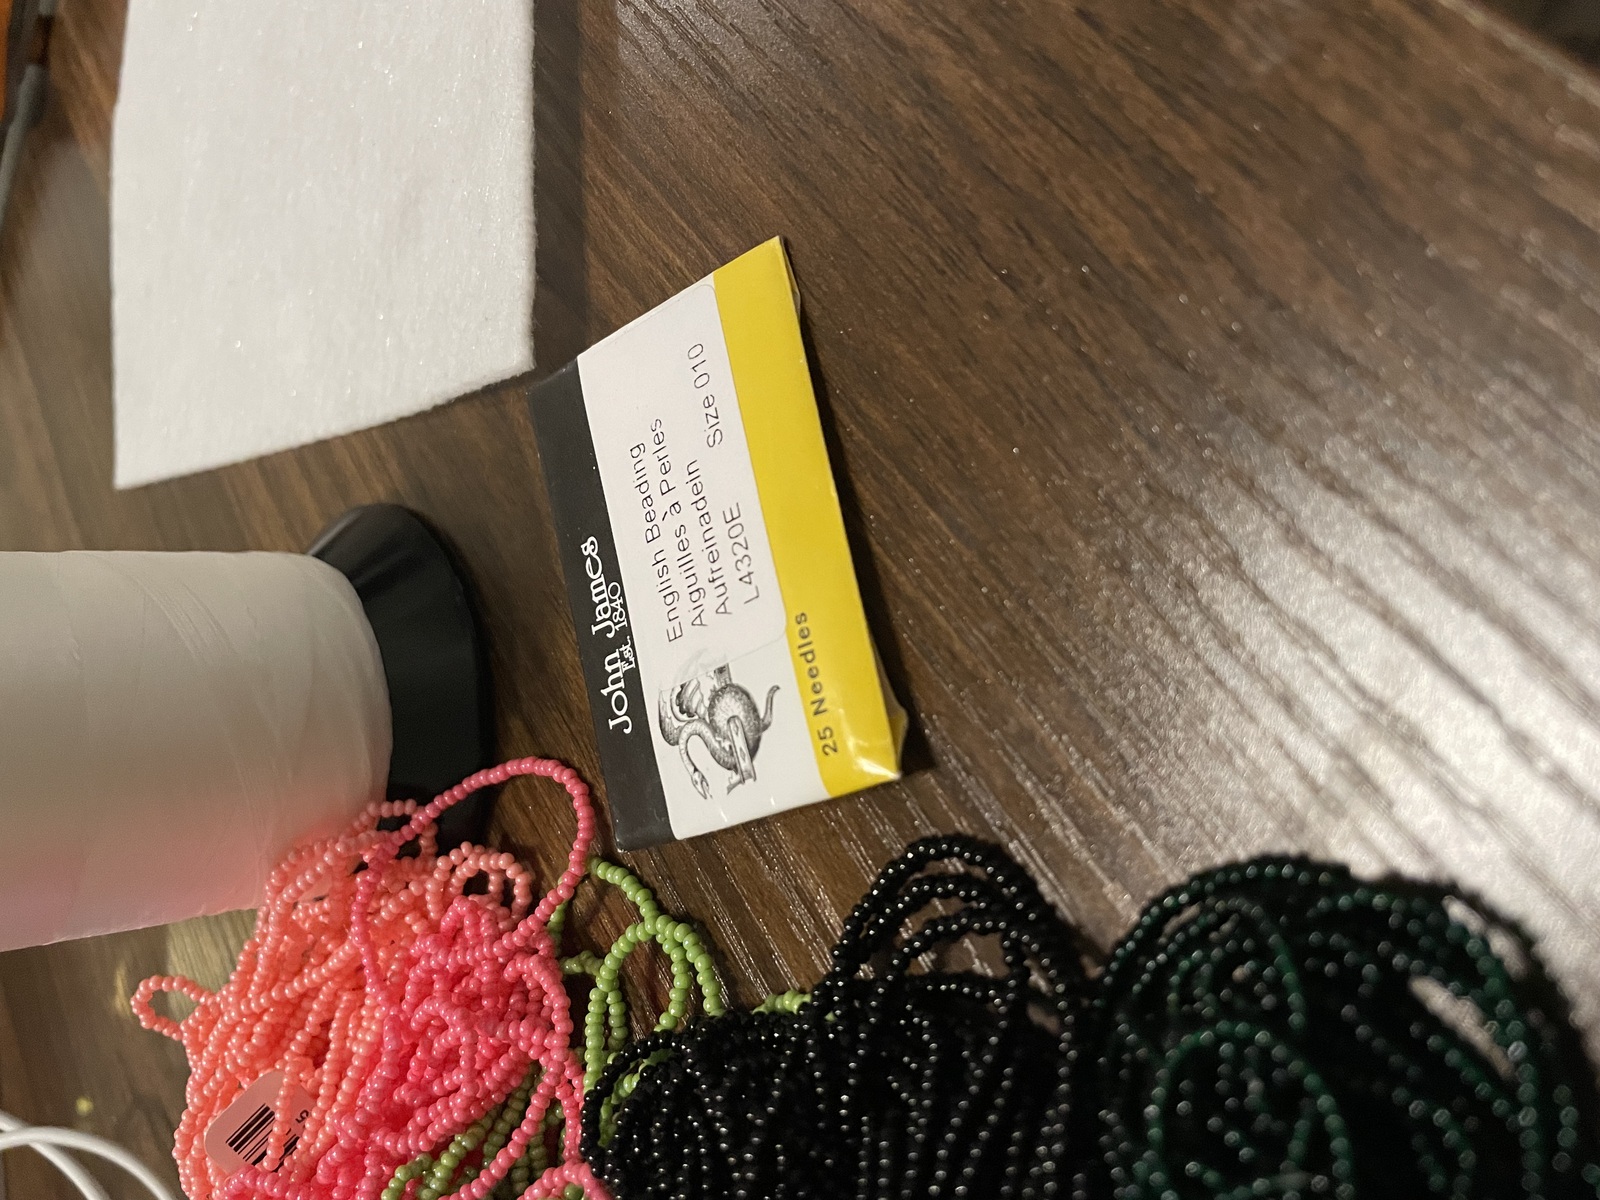
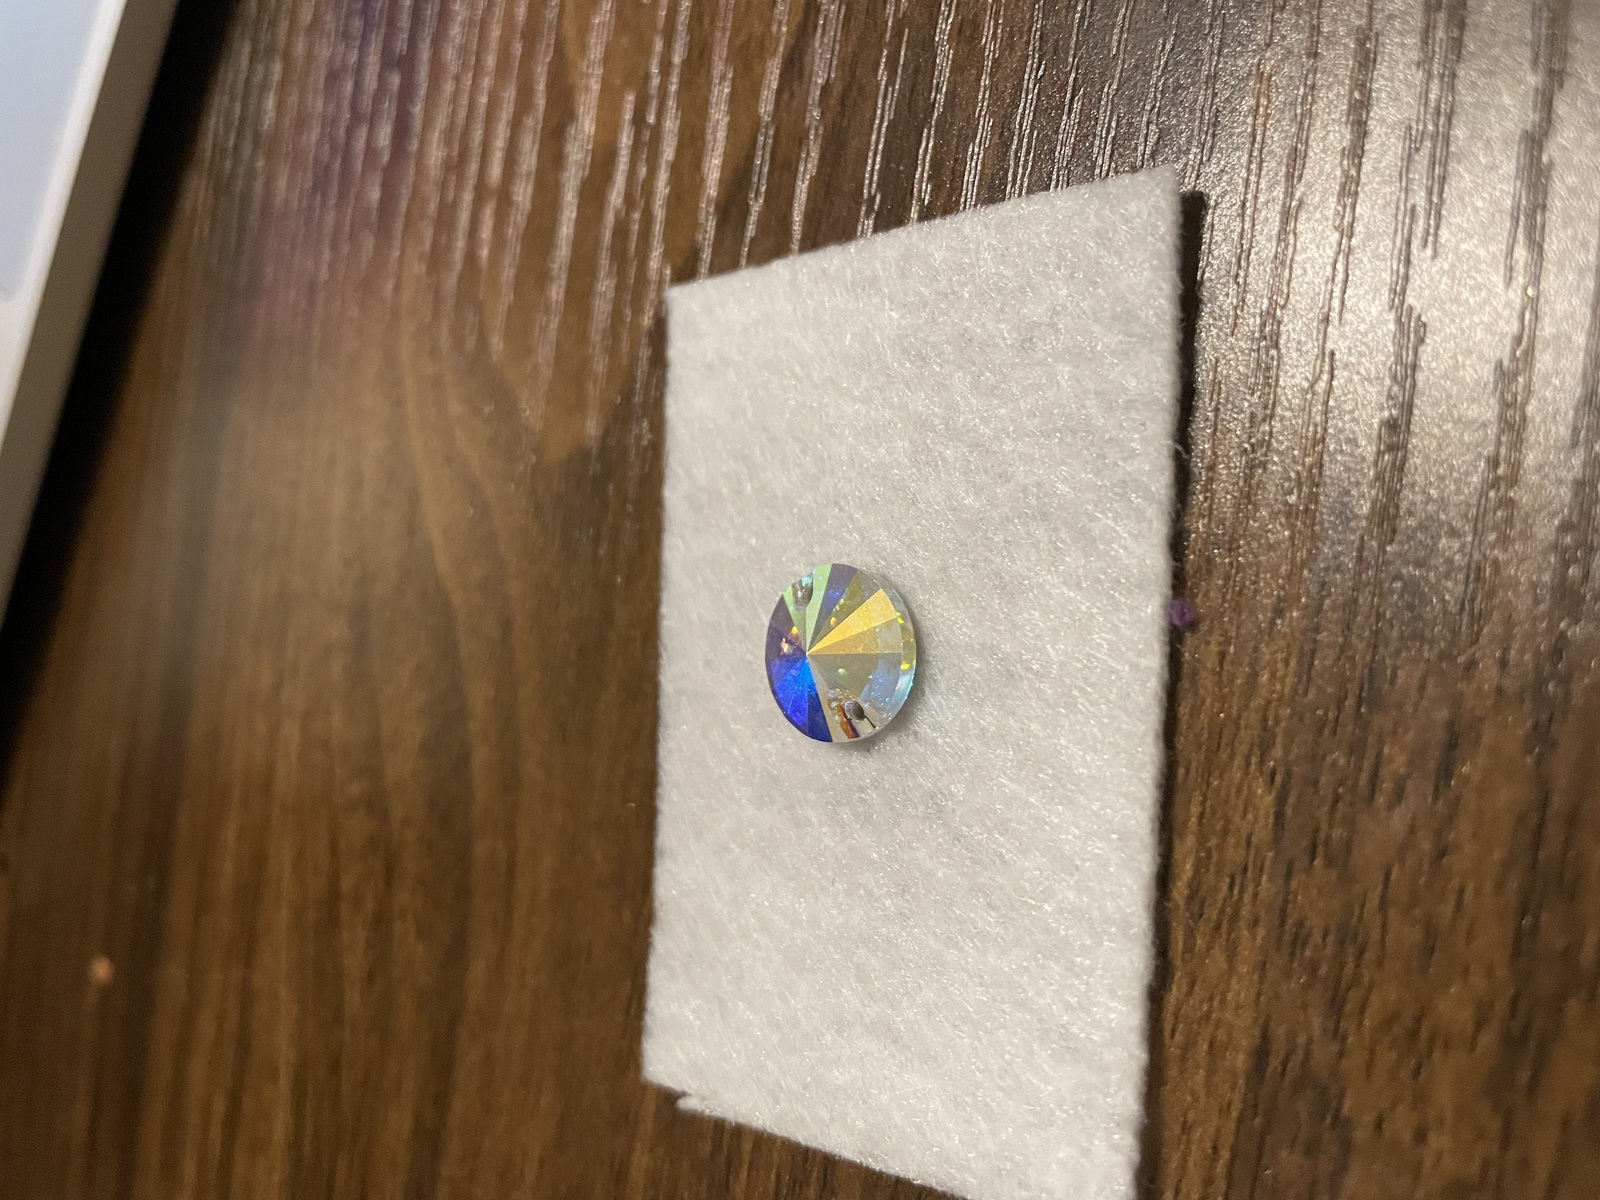
- Tie knot in thread
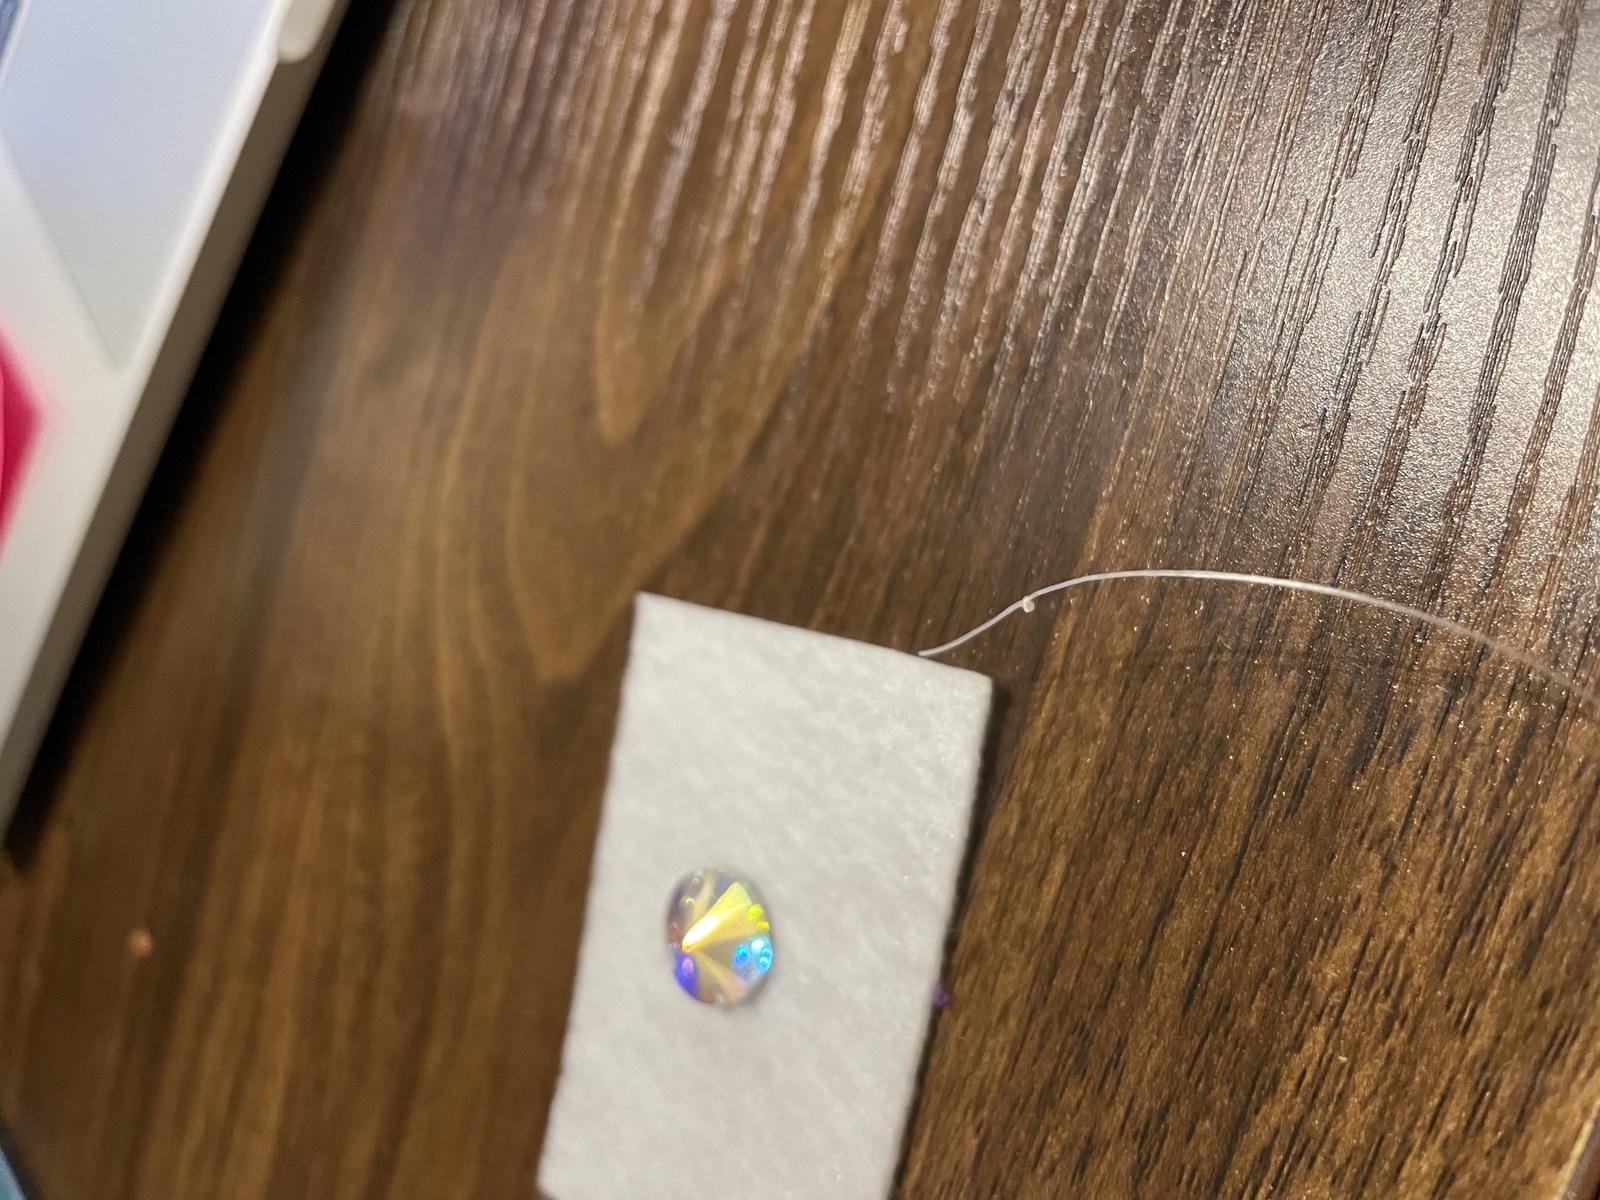
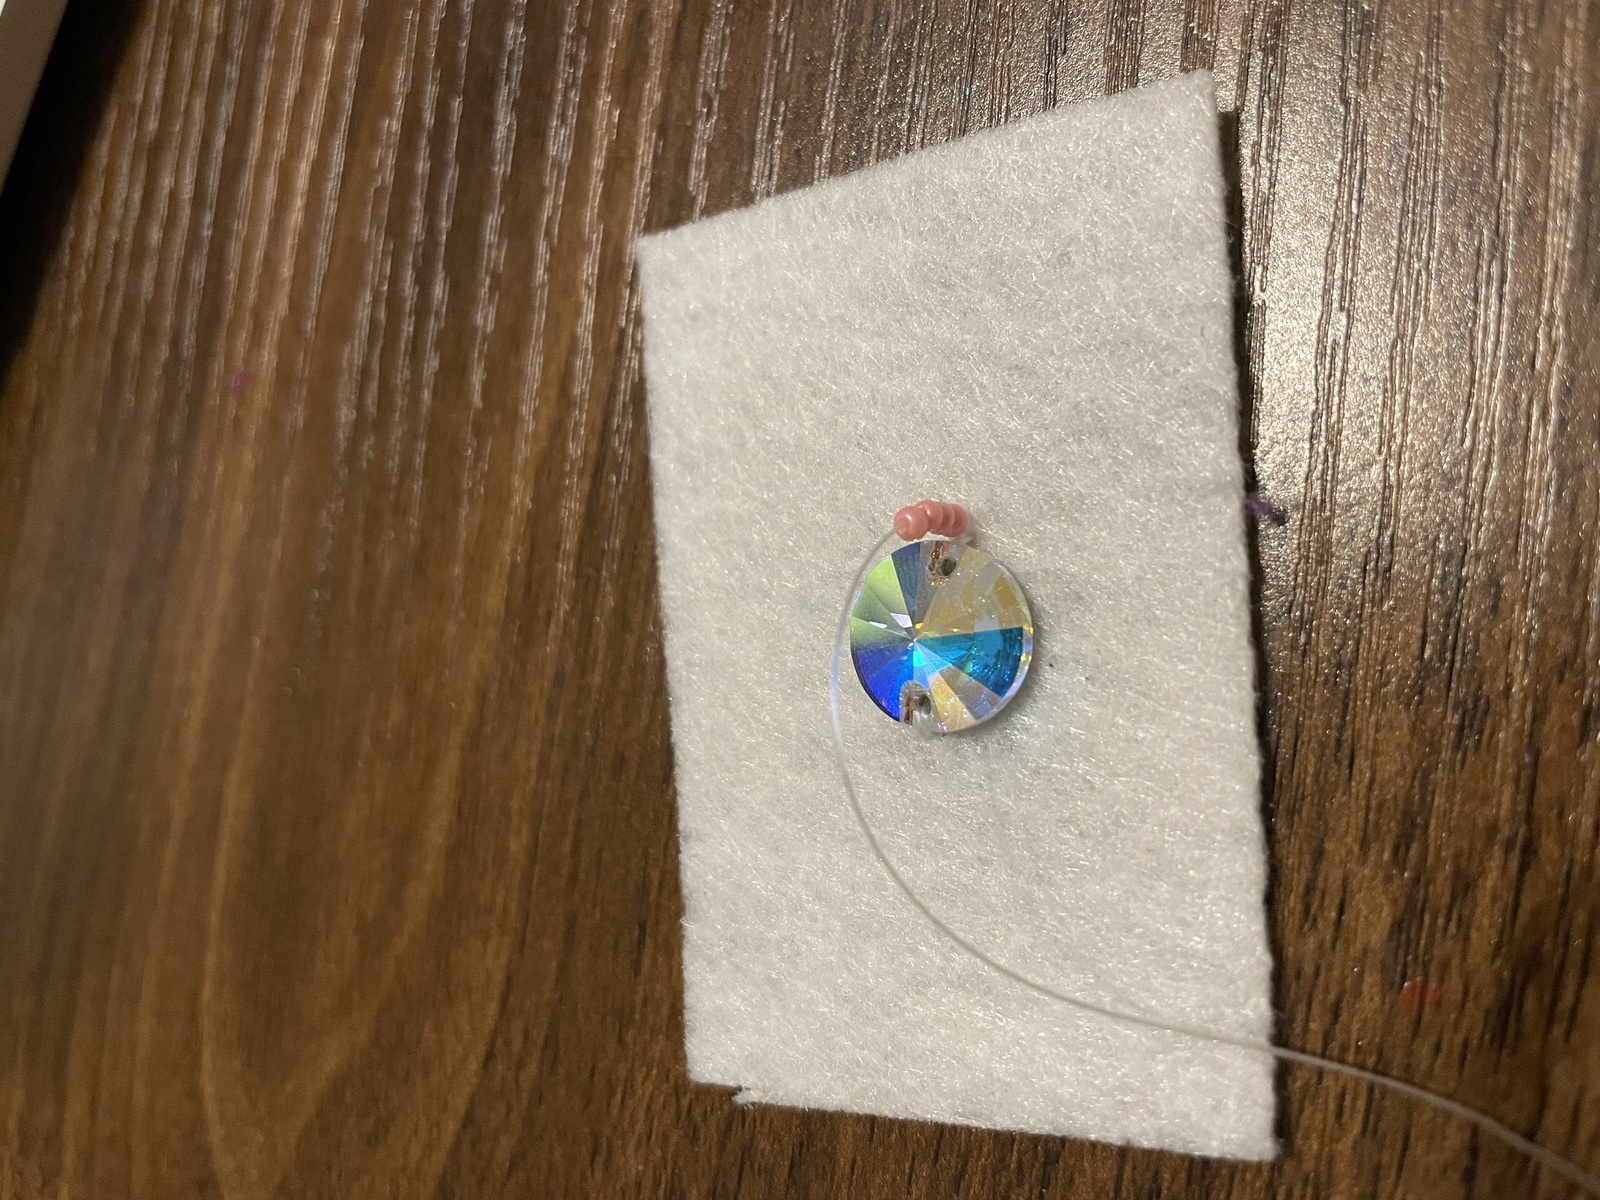
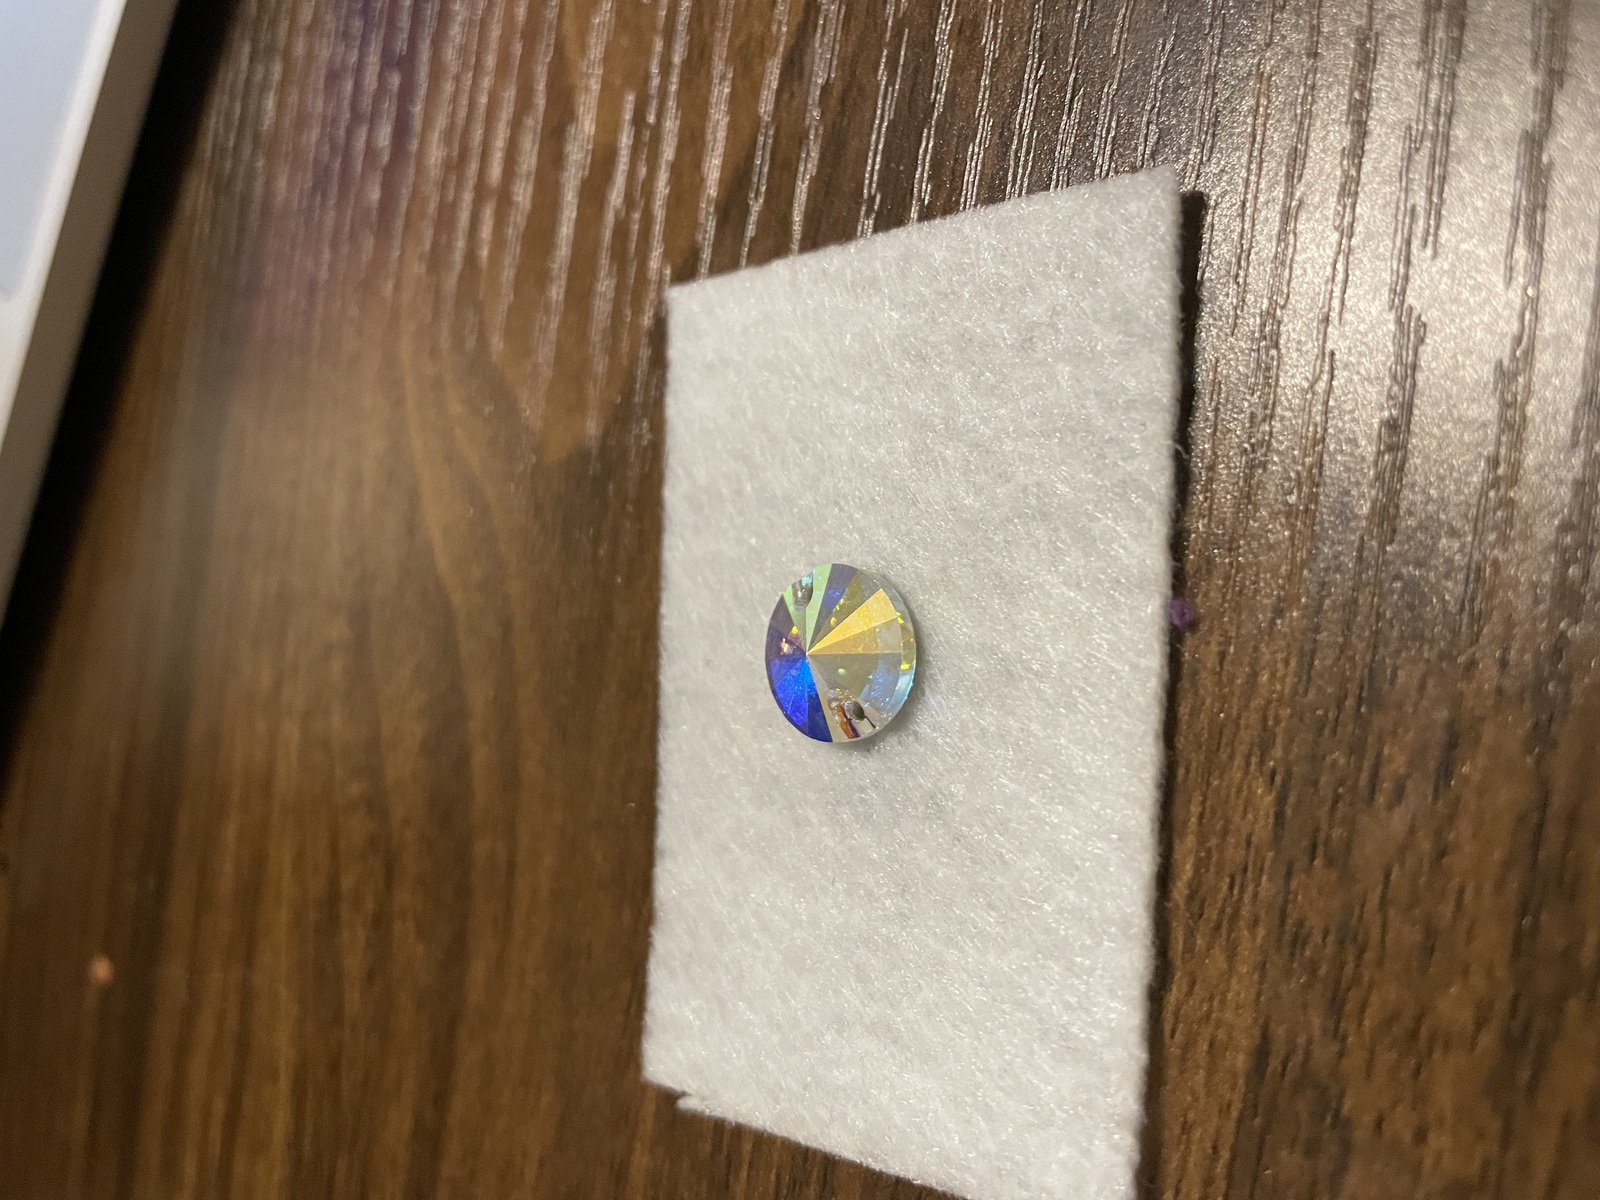
- Tack down gem
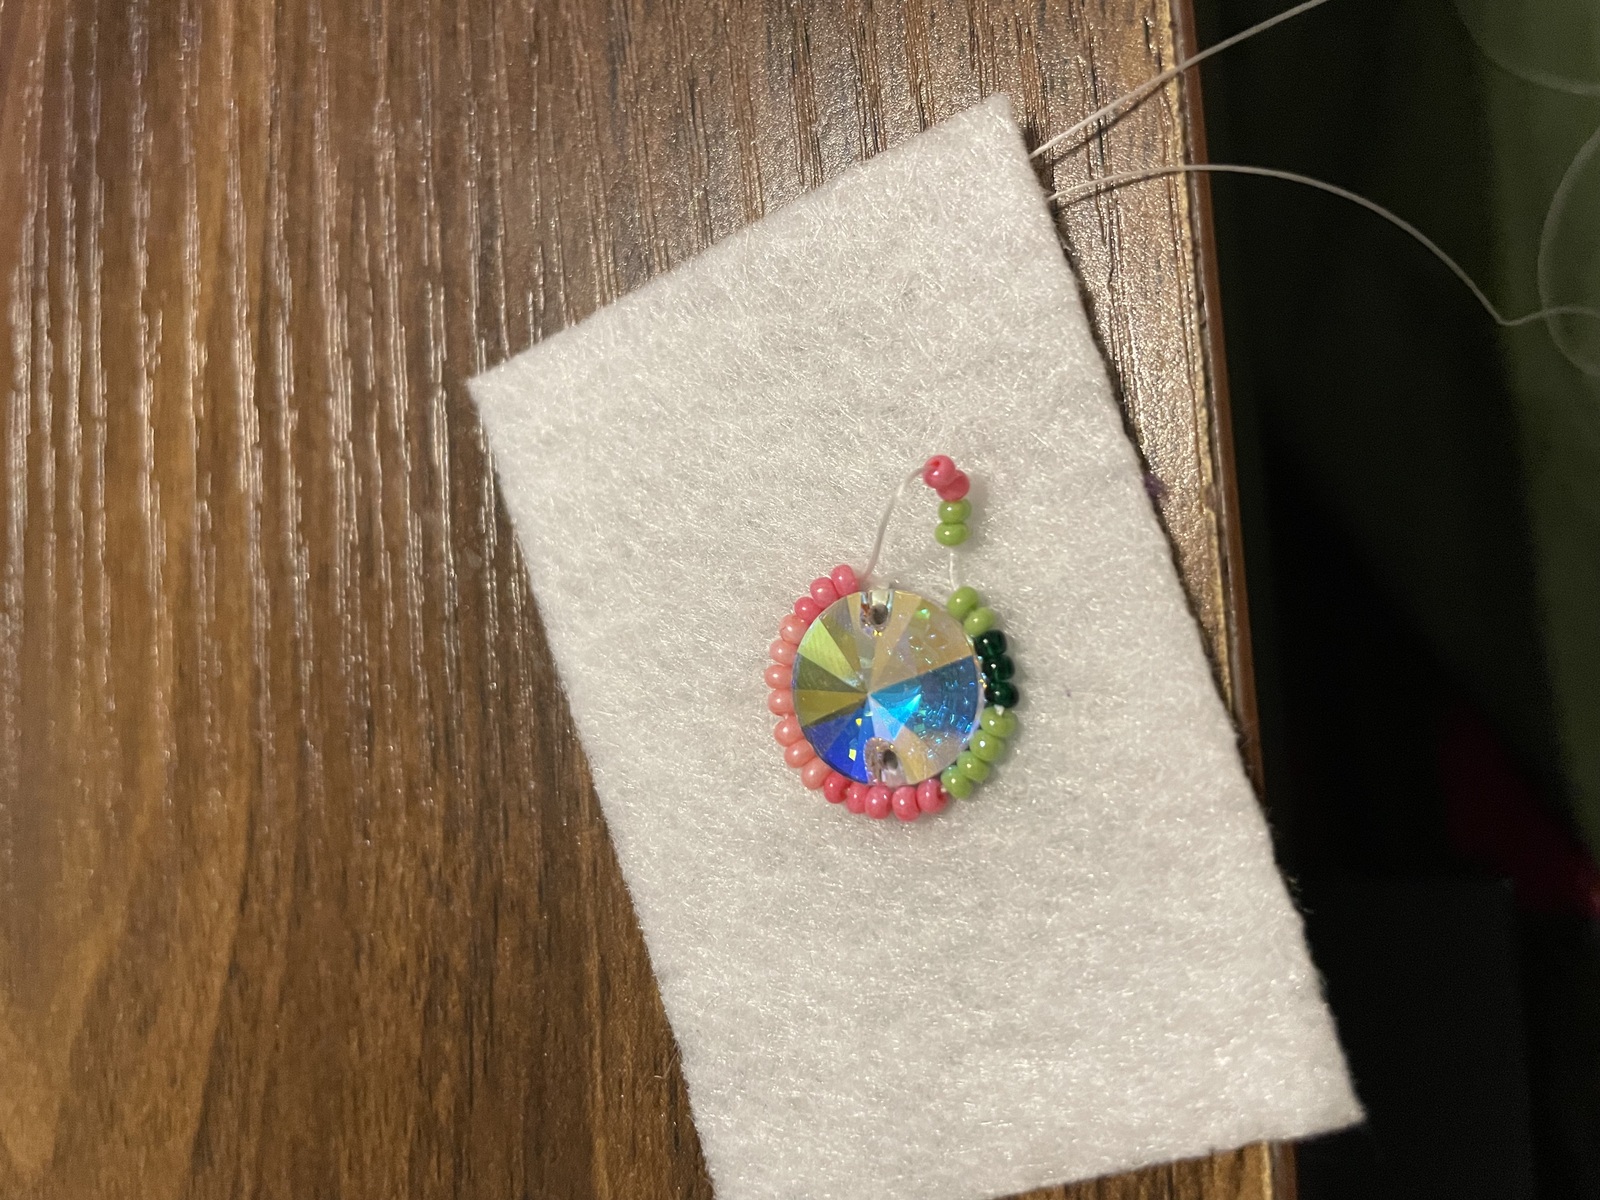
- Circle gem, going 4 beads at a time. Tack down the last two beads. Never more than 4 beads at a time. I like to take one strand off of a hank of beads and use that.
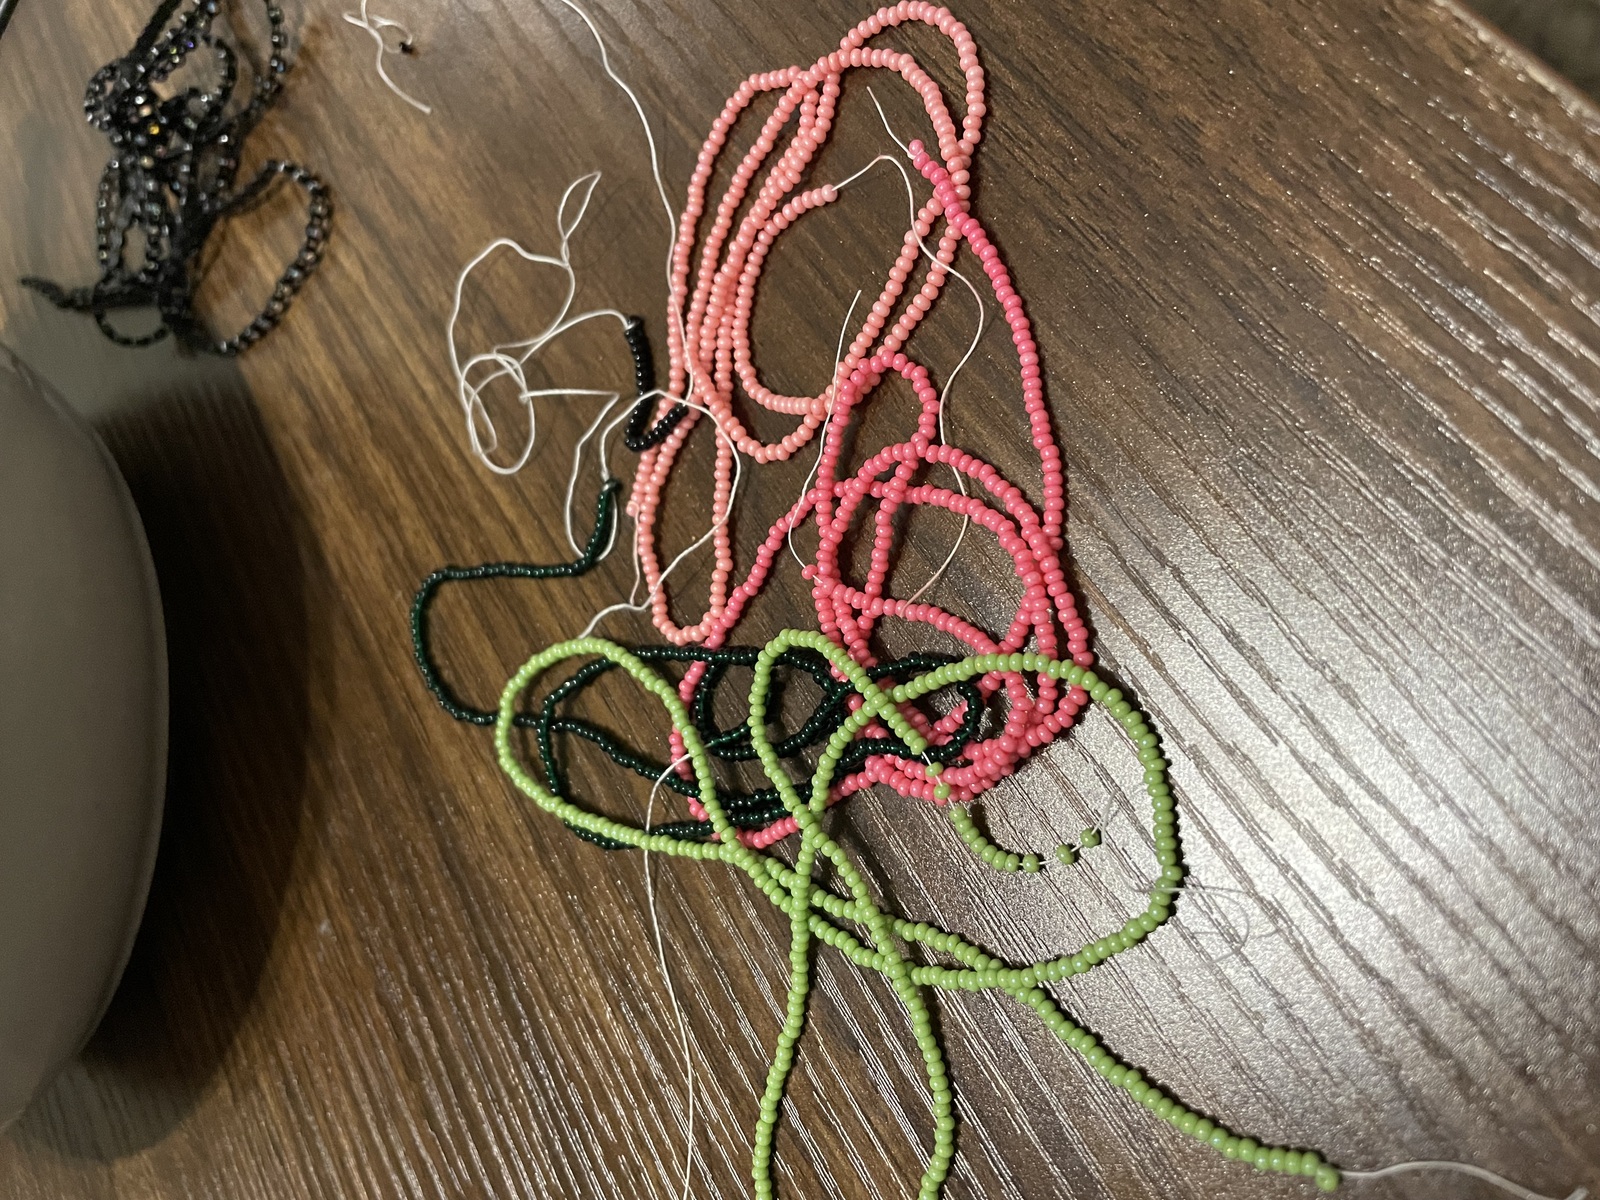
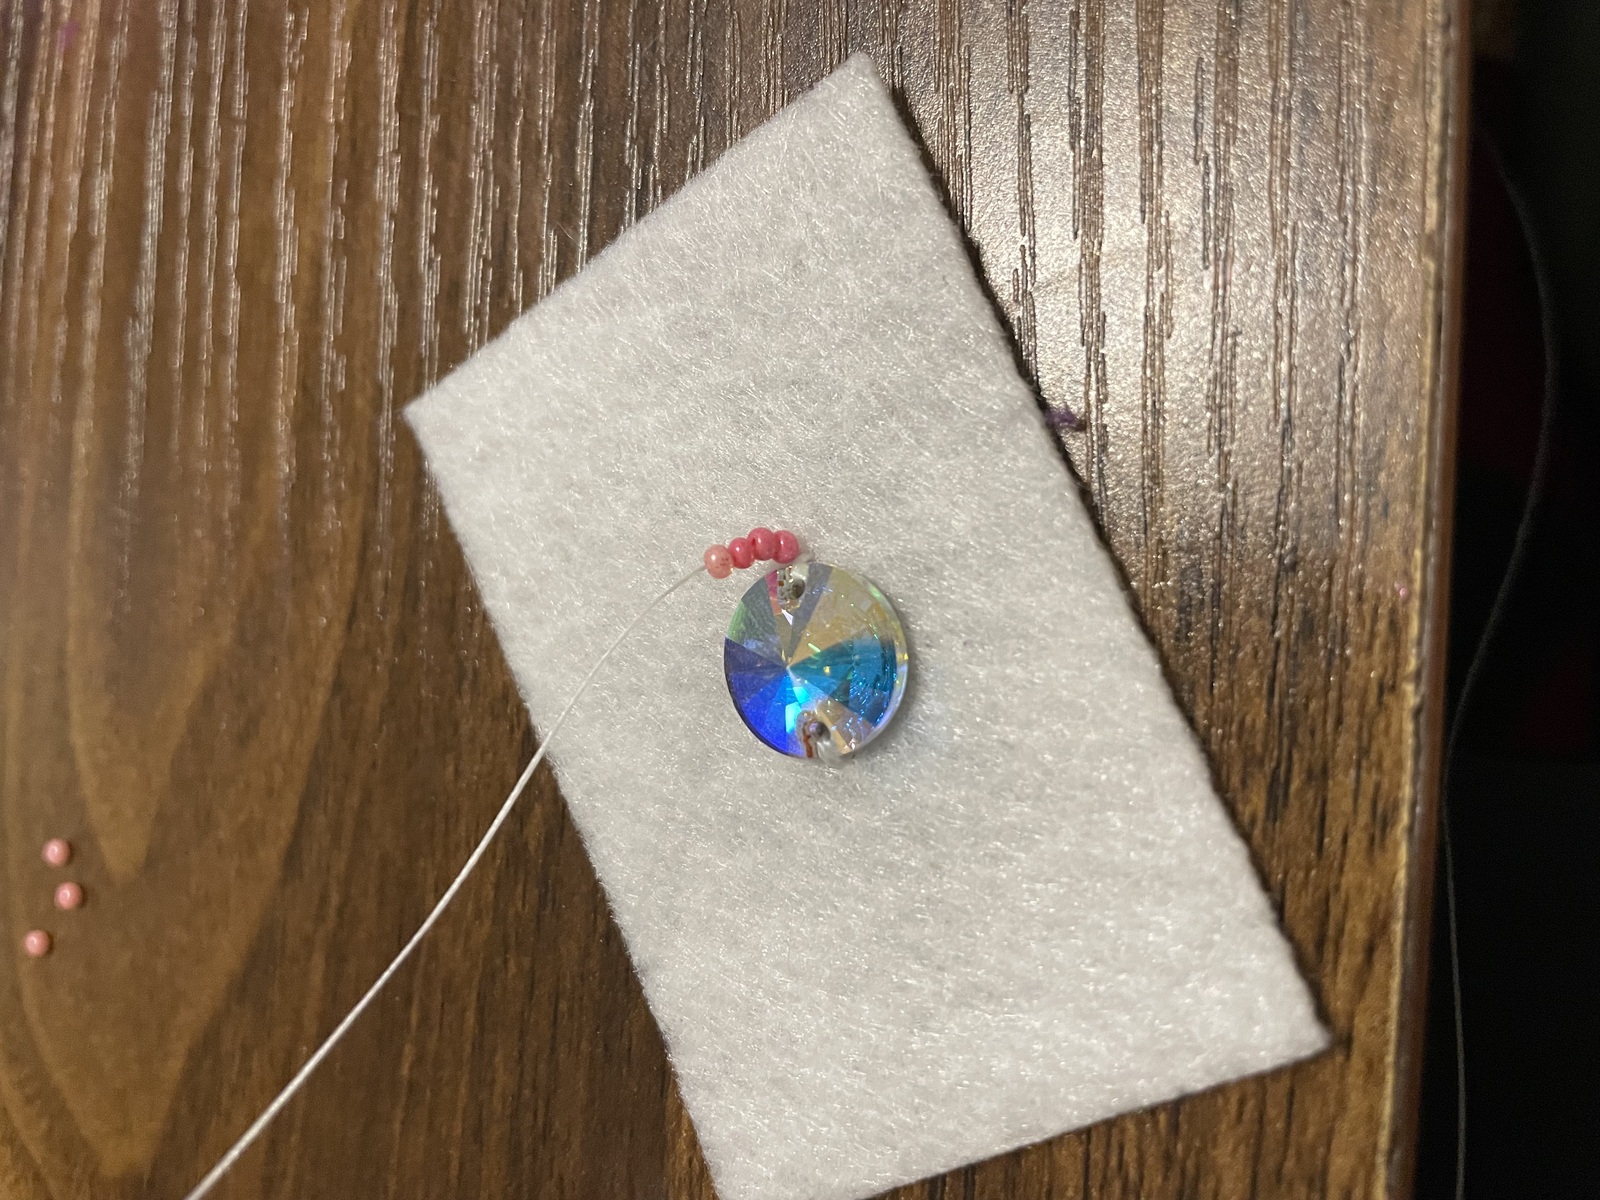
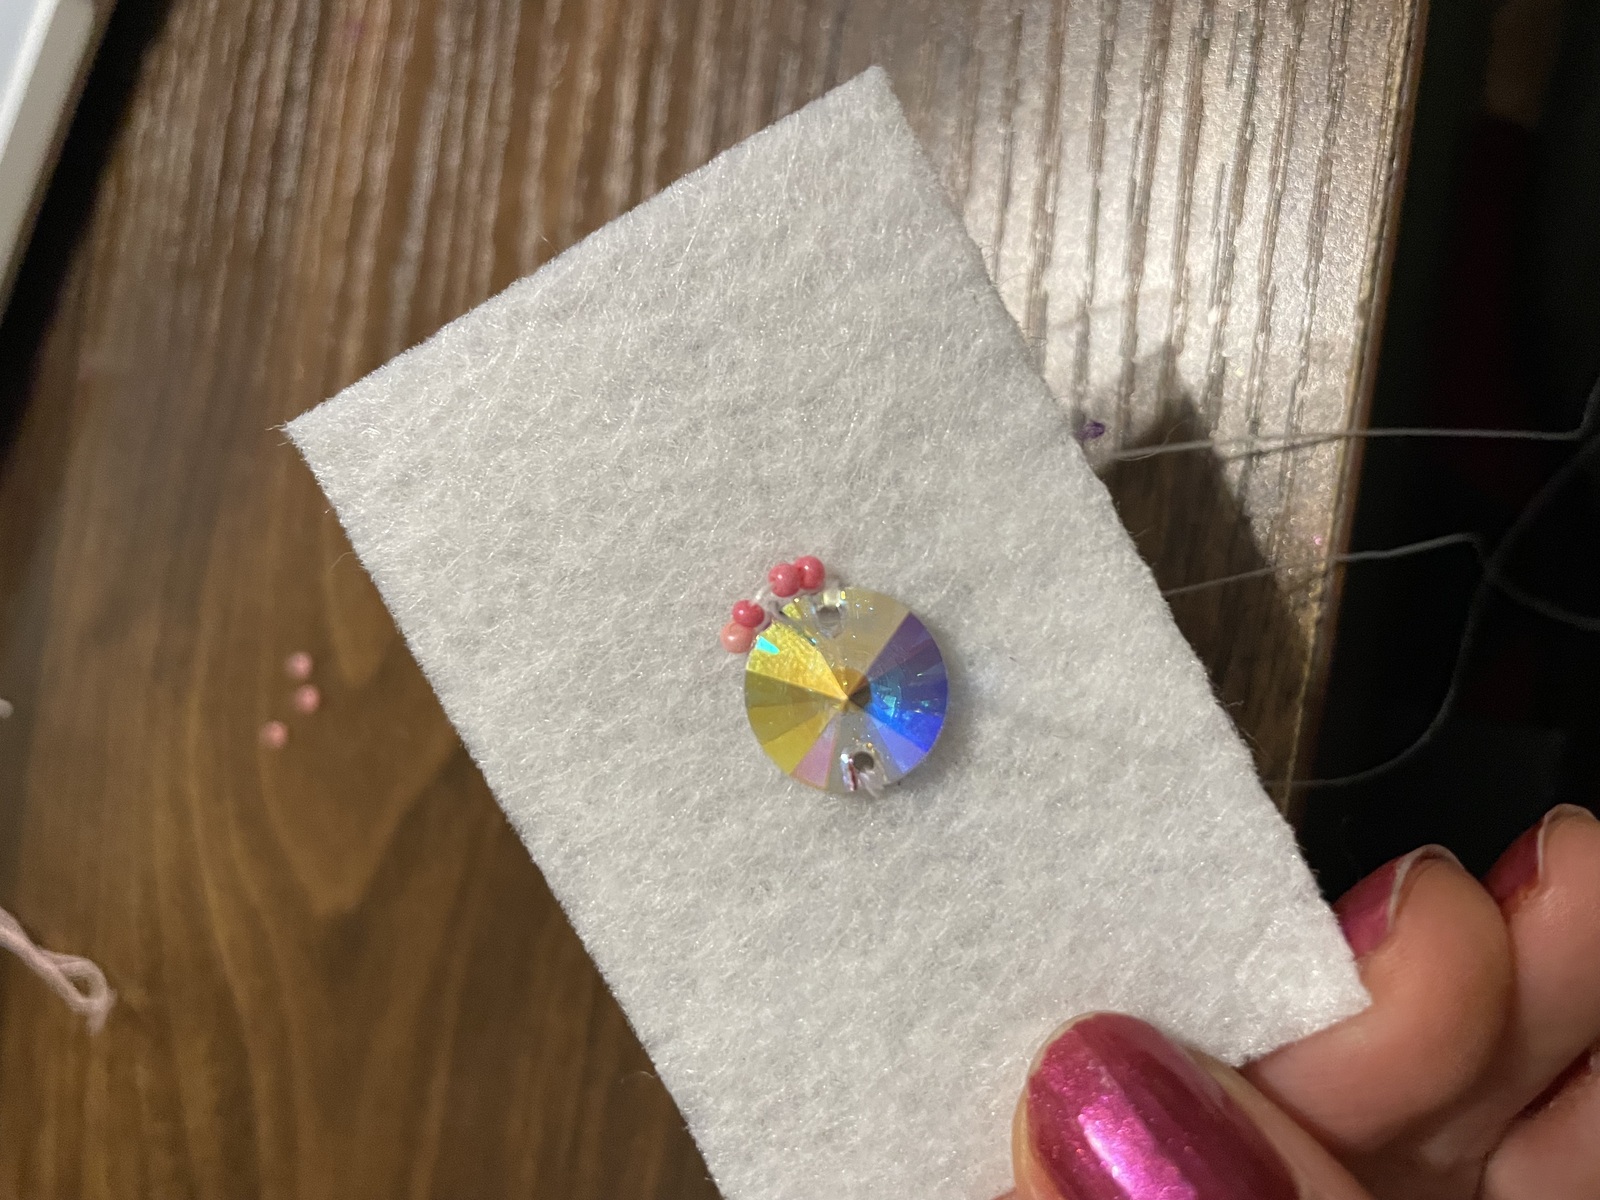
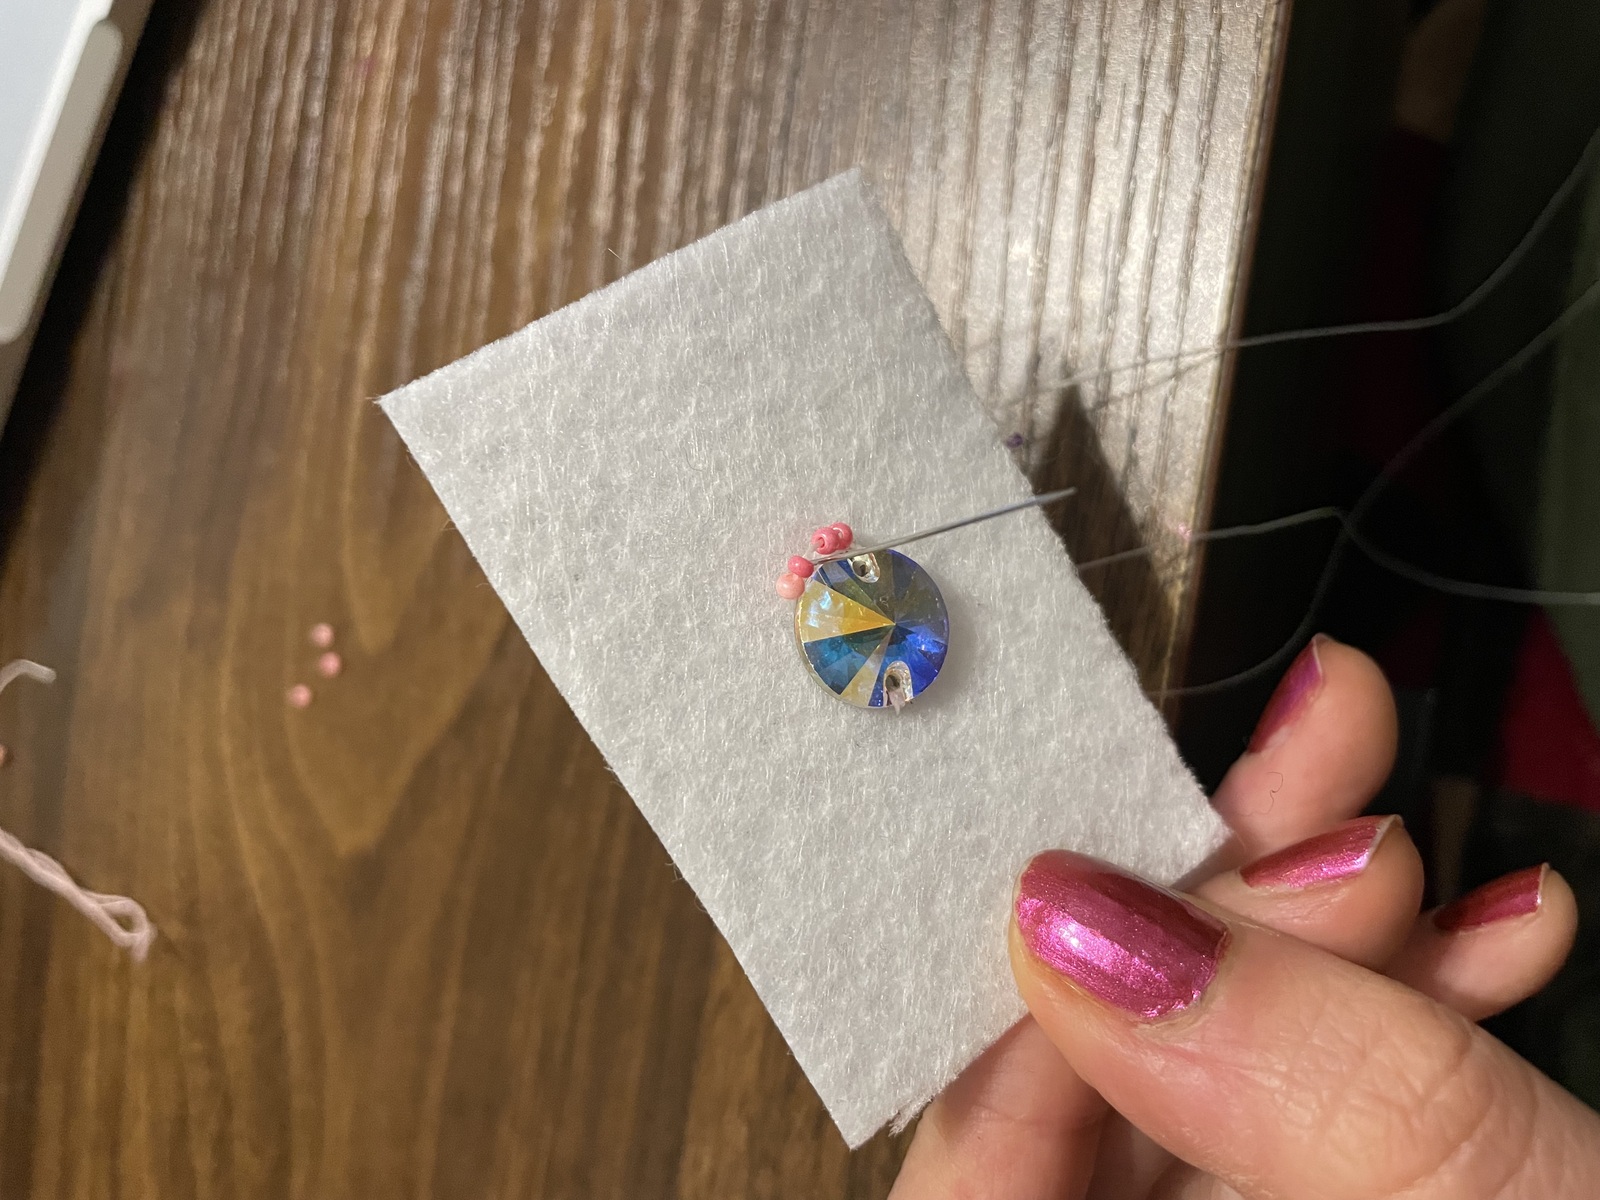
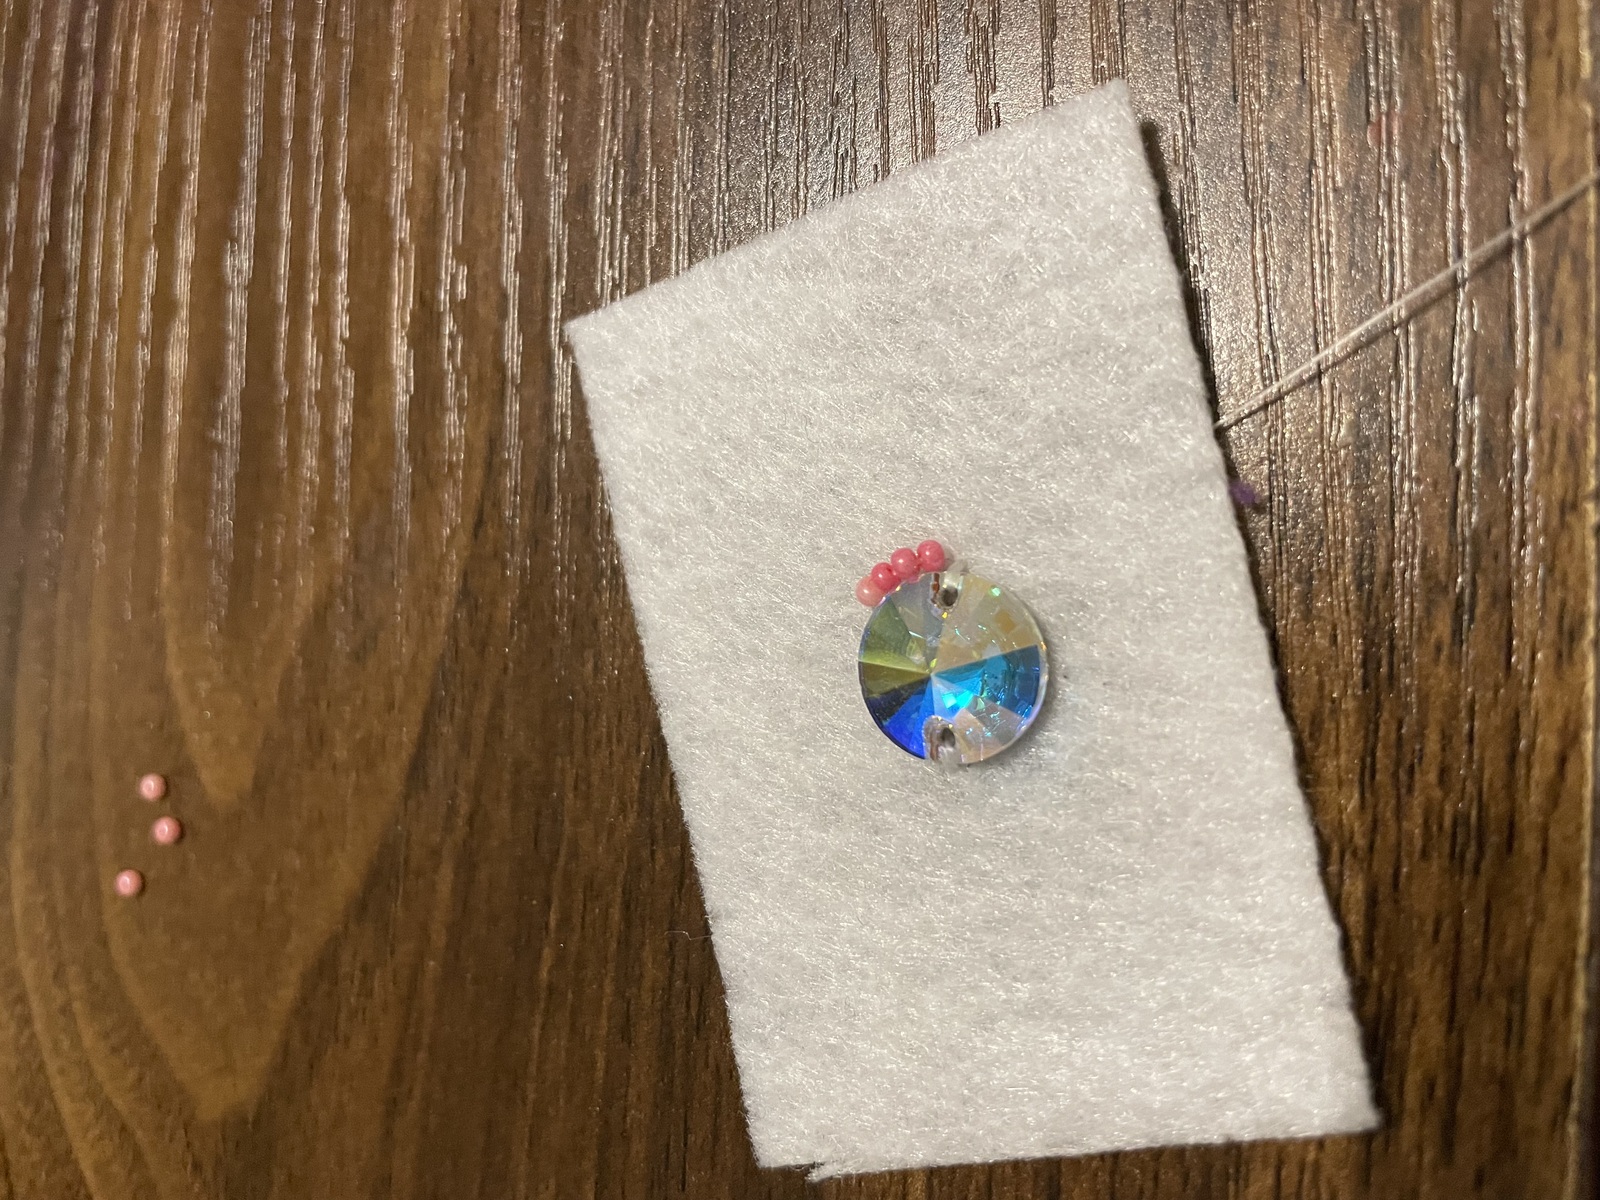
- When finished with a row, thread through the entire row to smooth out.
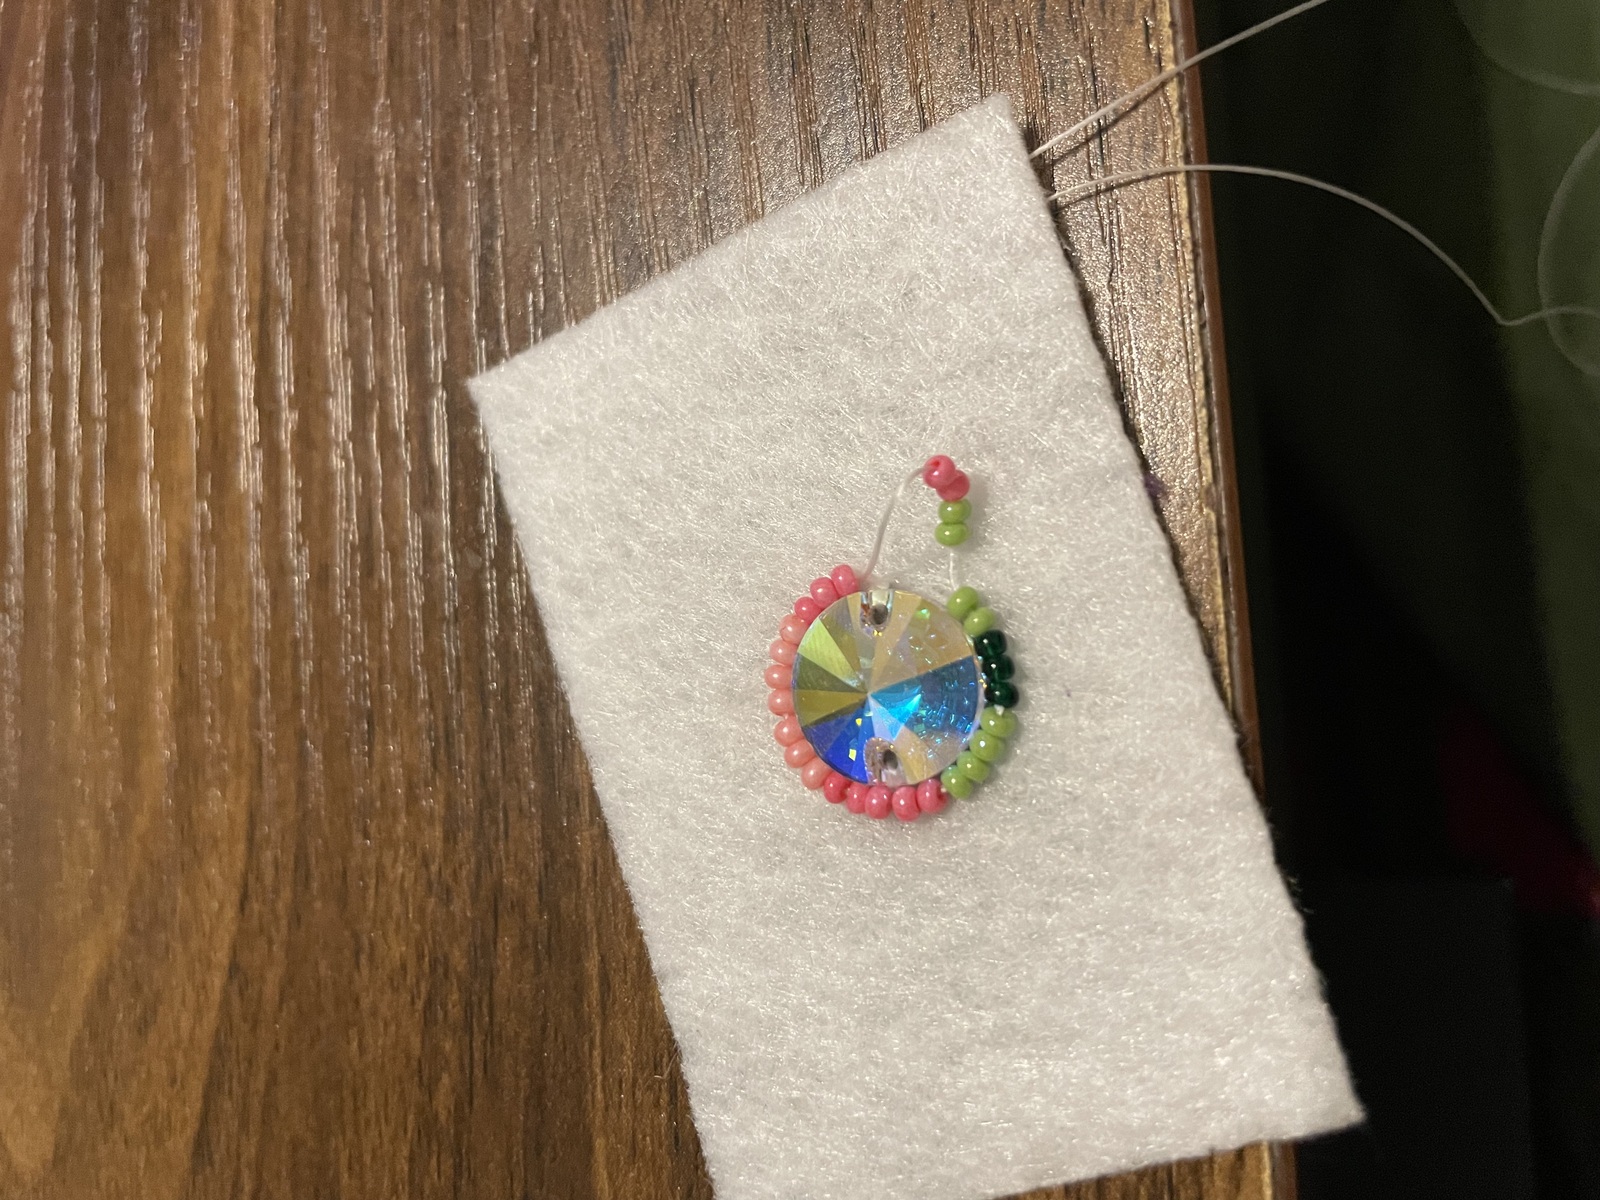
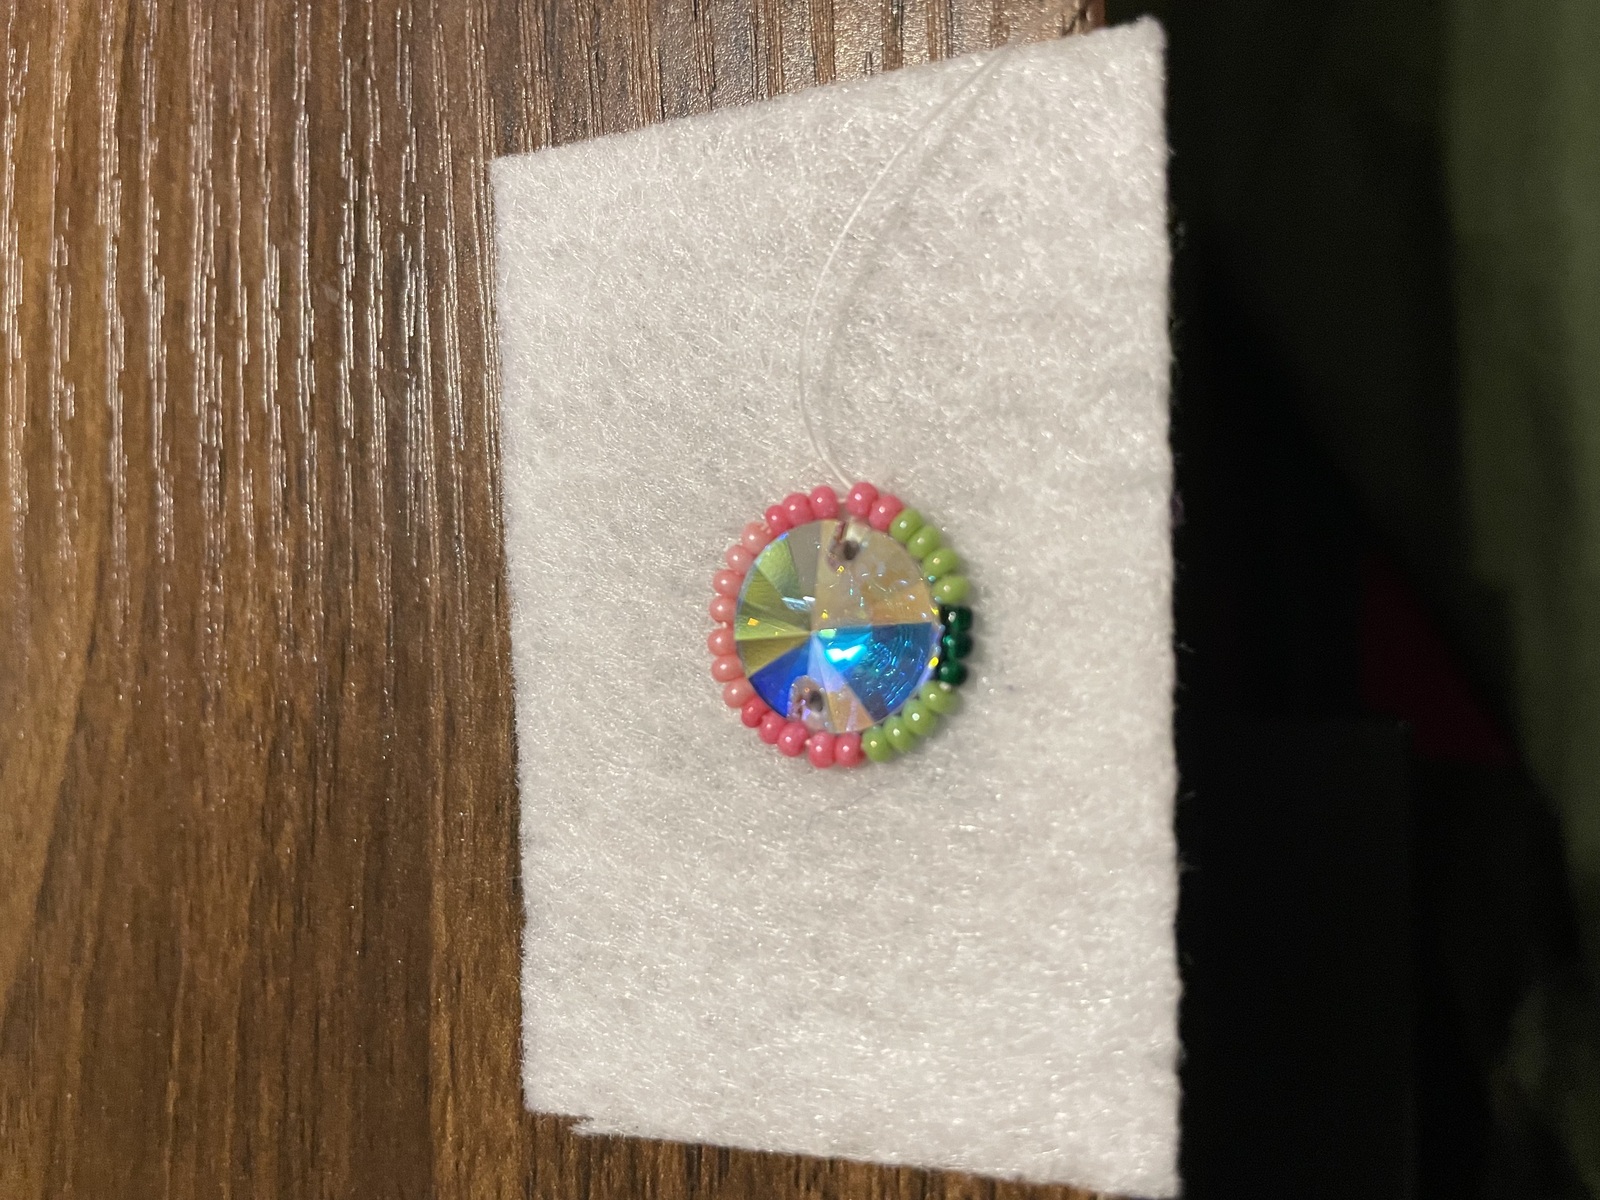
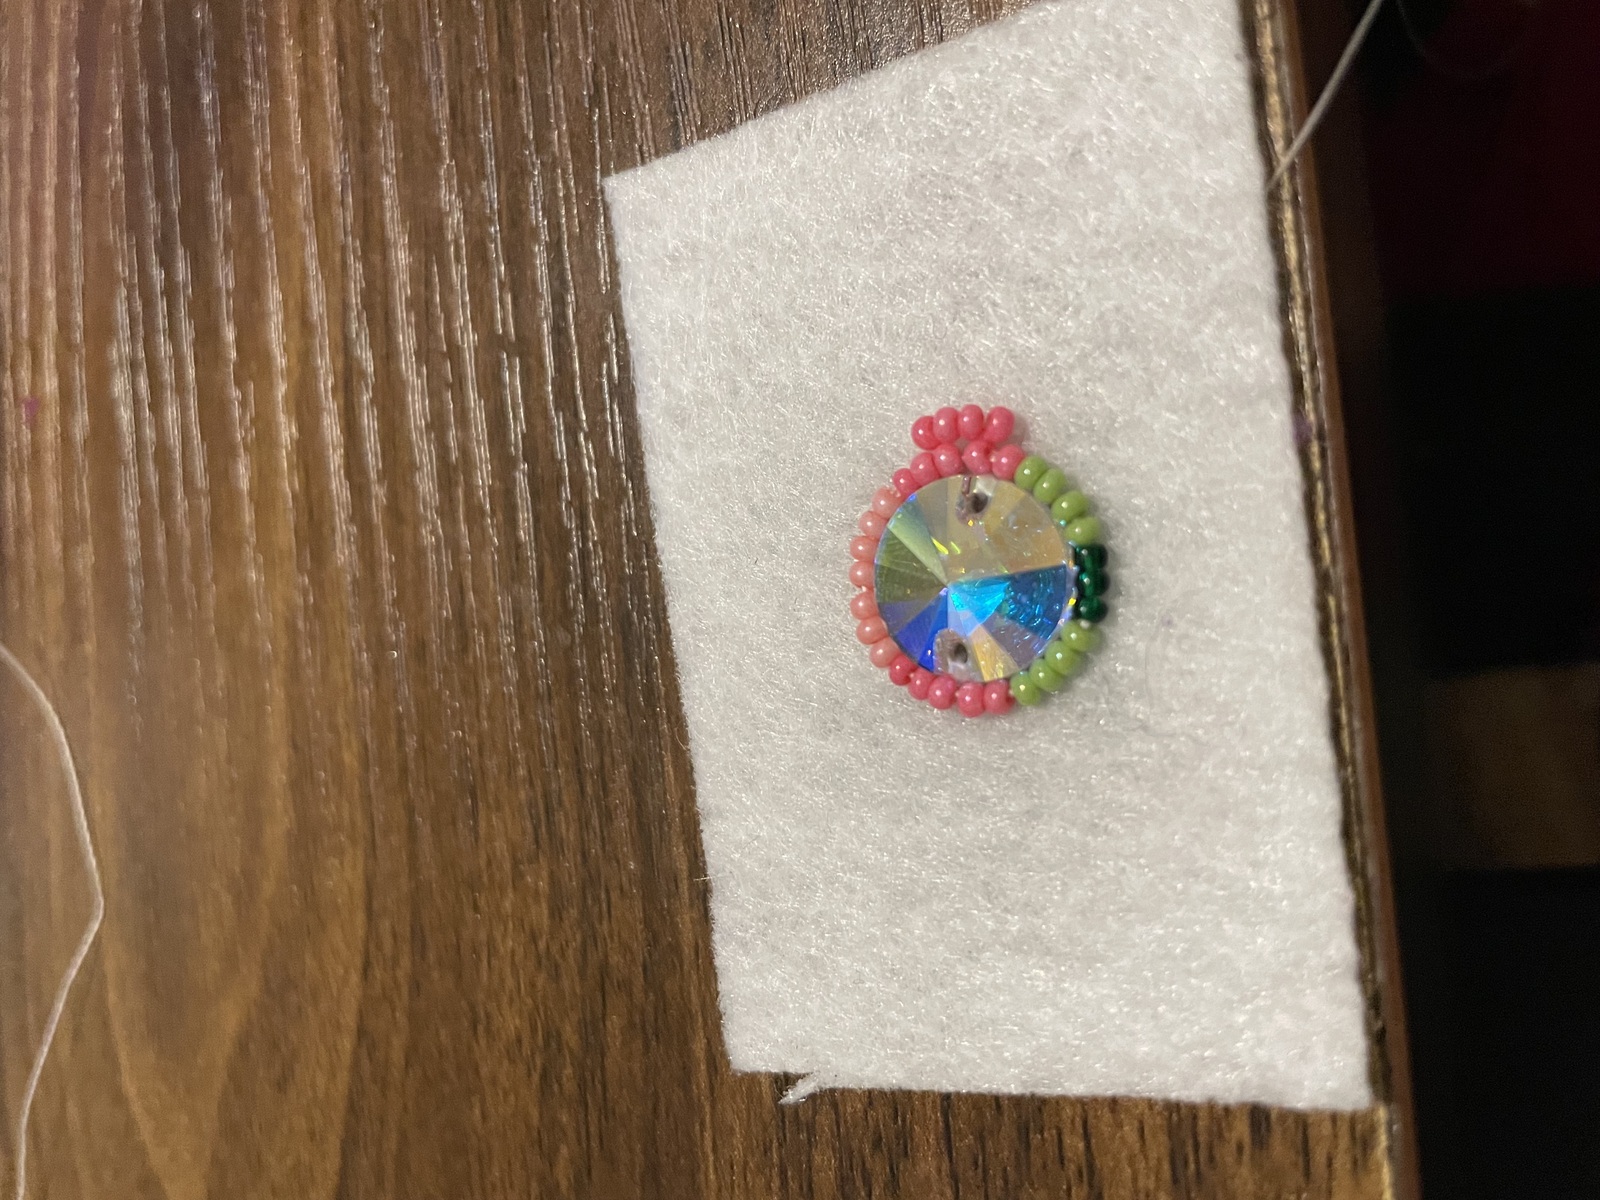
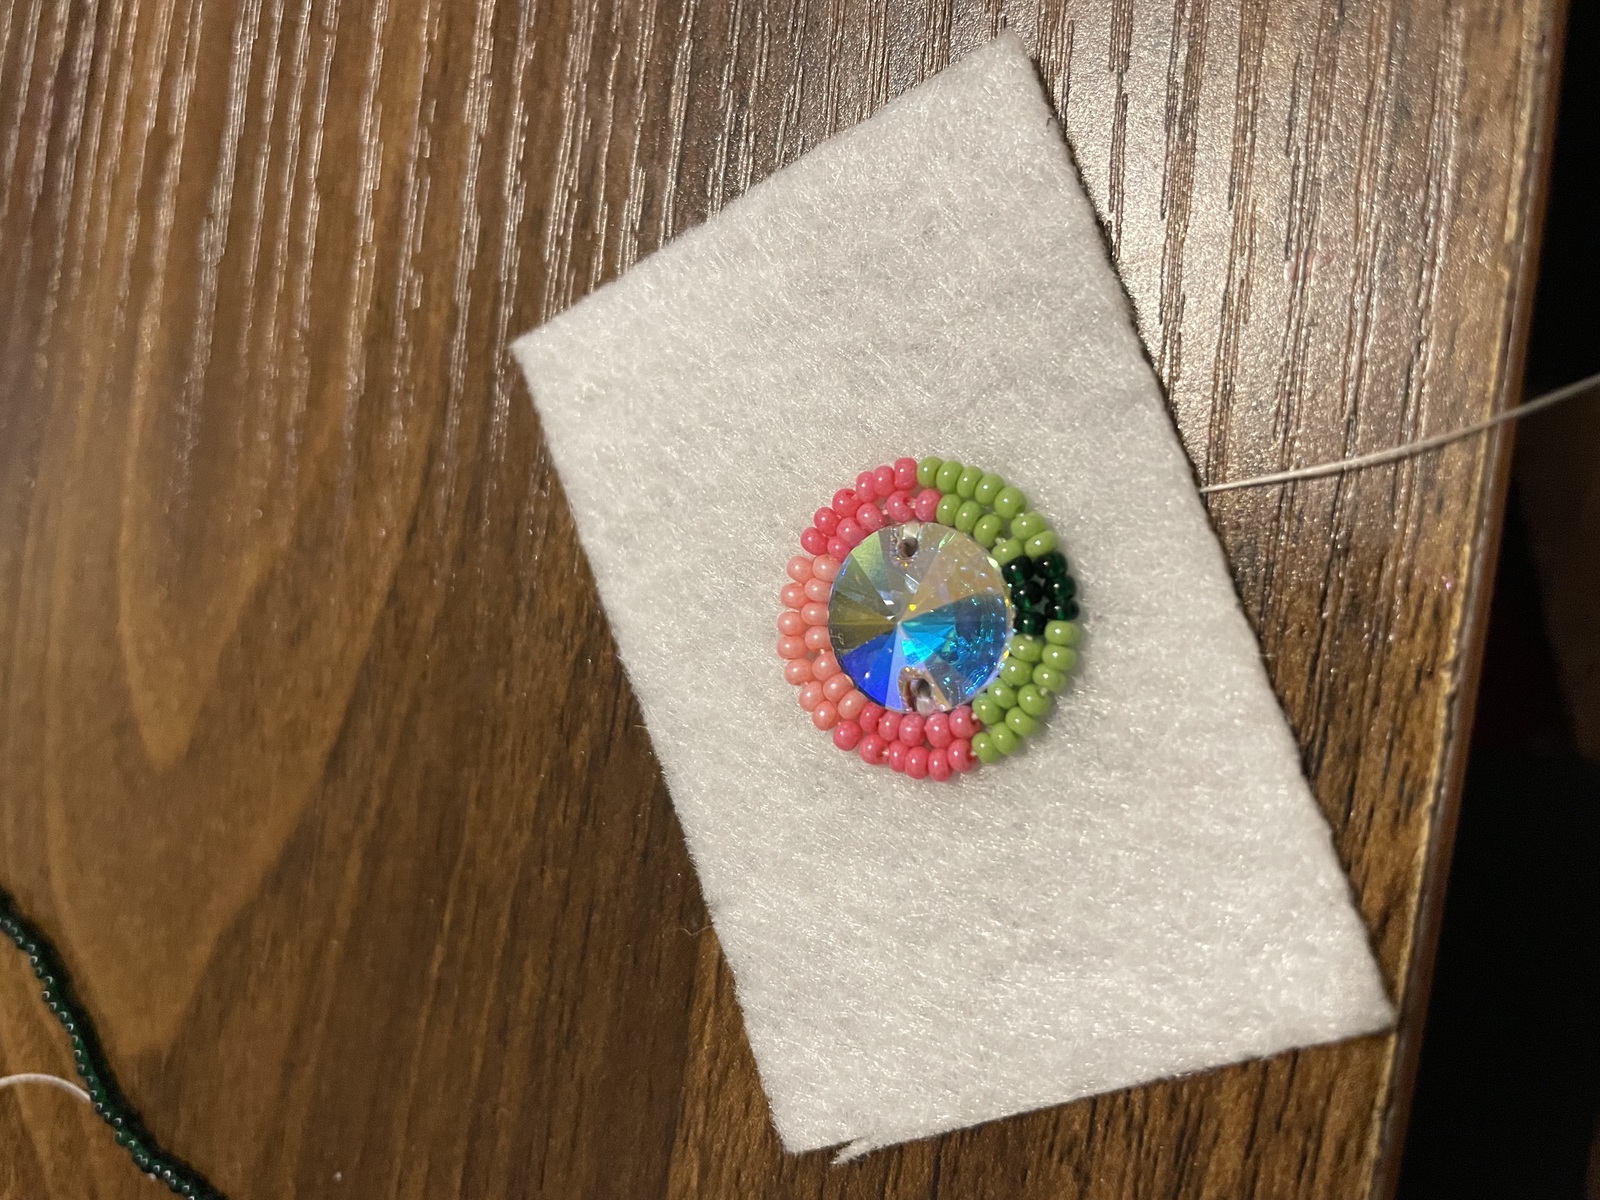
- Continue with other rows
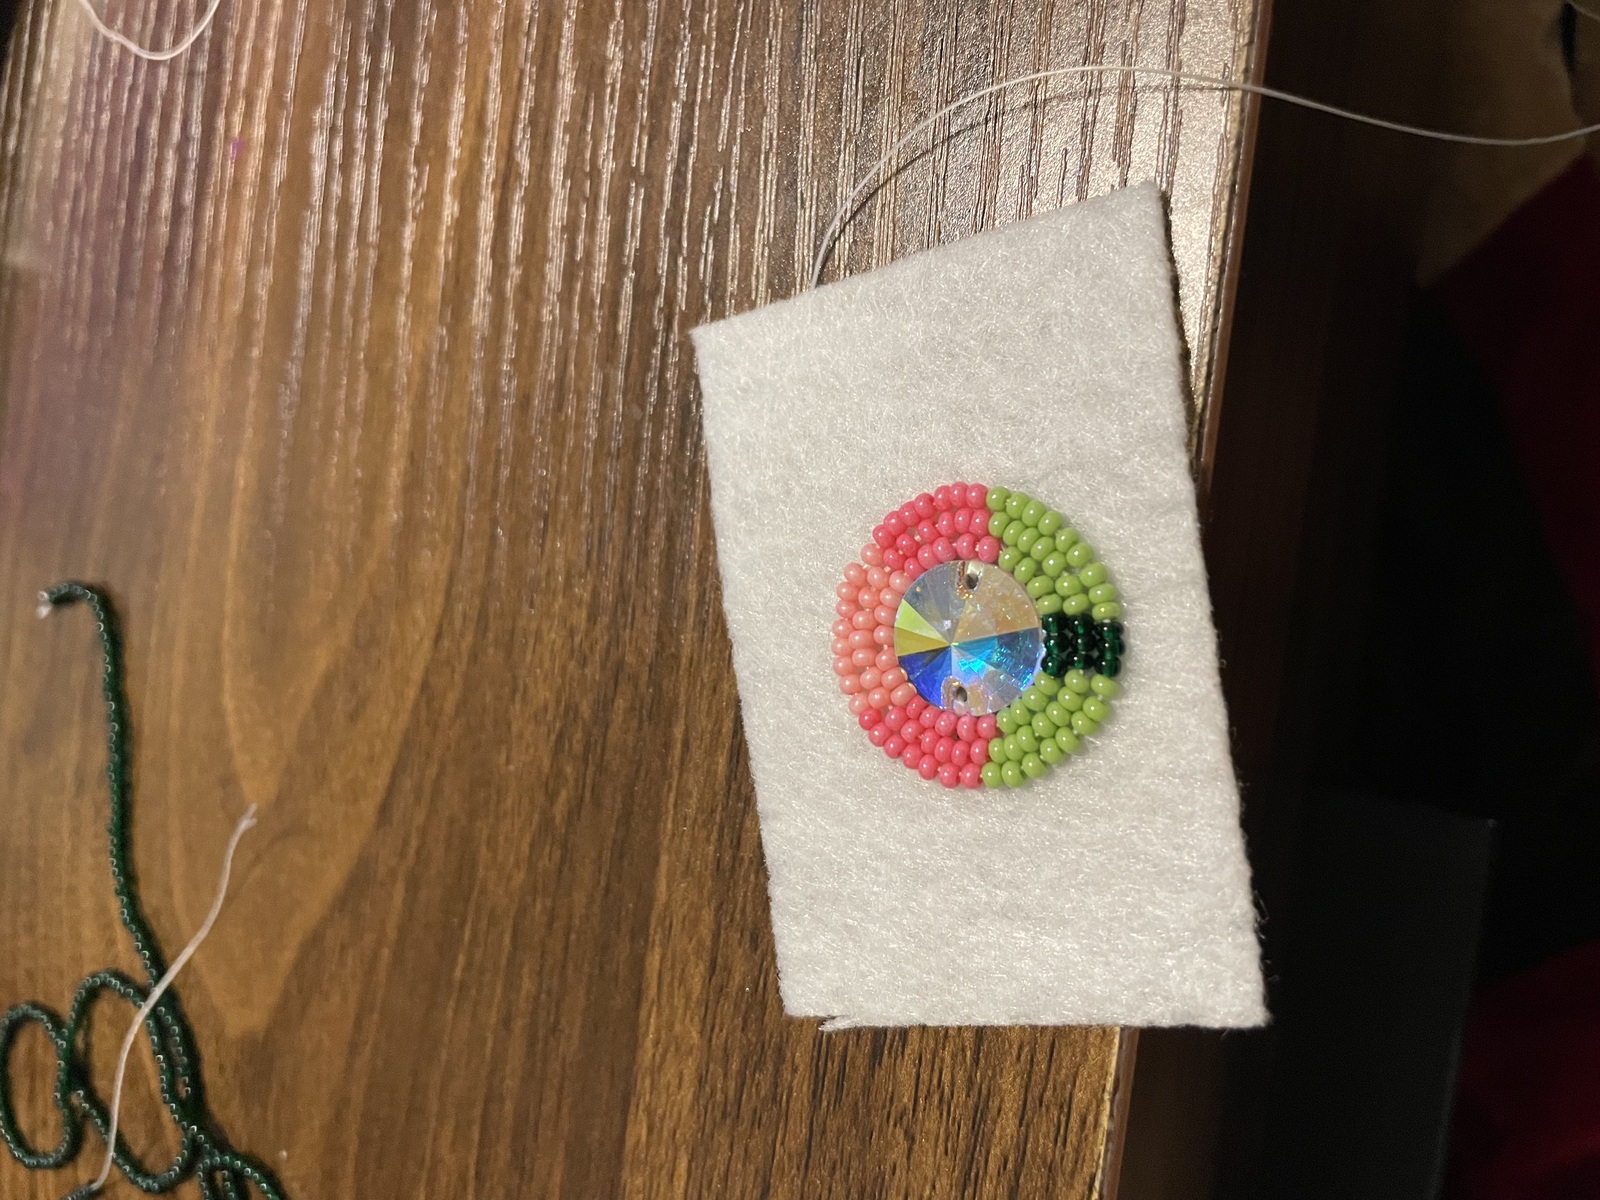
- Optional: After design is complete, add rhinestones or other decorations.
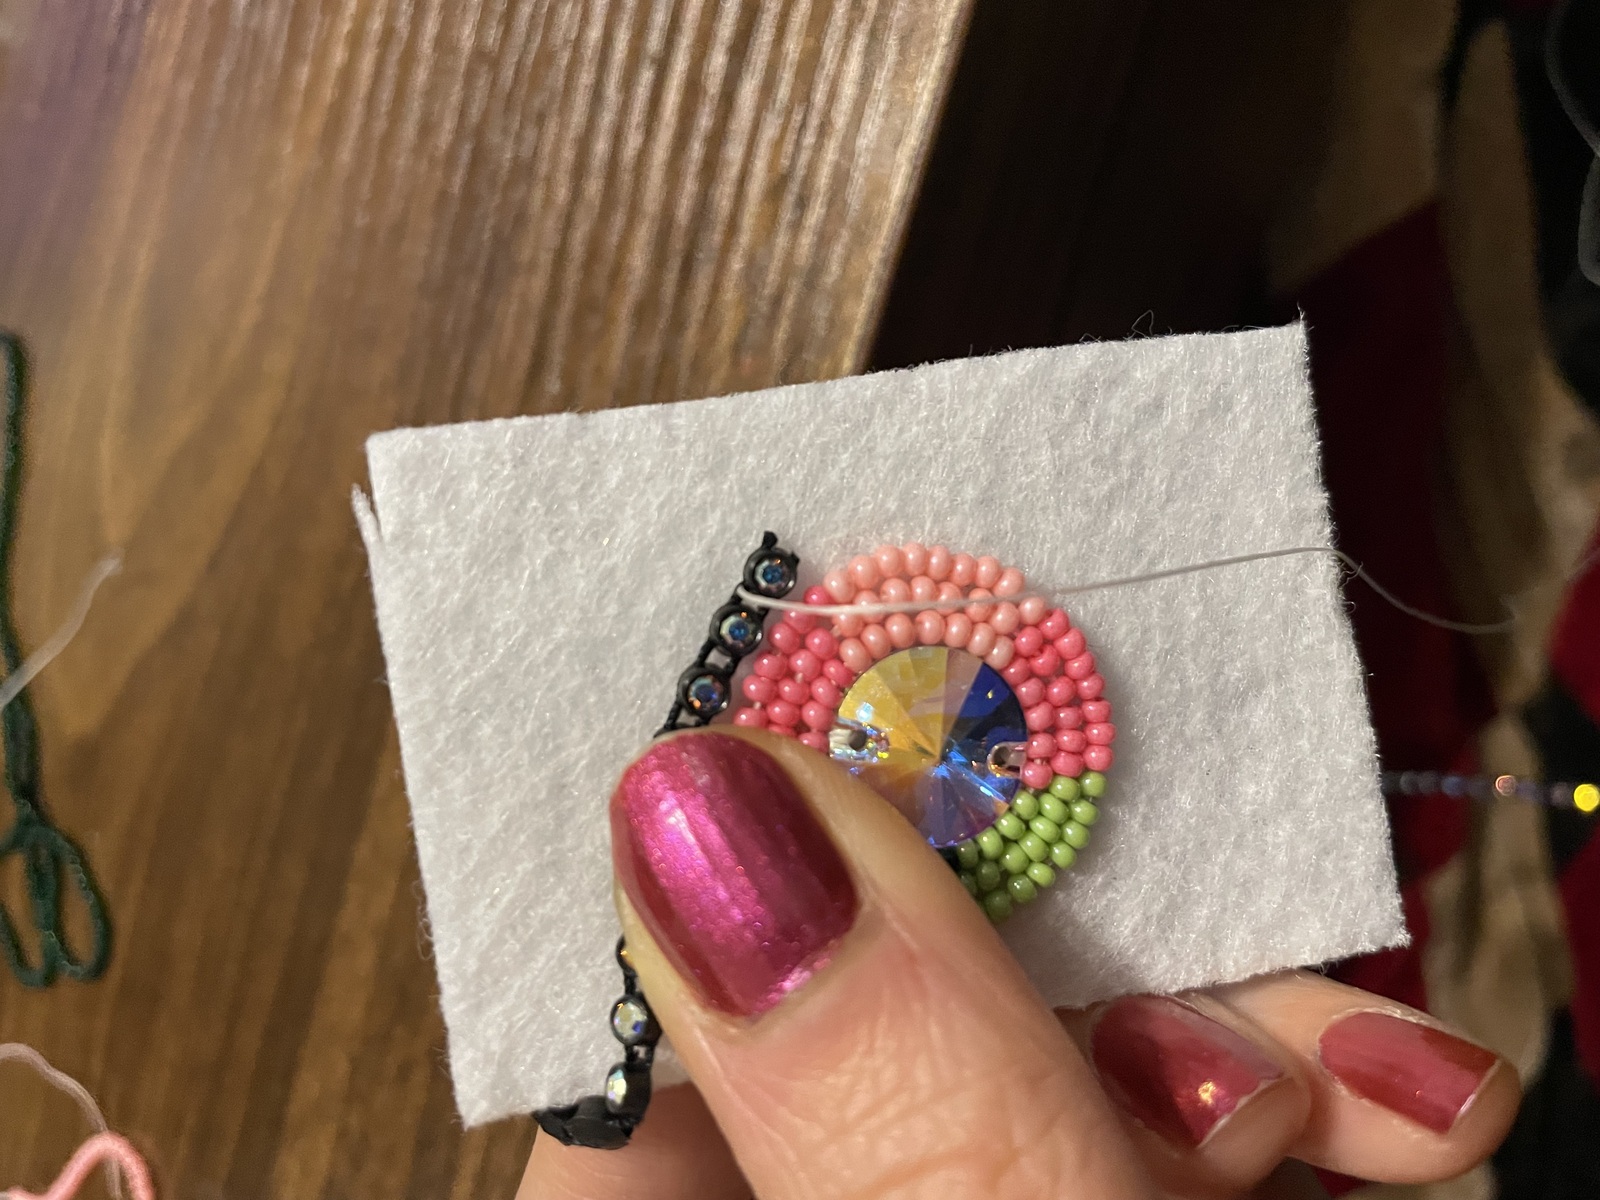
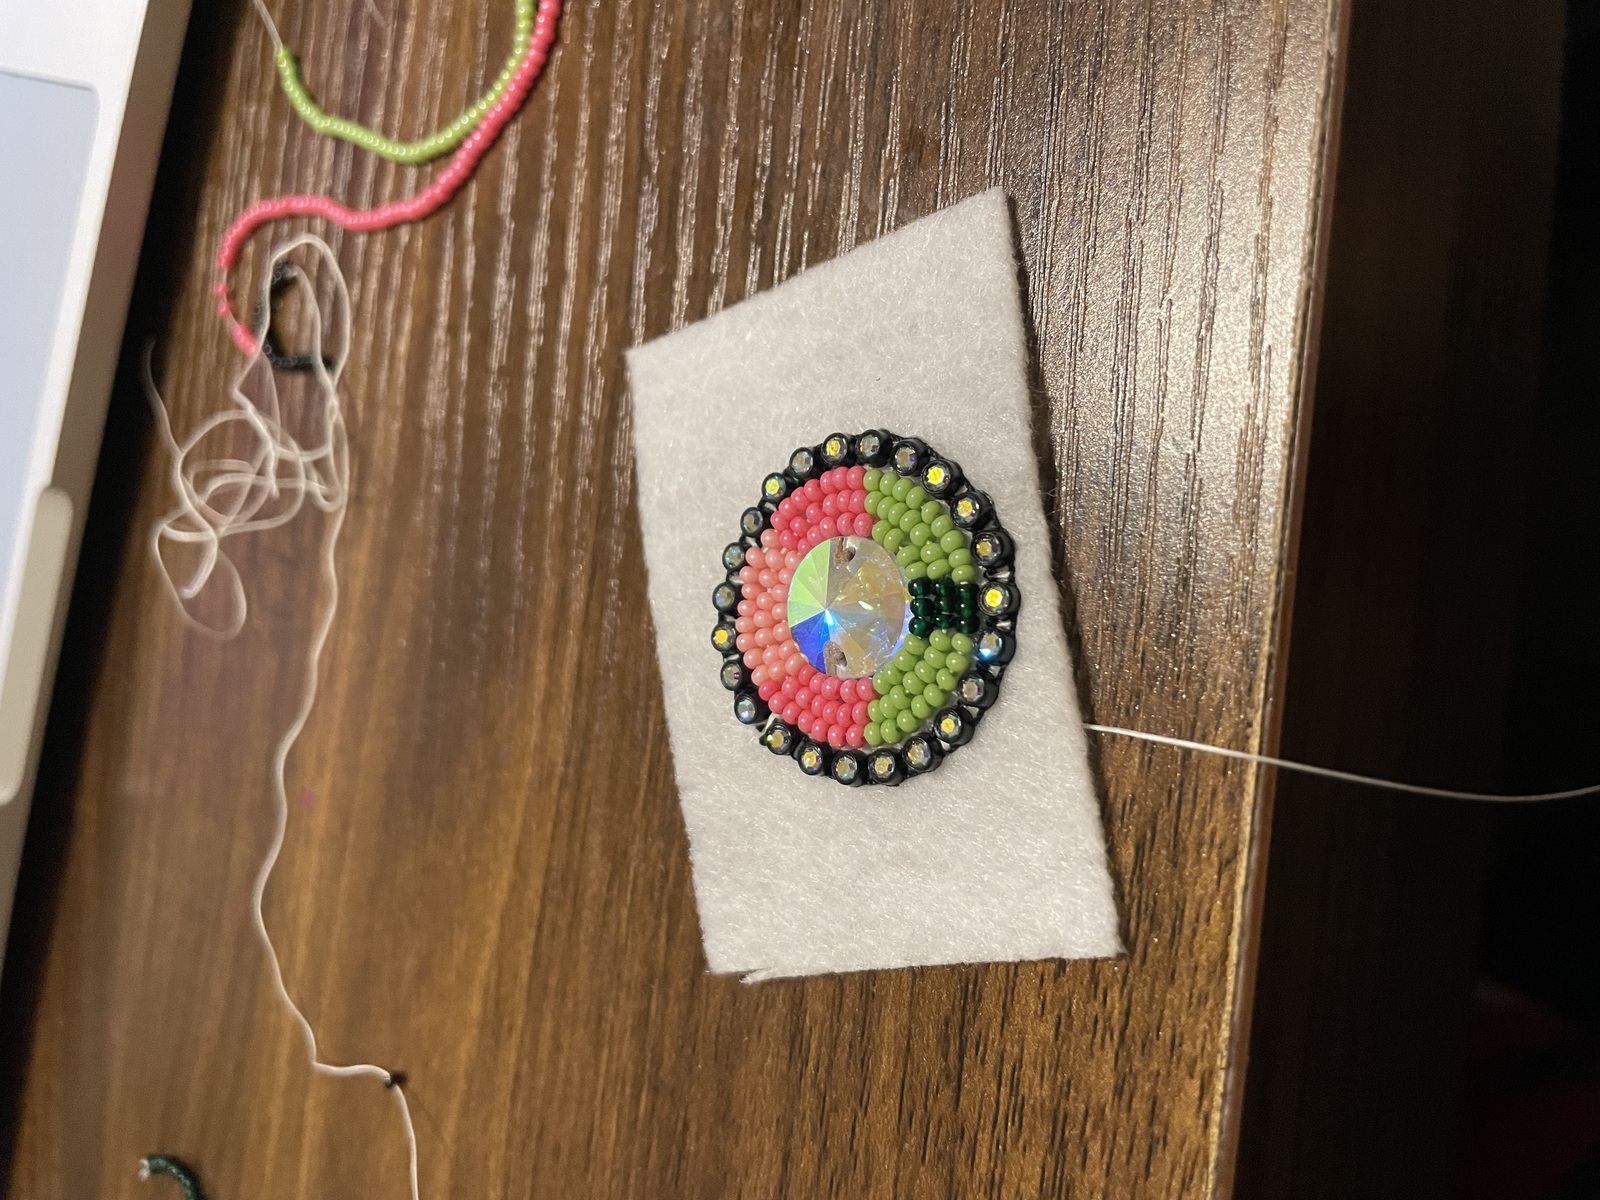
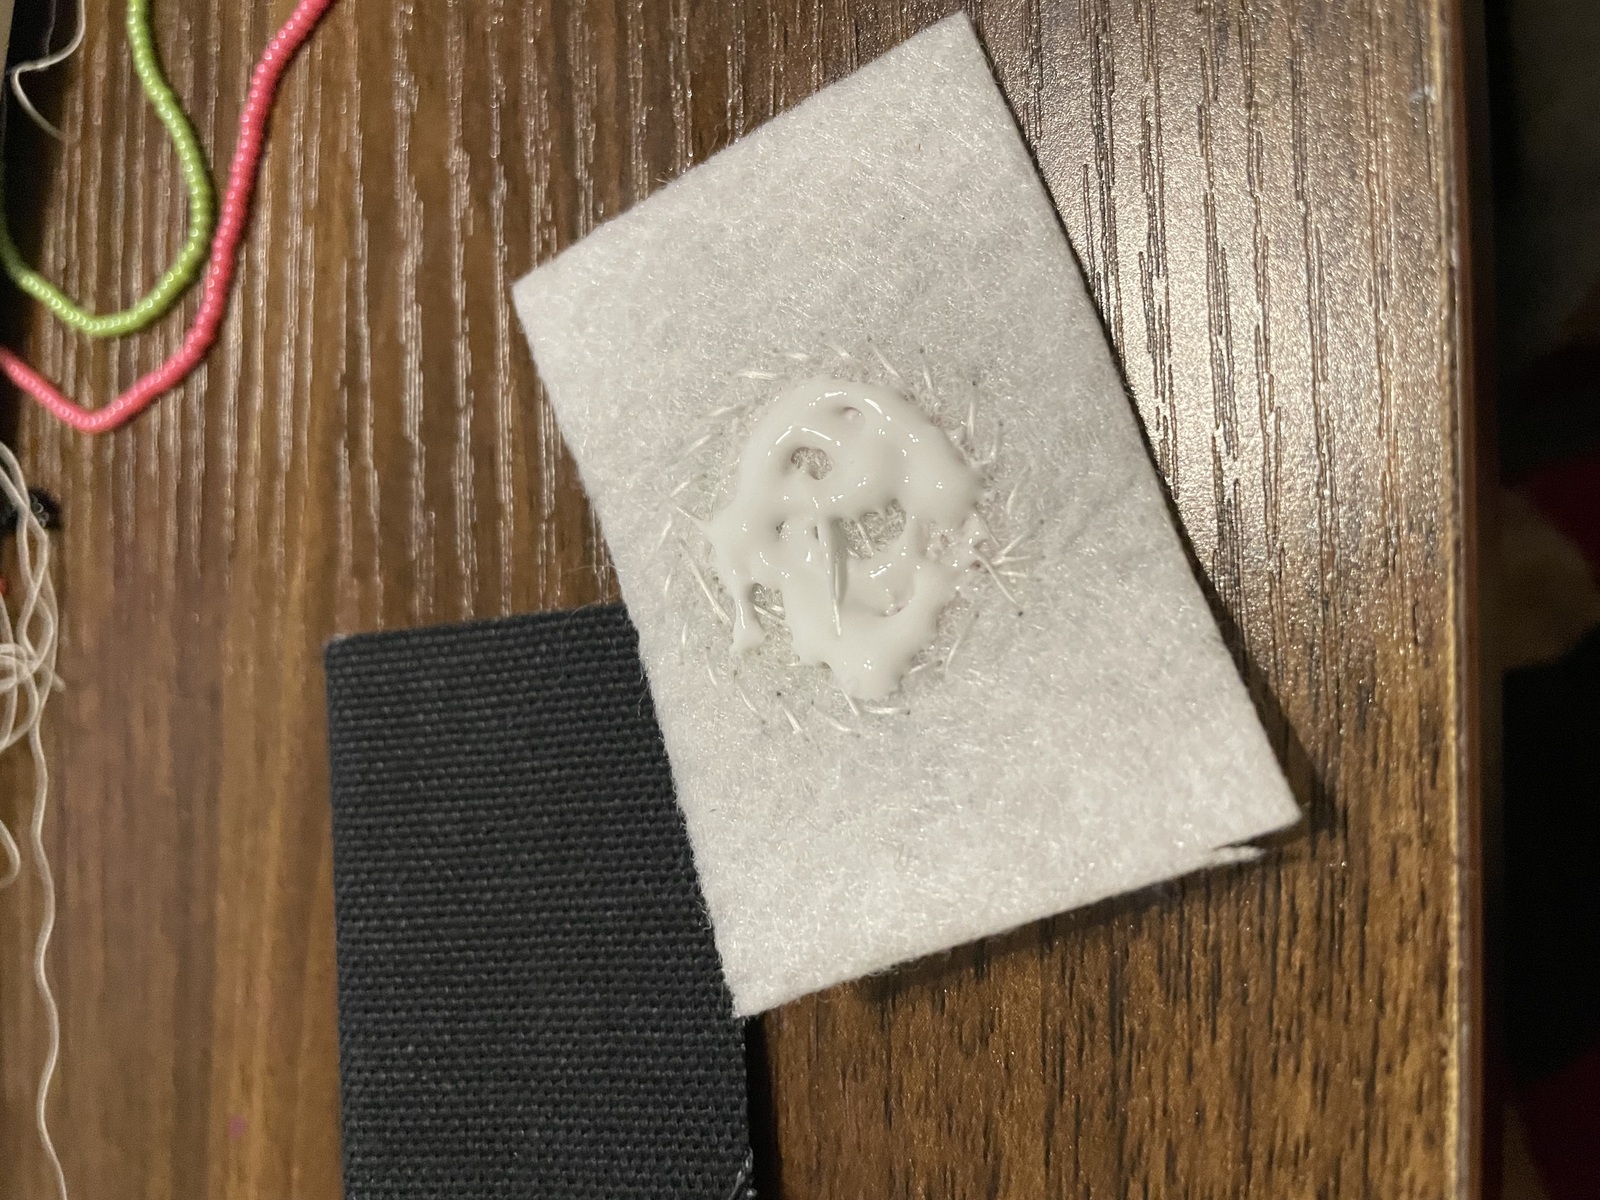
- Glue on backing with tacky clue and let dry. Don't glue all the way to the edge.
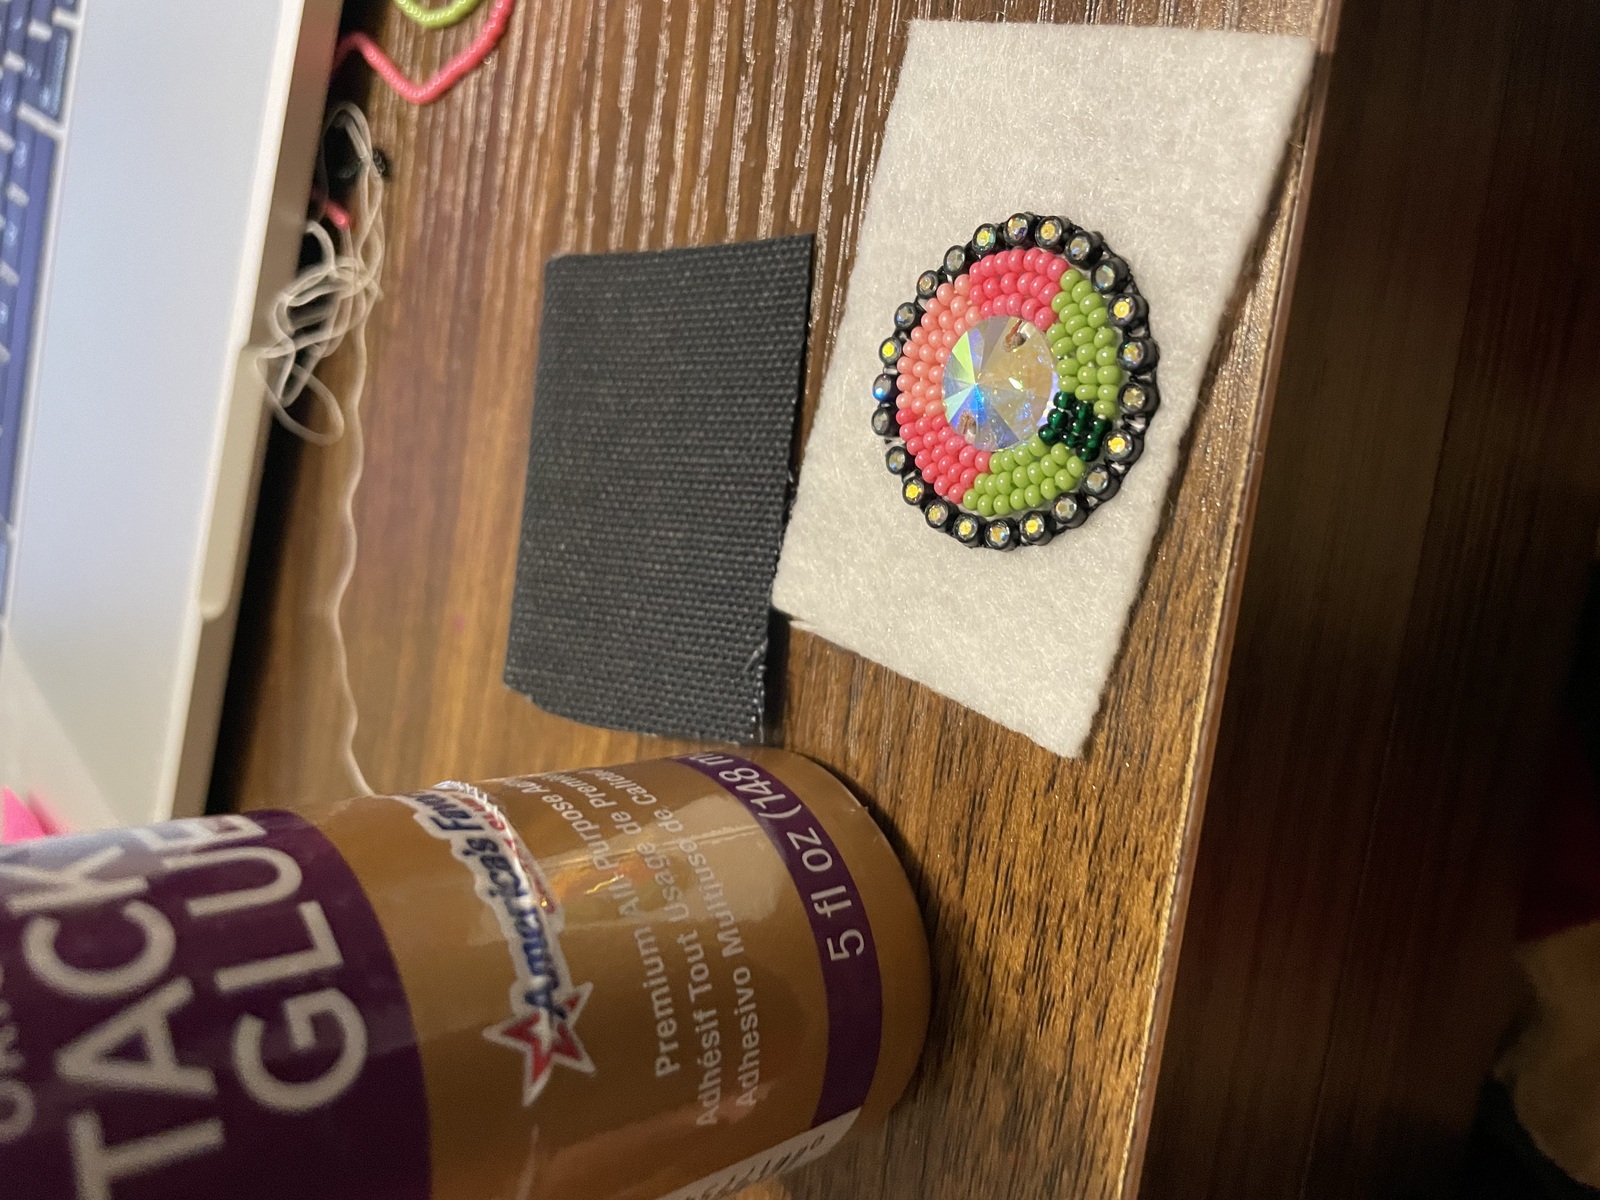
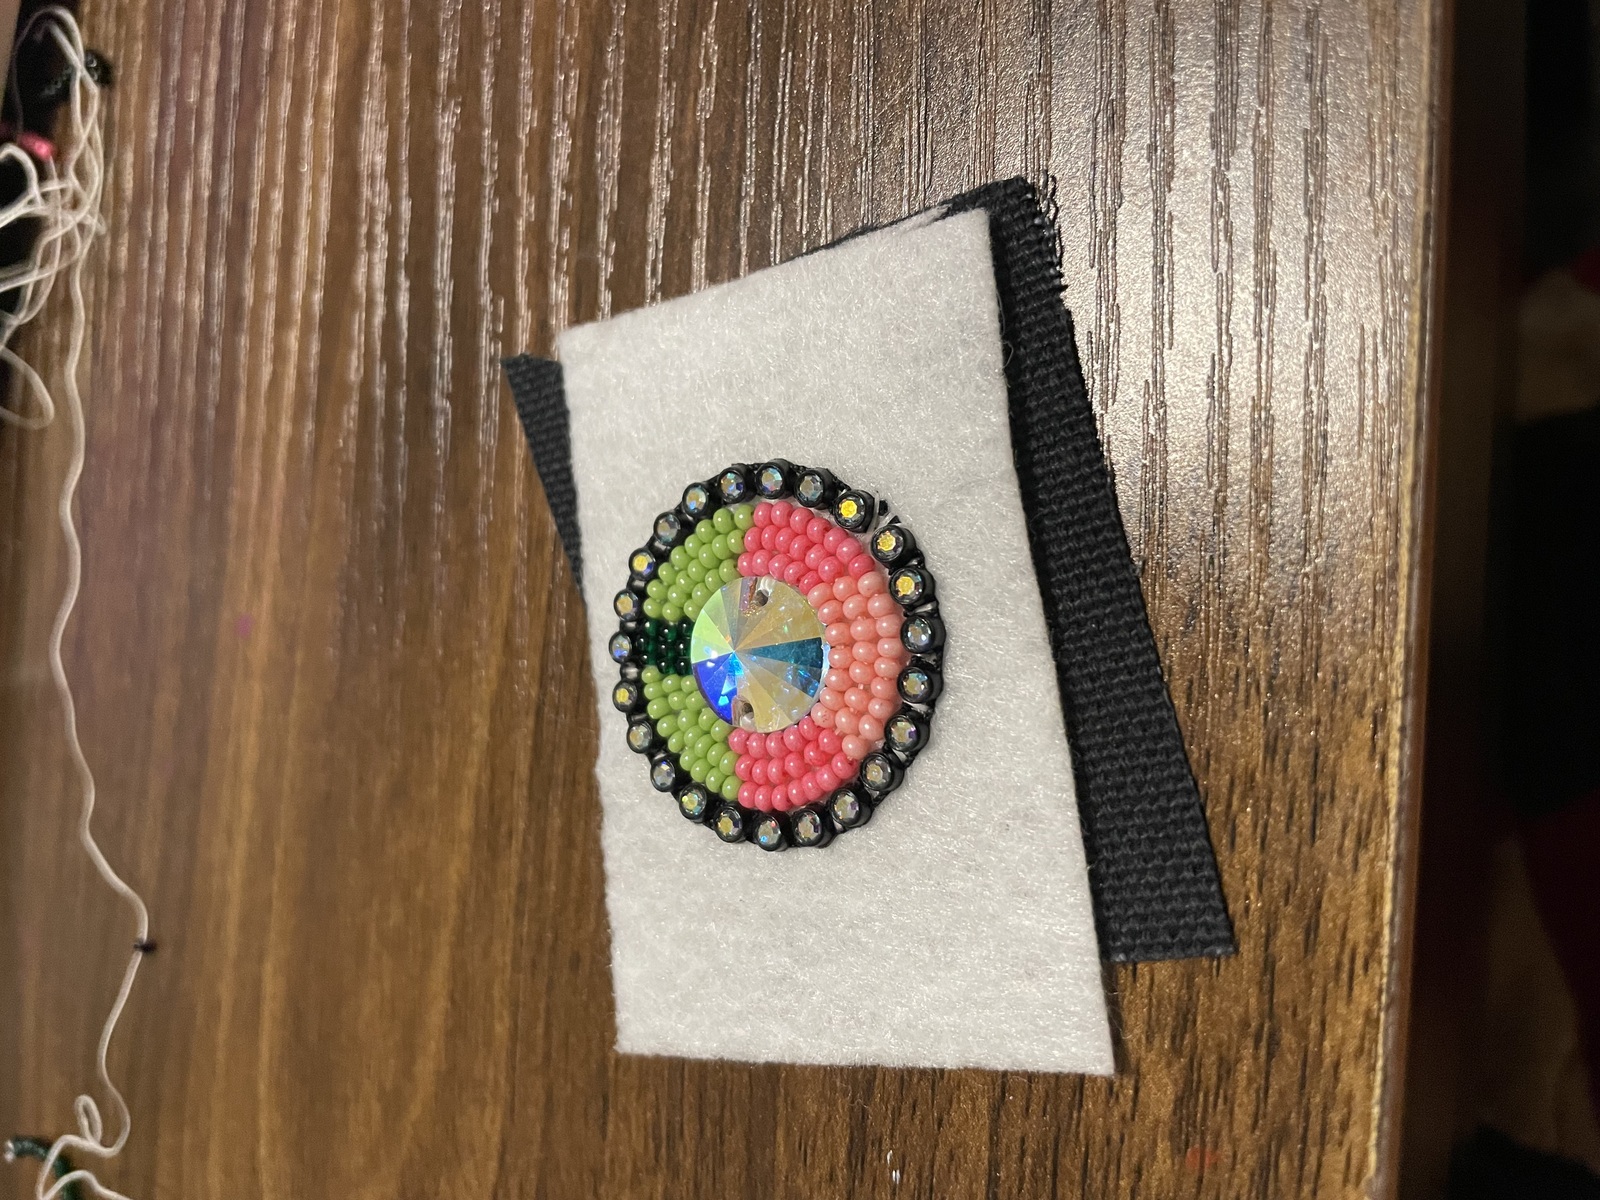
- Cut all layers to the edge of the design.
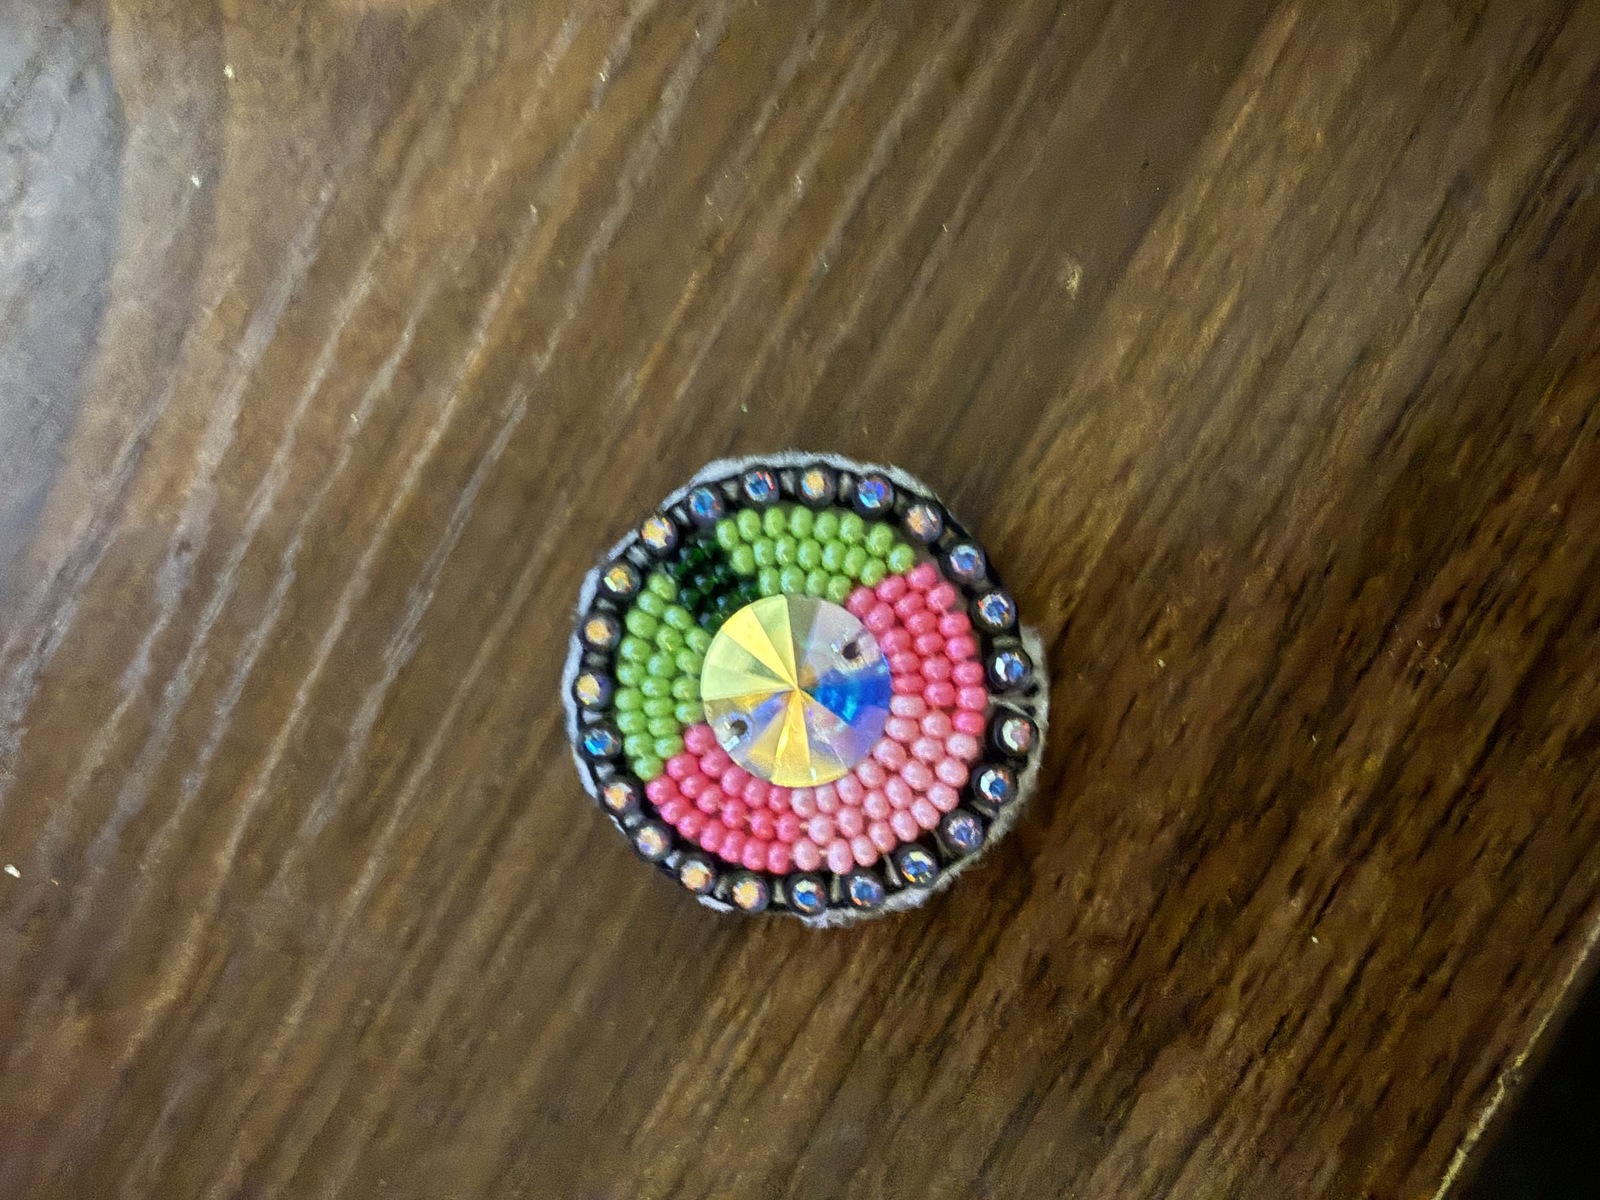
- Edge the piece to join the two layers.
- Hide knot in between the layers.
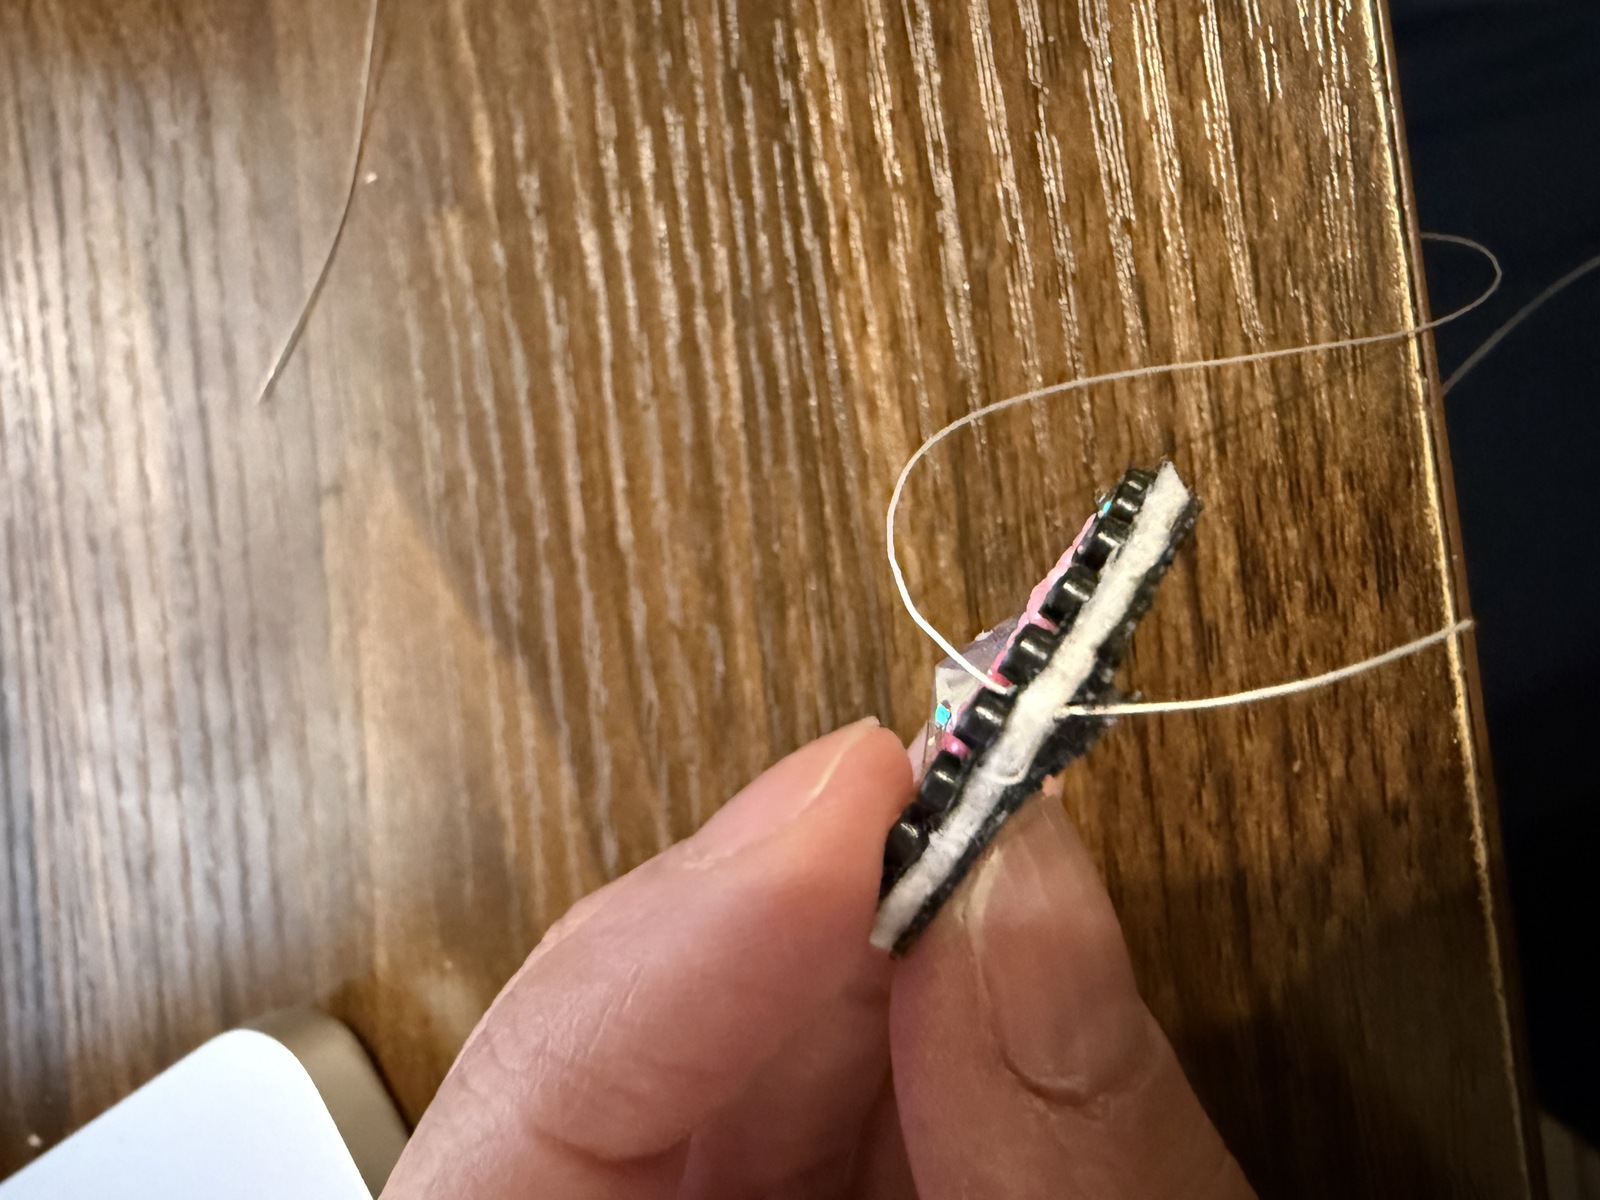
- Start with two beads. Go around the piece from back to front going back up through the second bead.
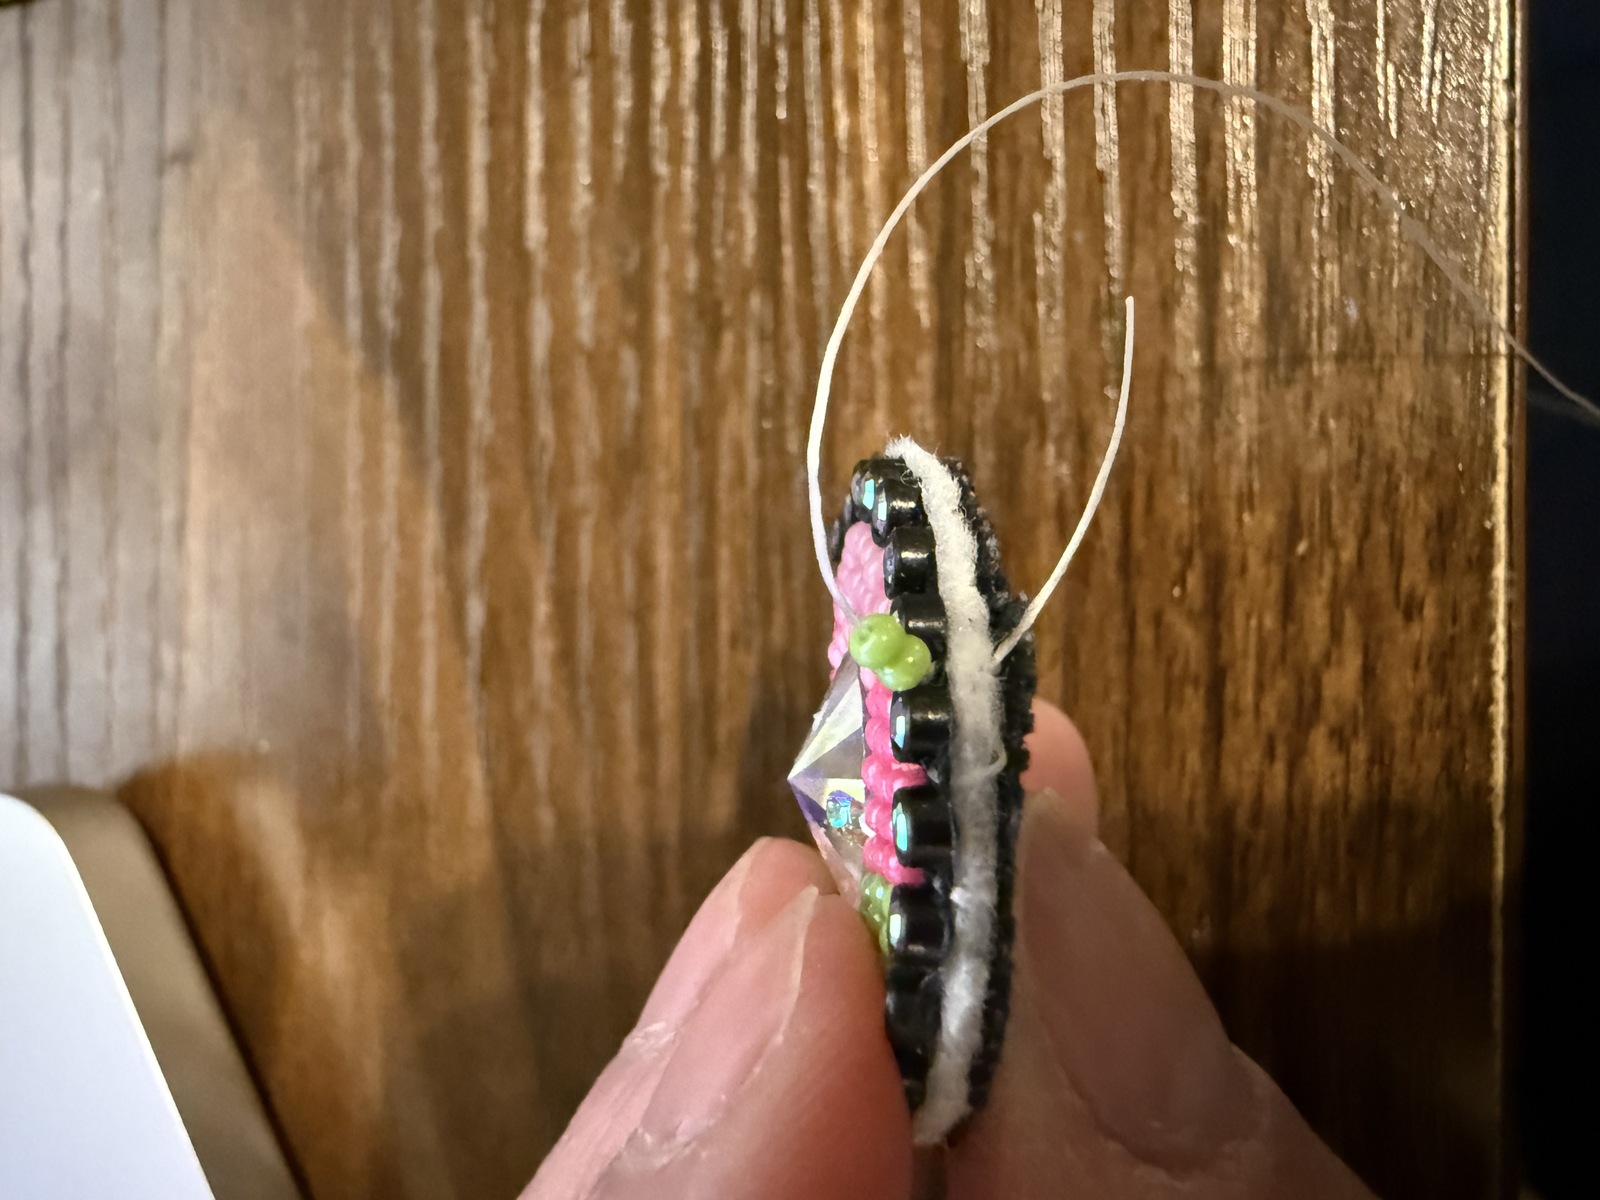
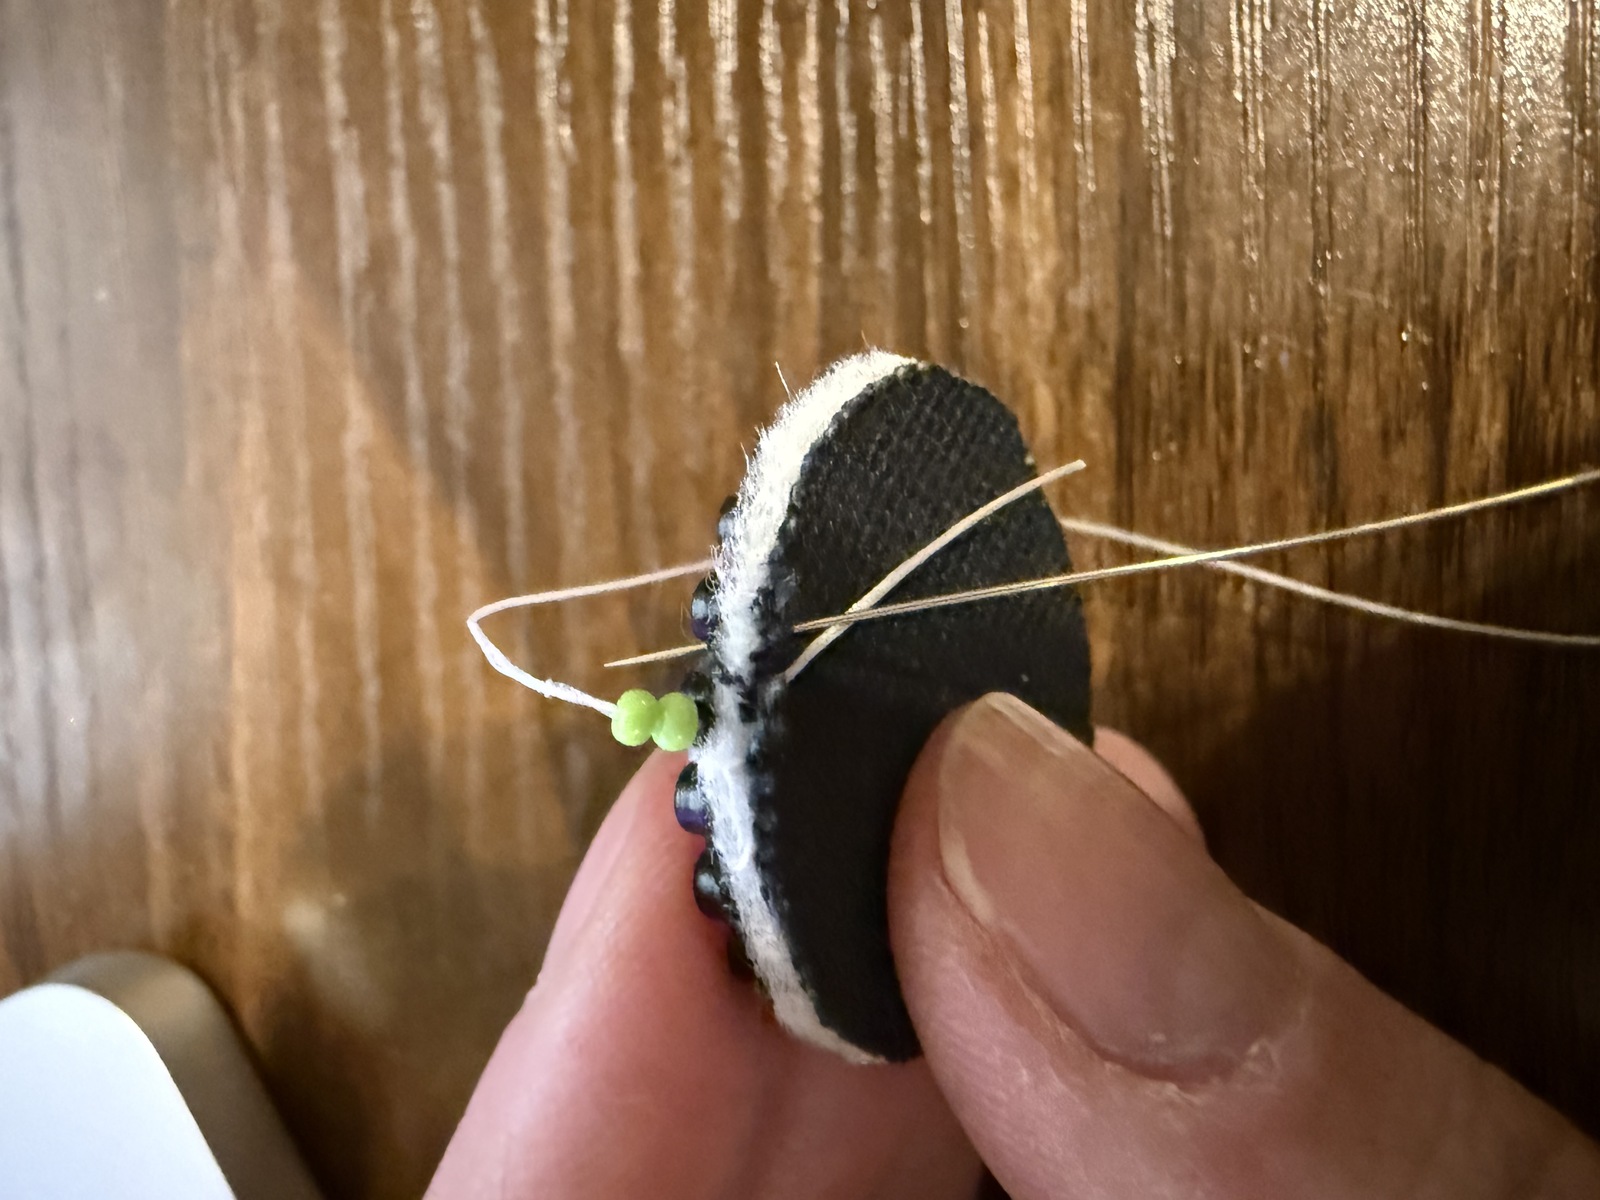
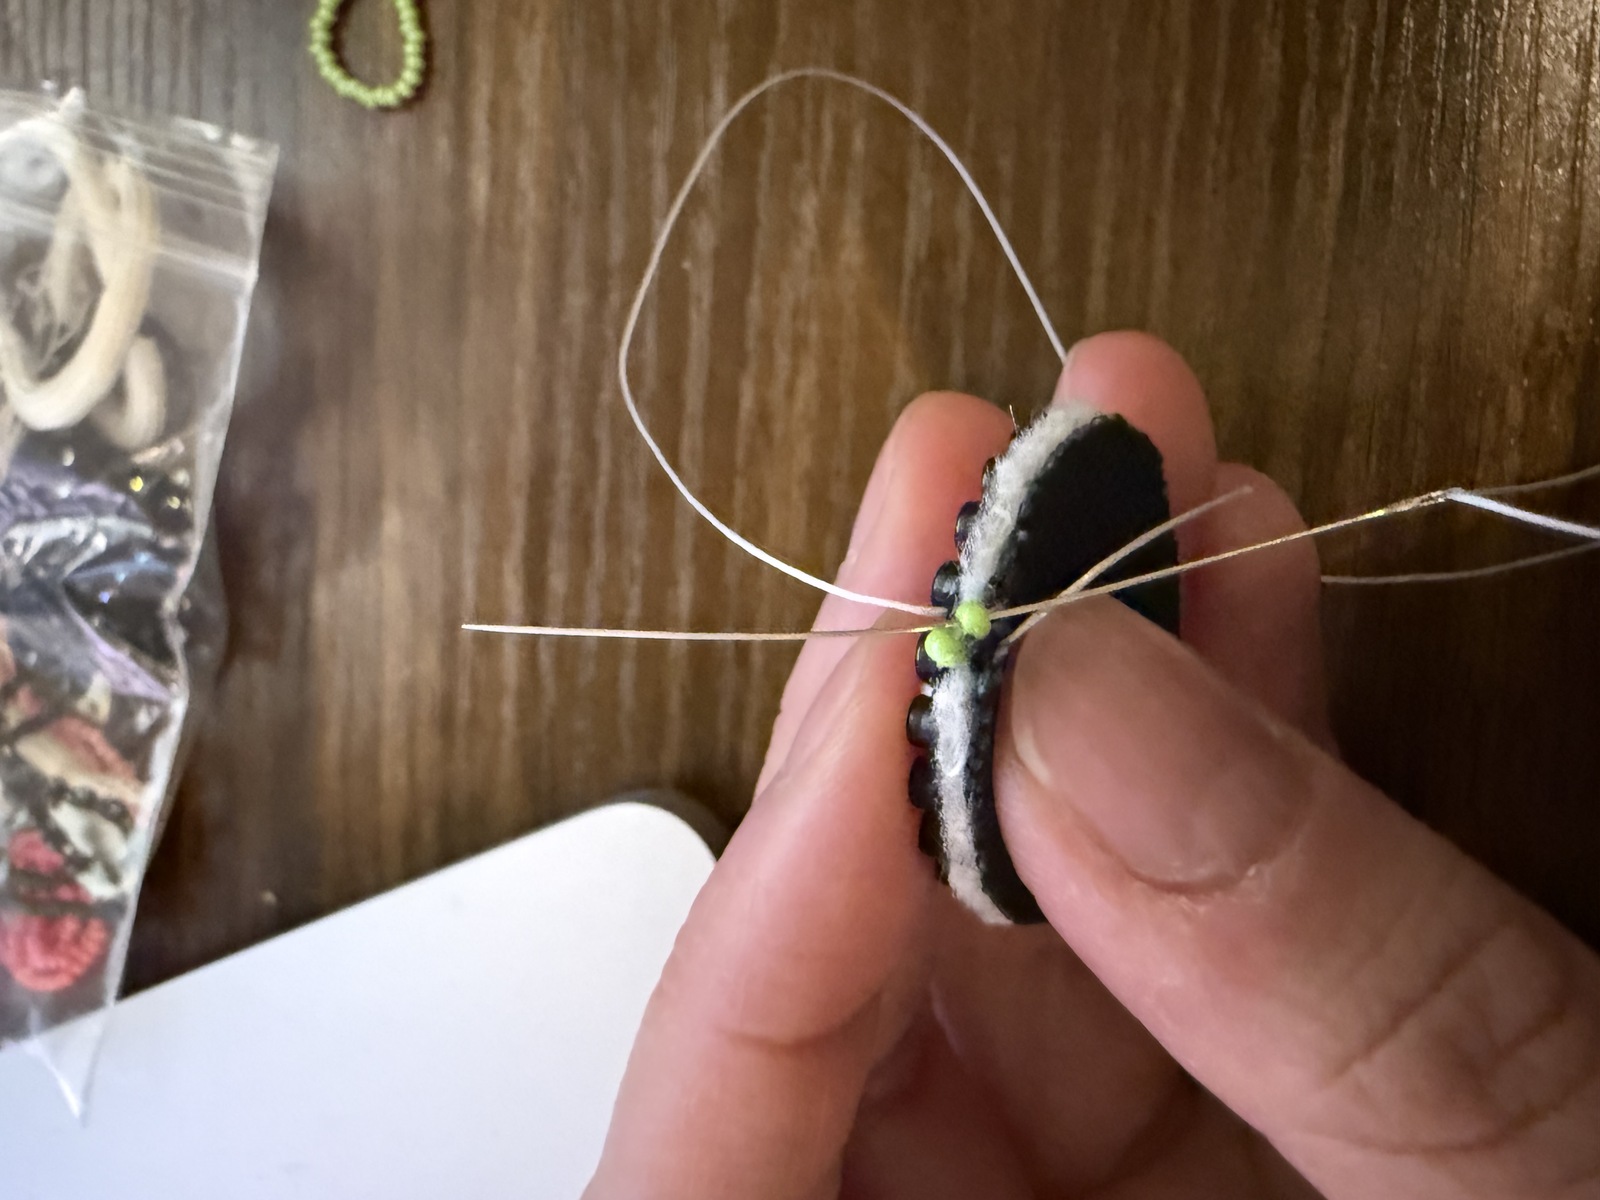
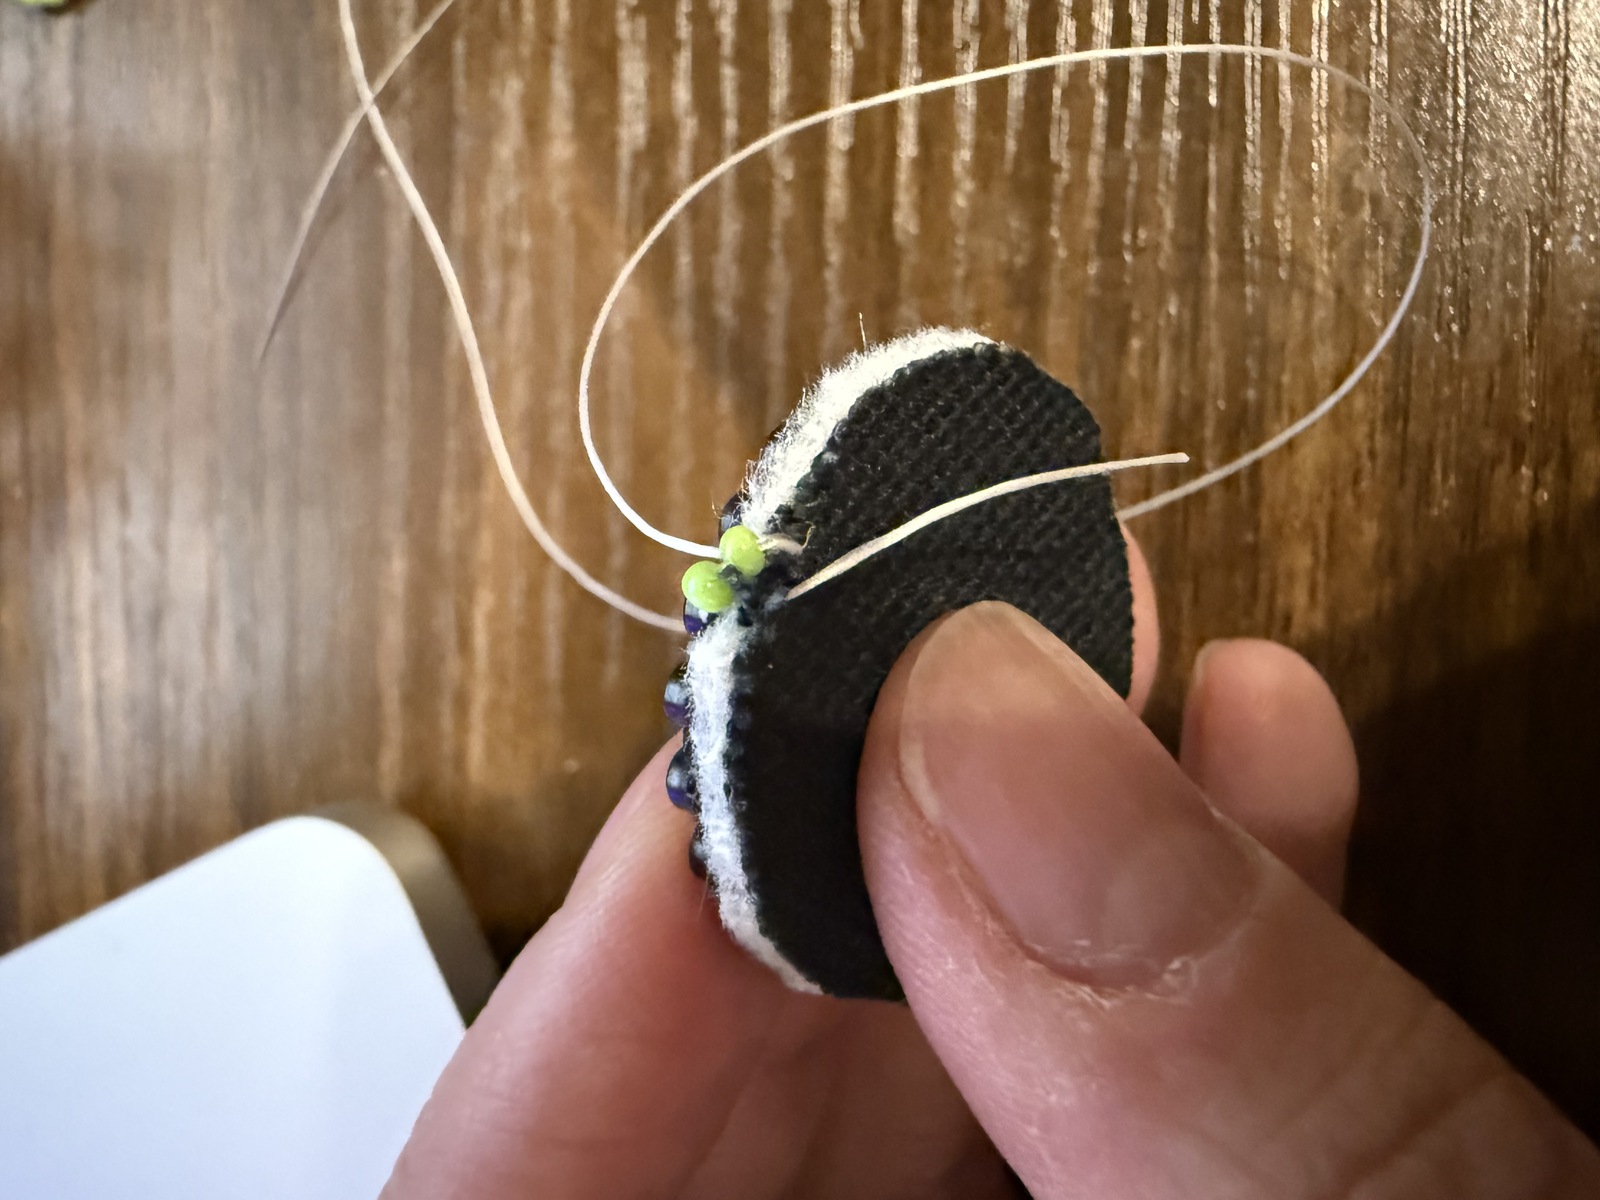
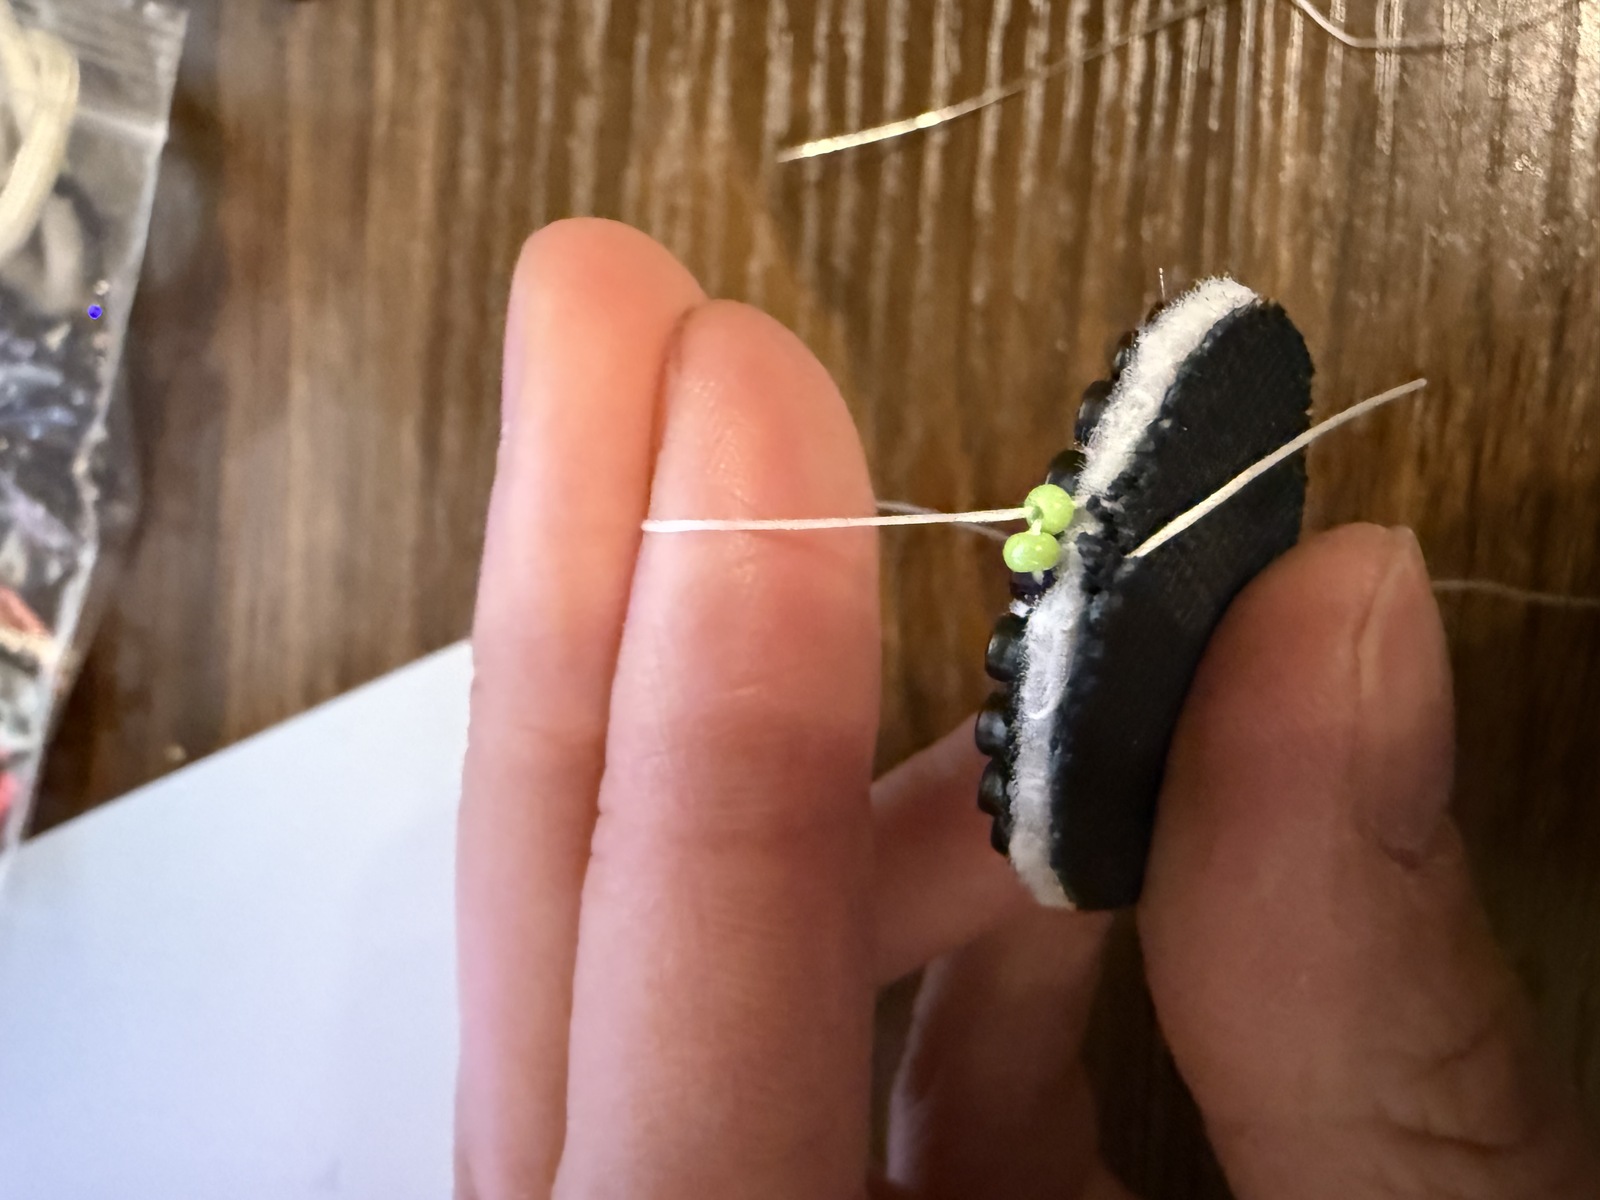
- Then add one bead at a time until you complete the whole edge.
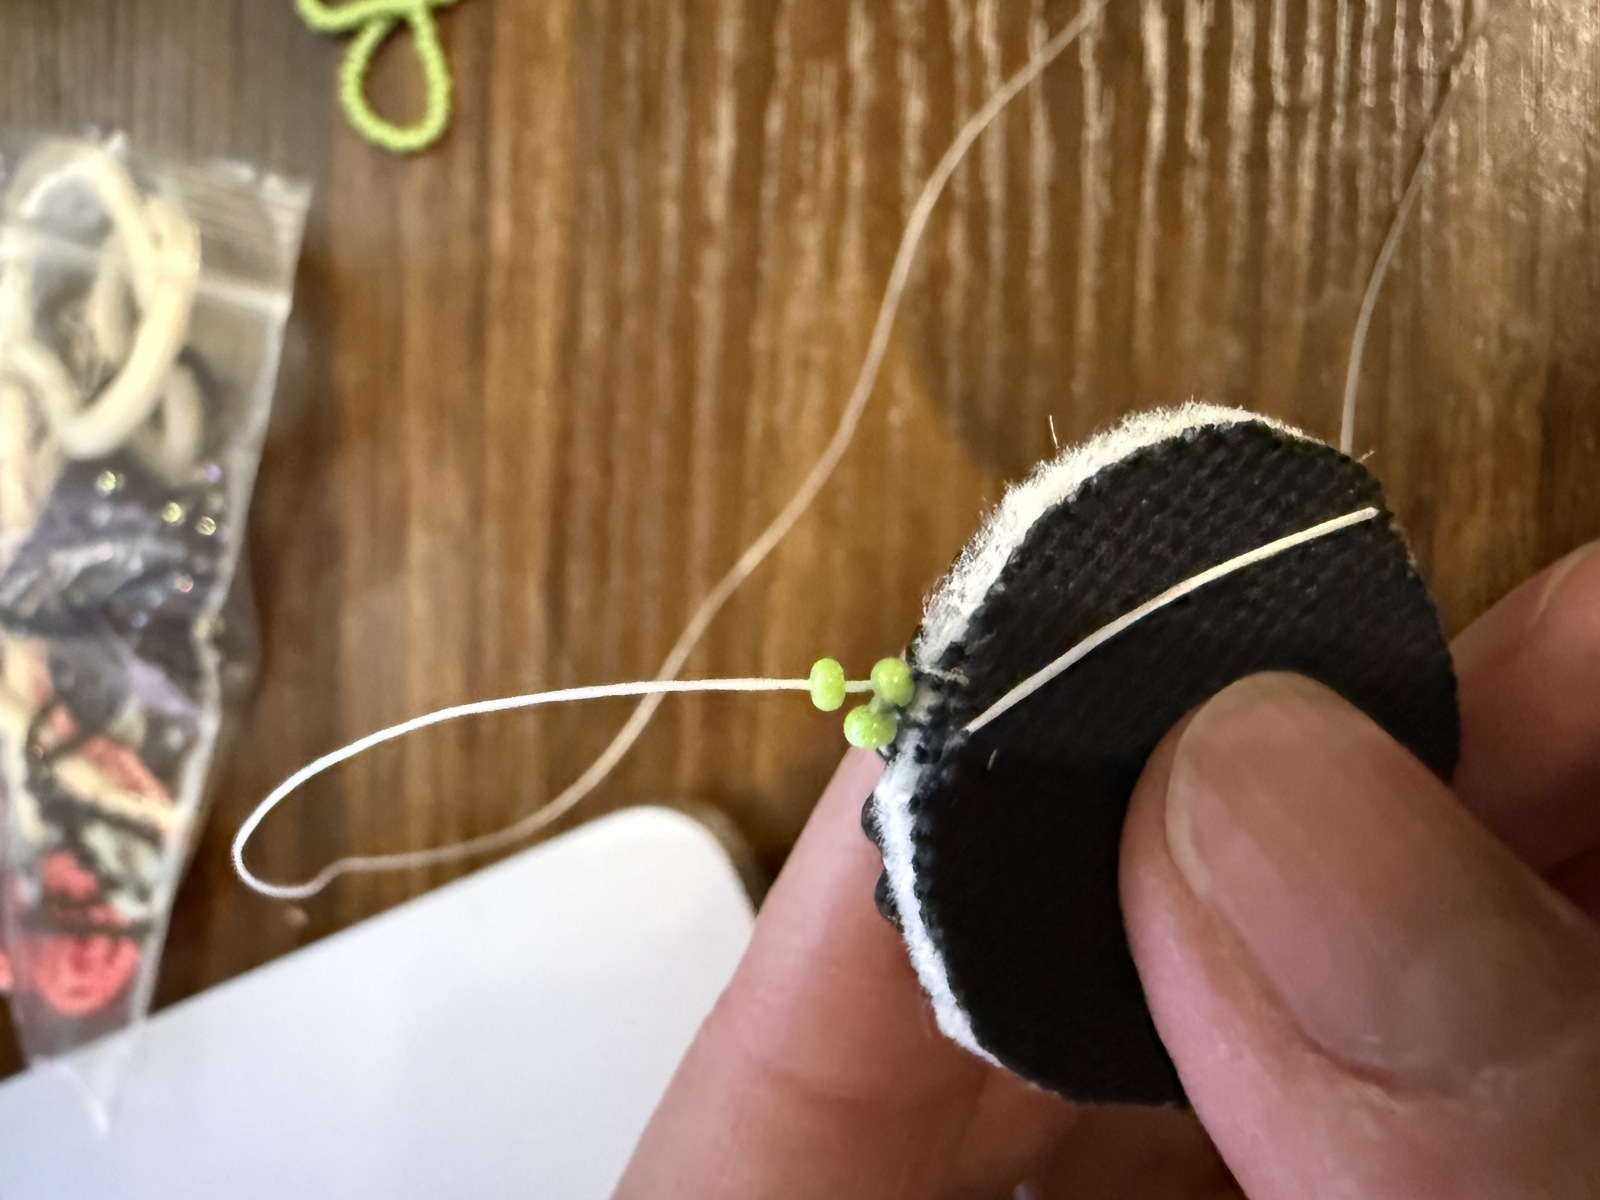
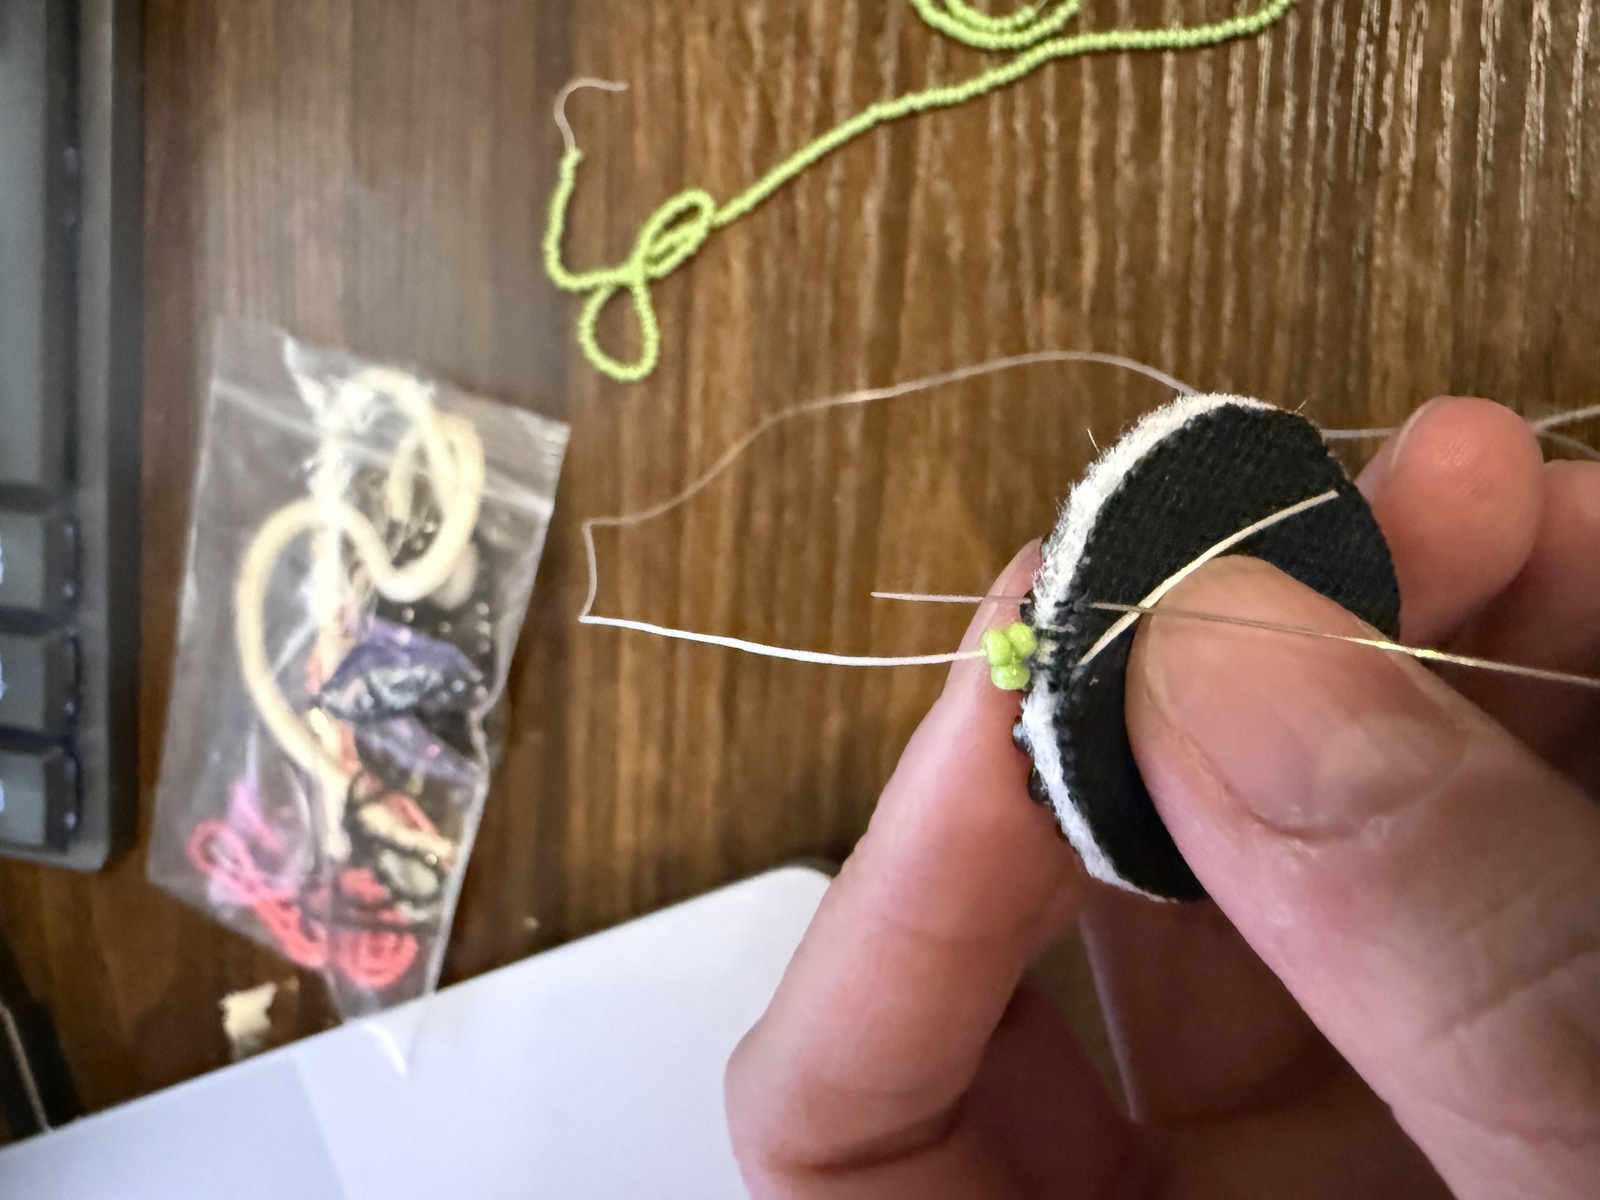
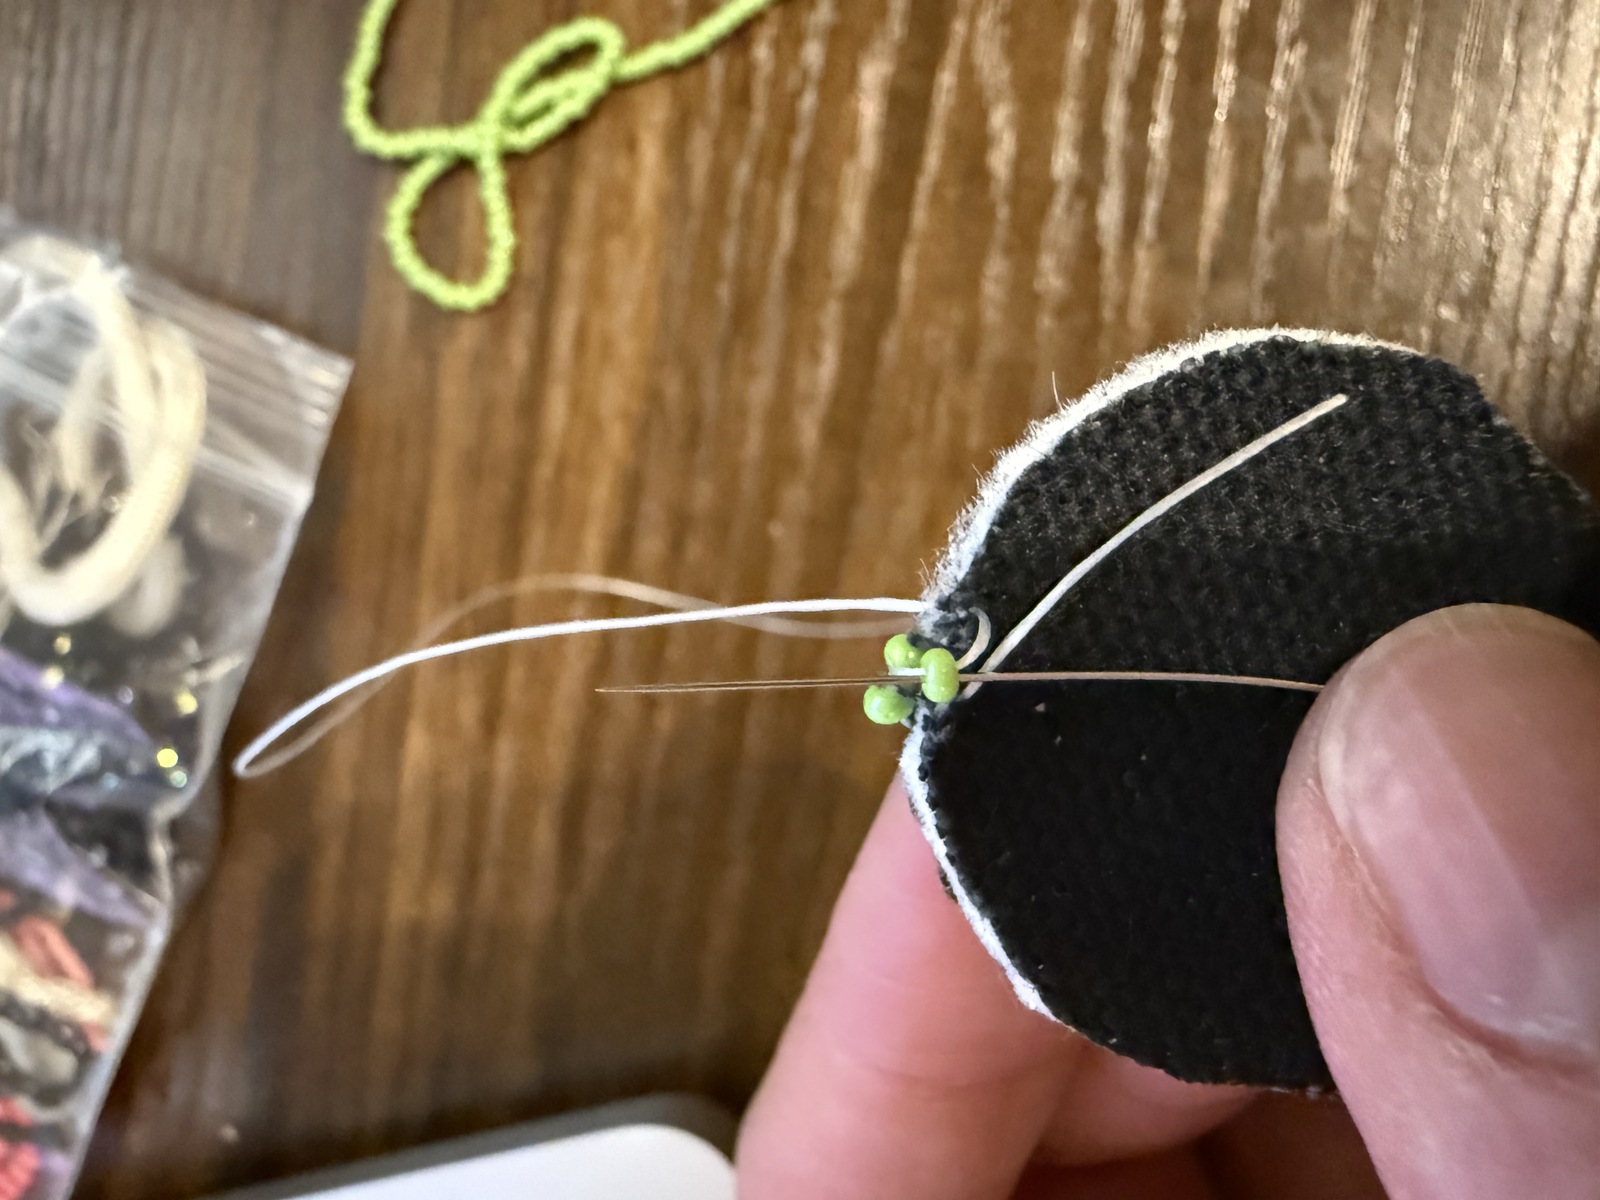
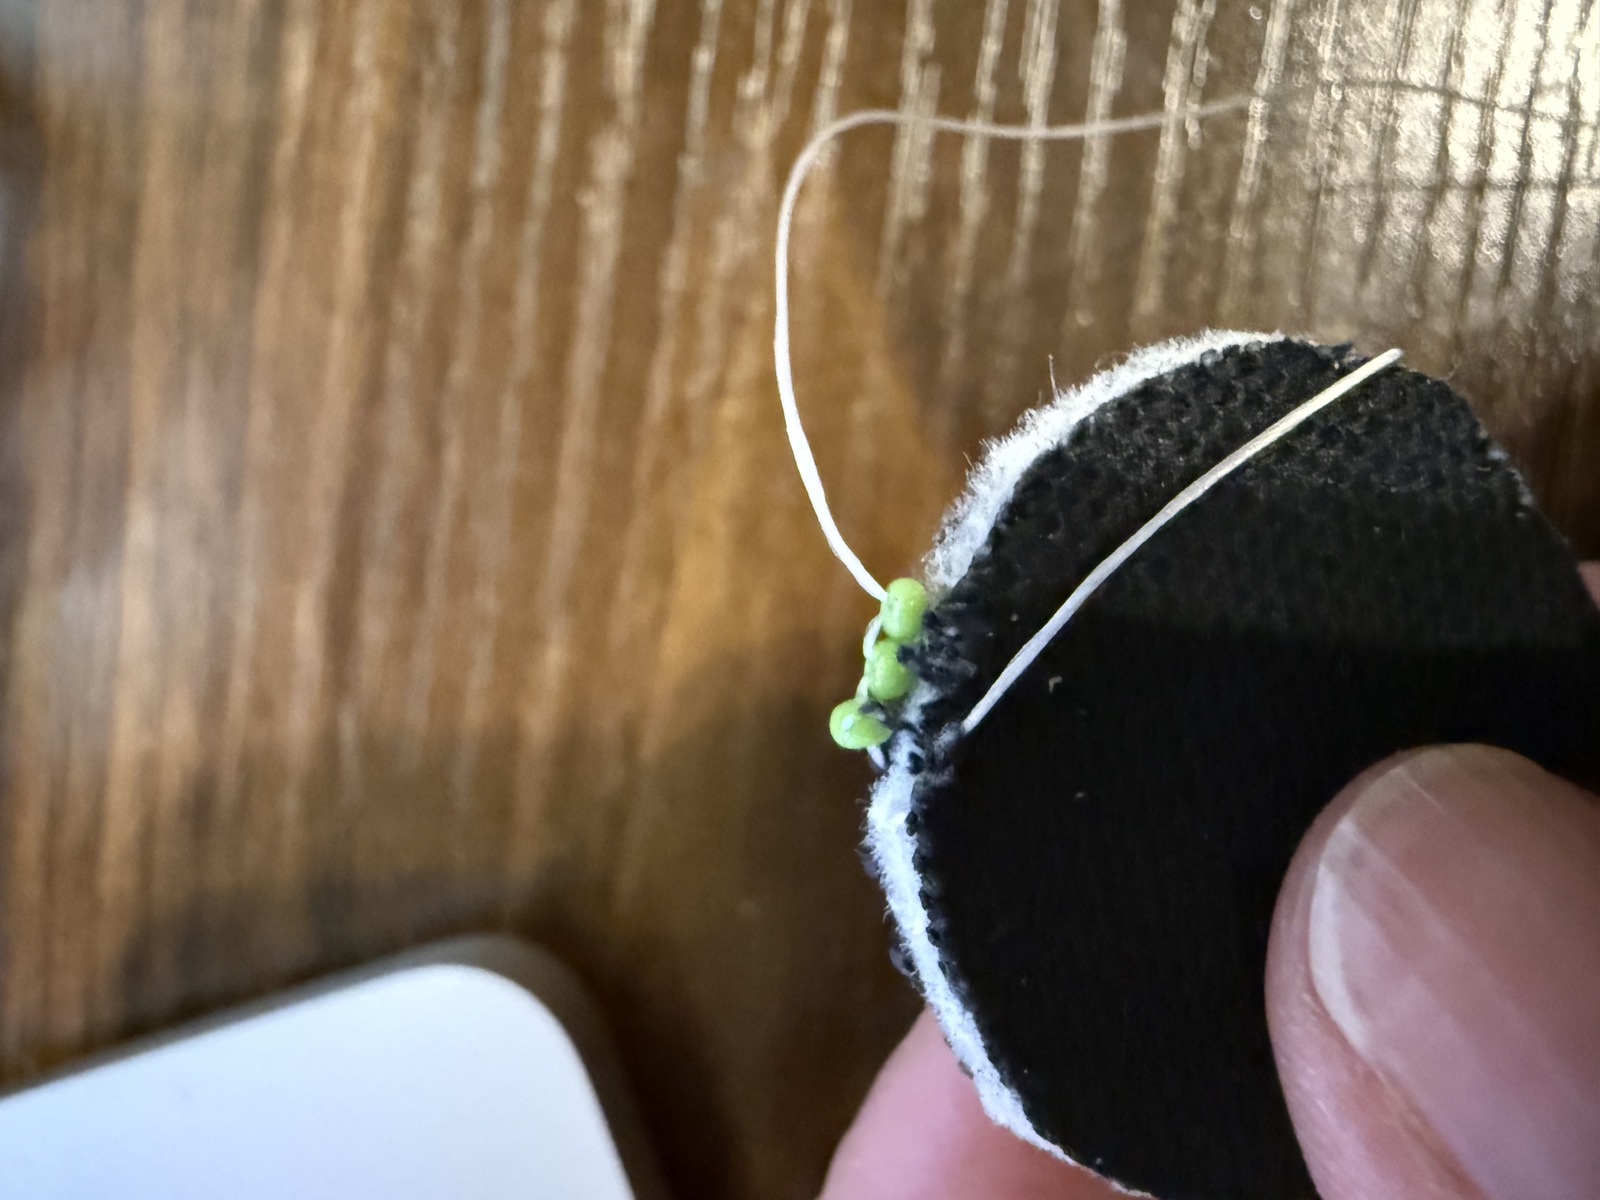
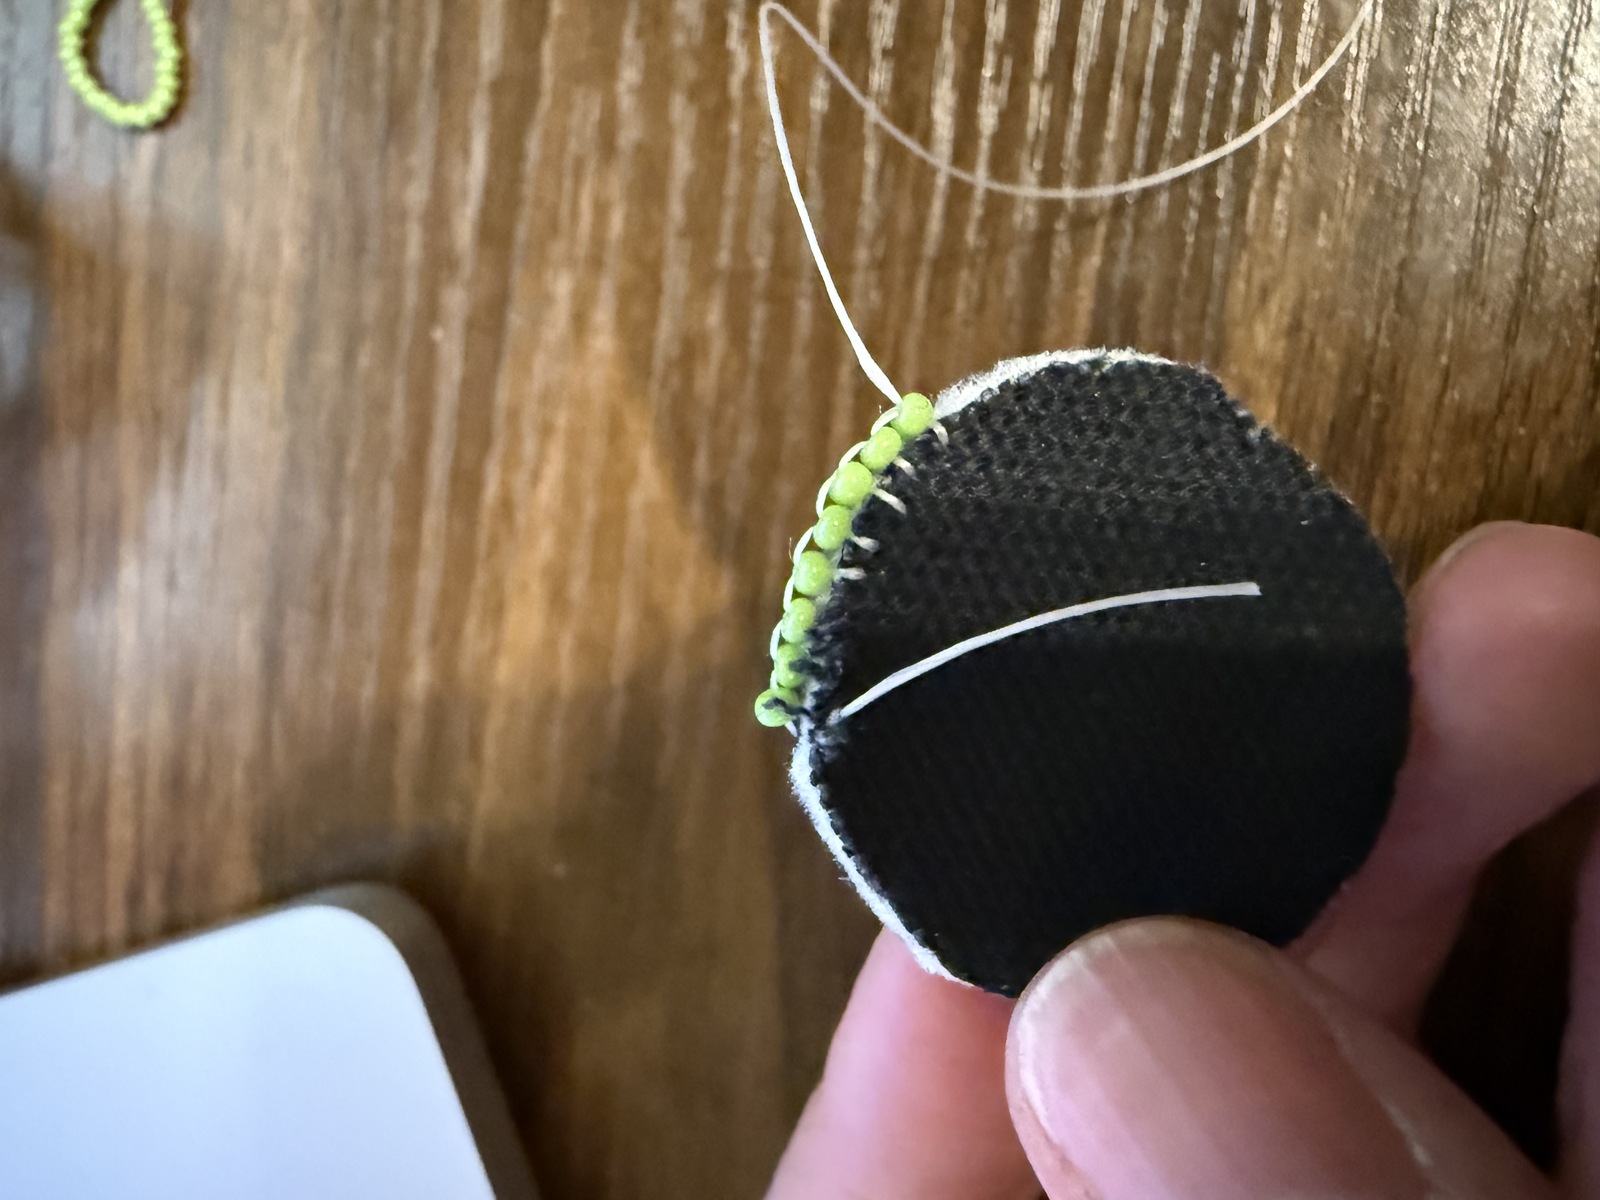
- Make sure beads aren't crowded
- When you get to the top, string on earring hook before a bead.
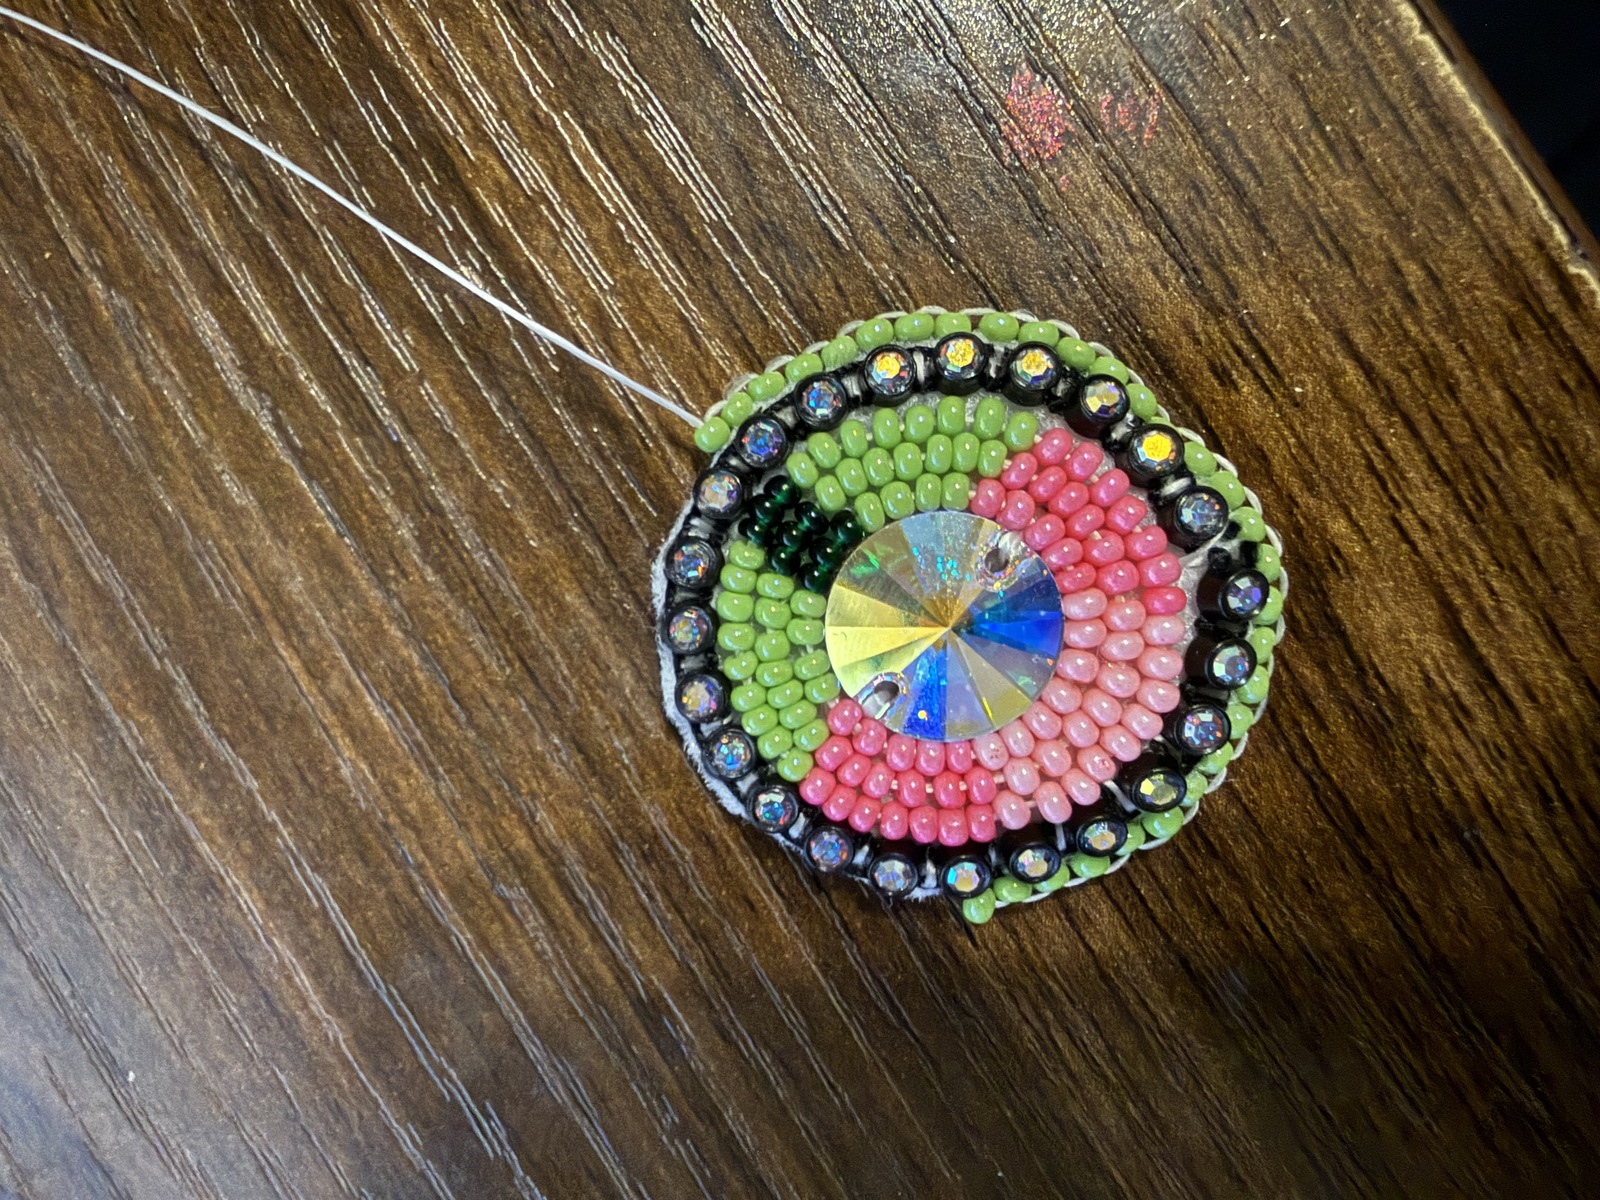
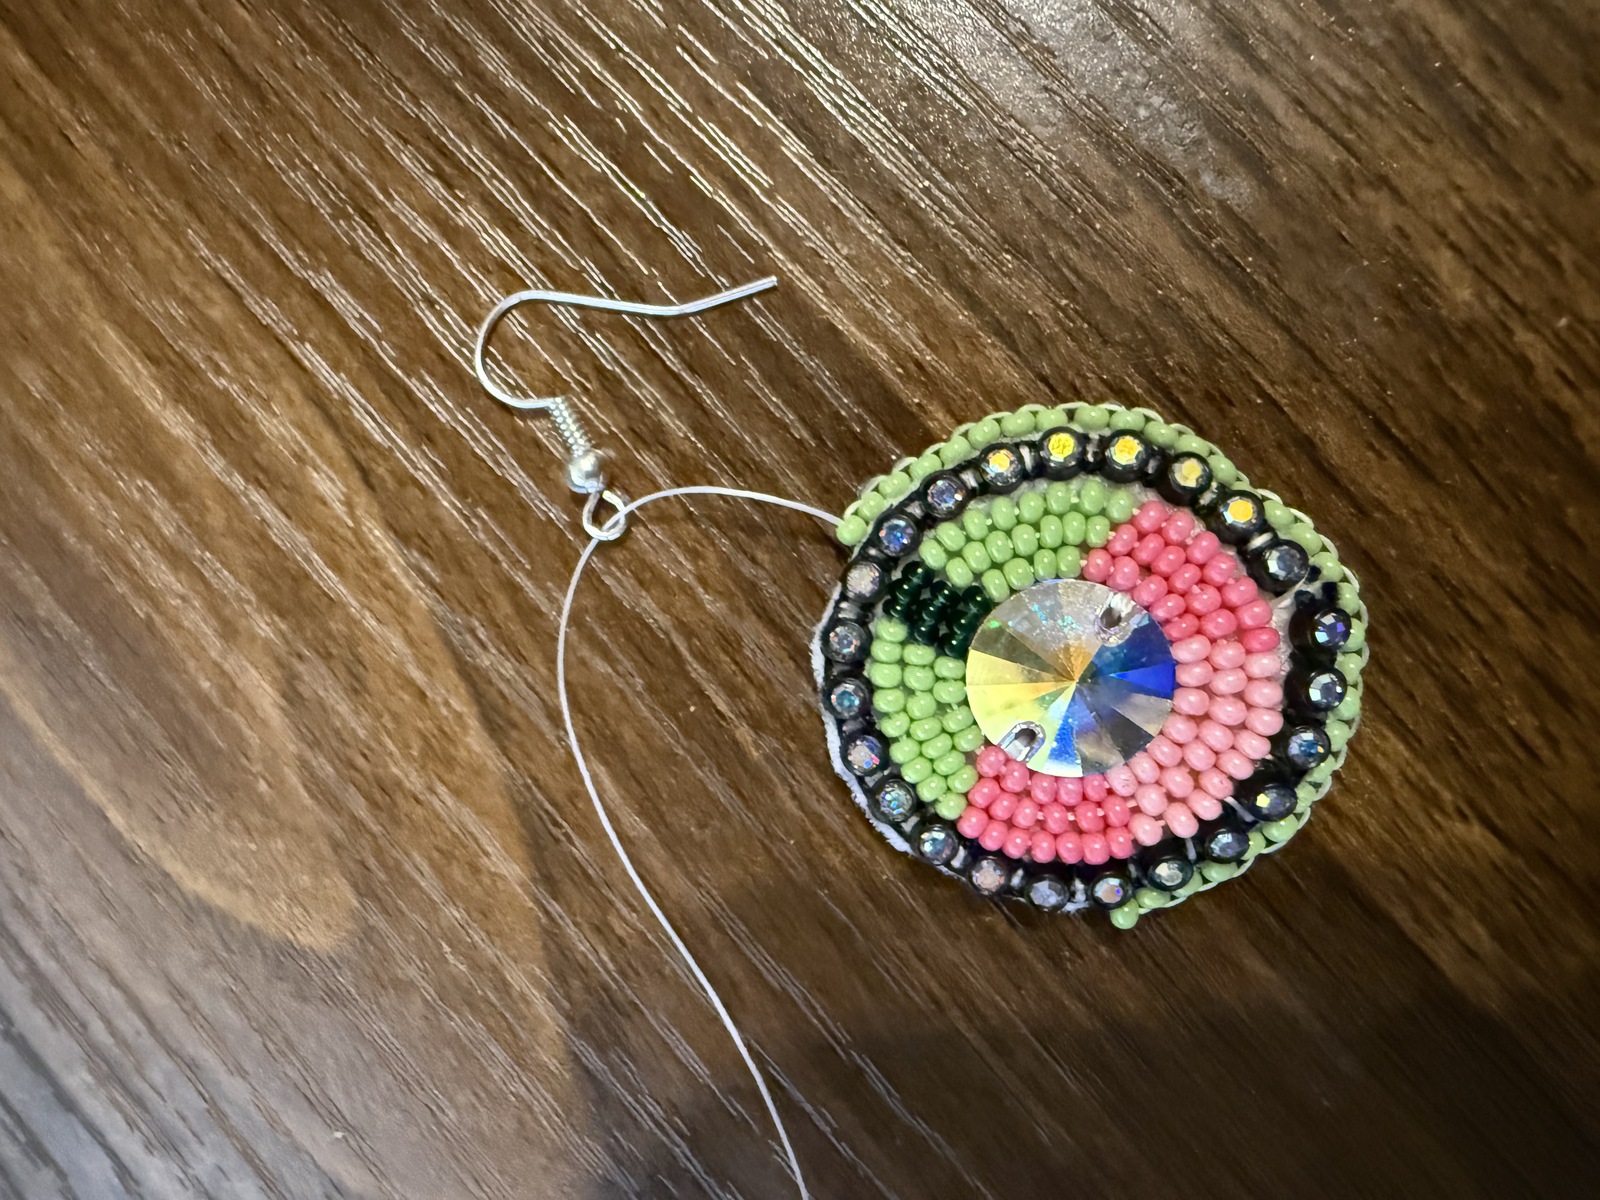
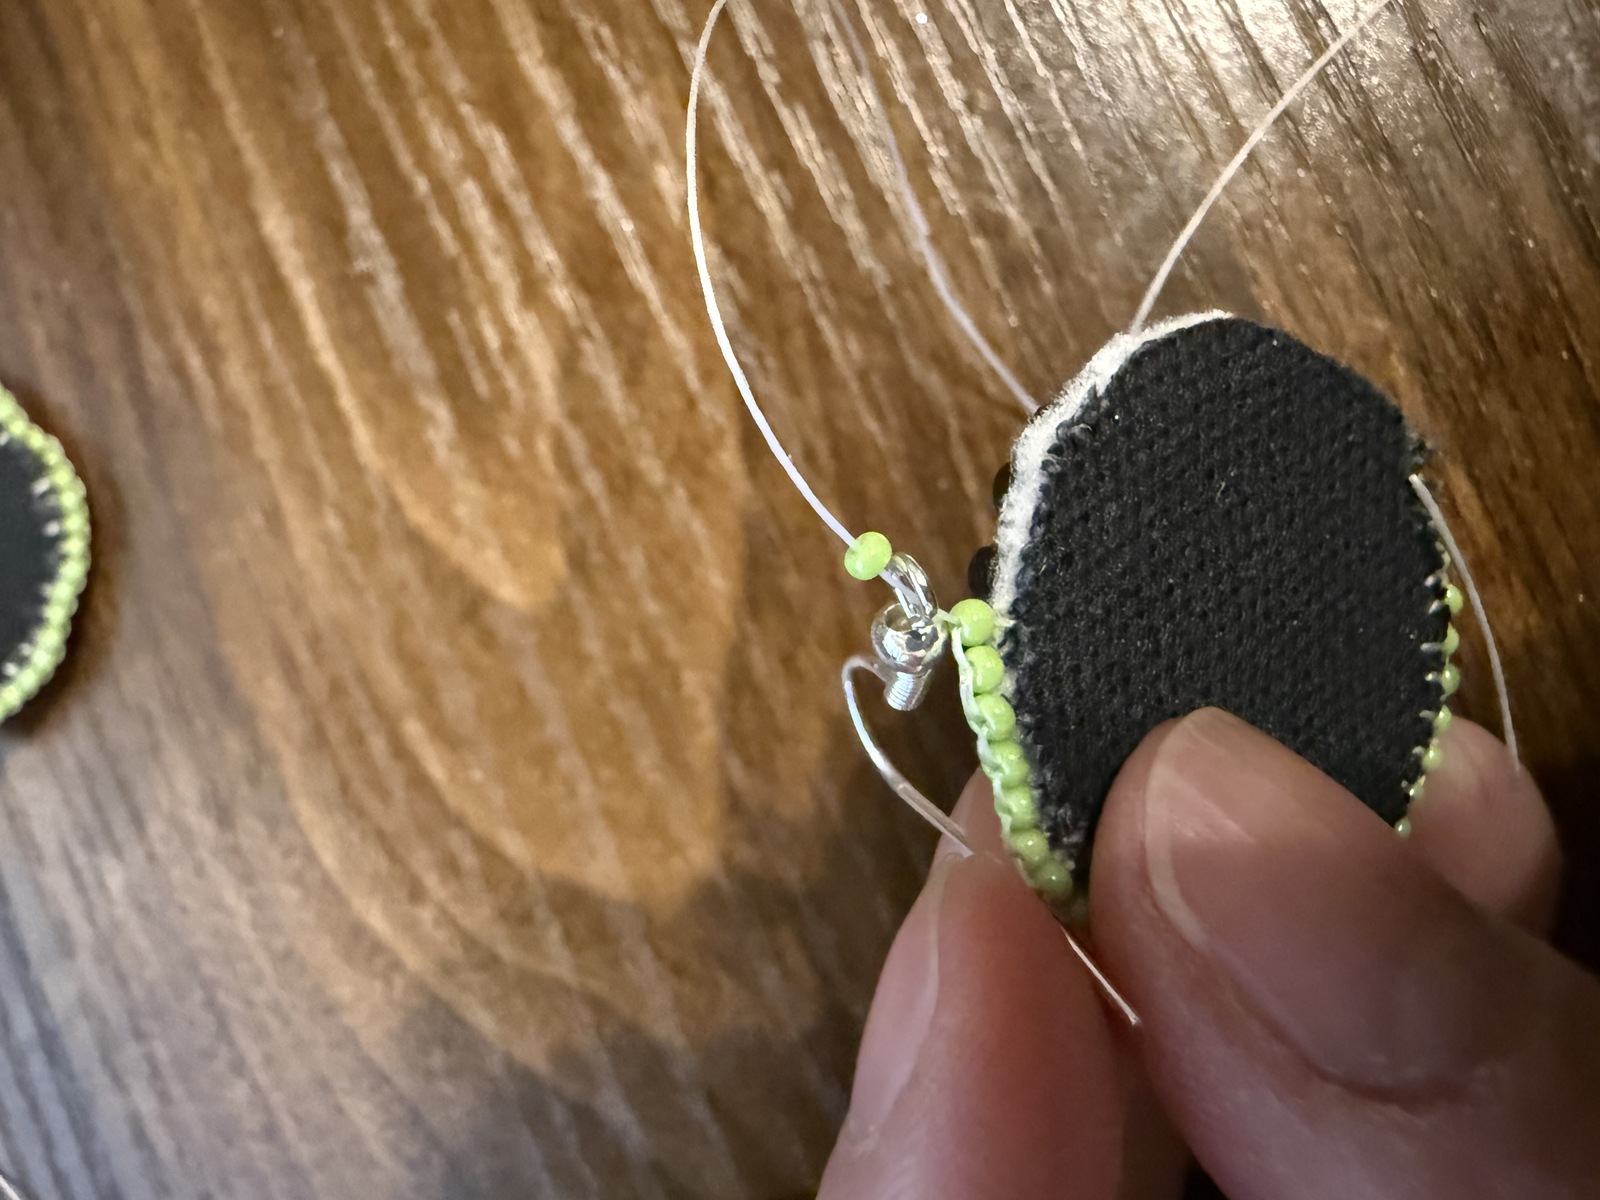
- Reinforce hook by going around just the hook a few times. Go back up through the last bead you put on and continue to edge until you get to the beginning again
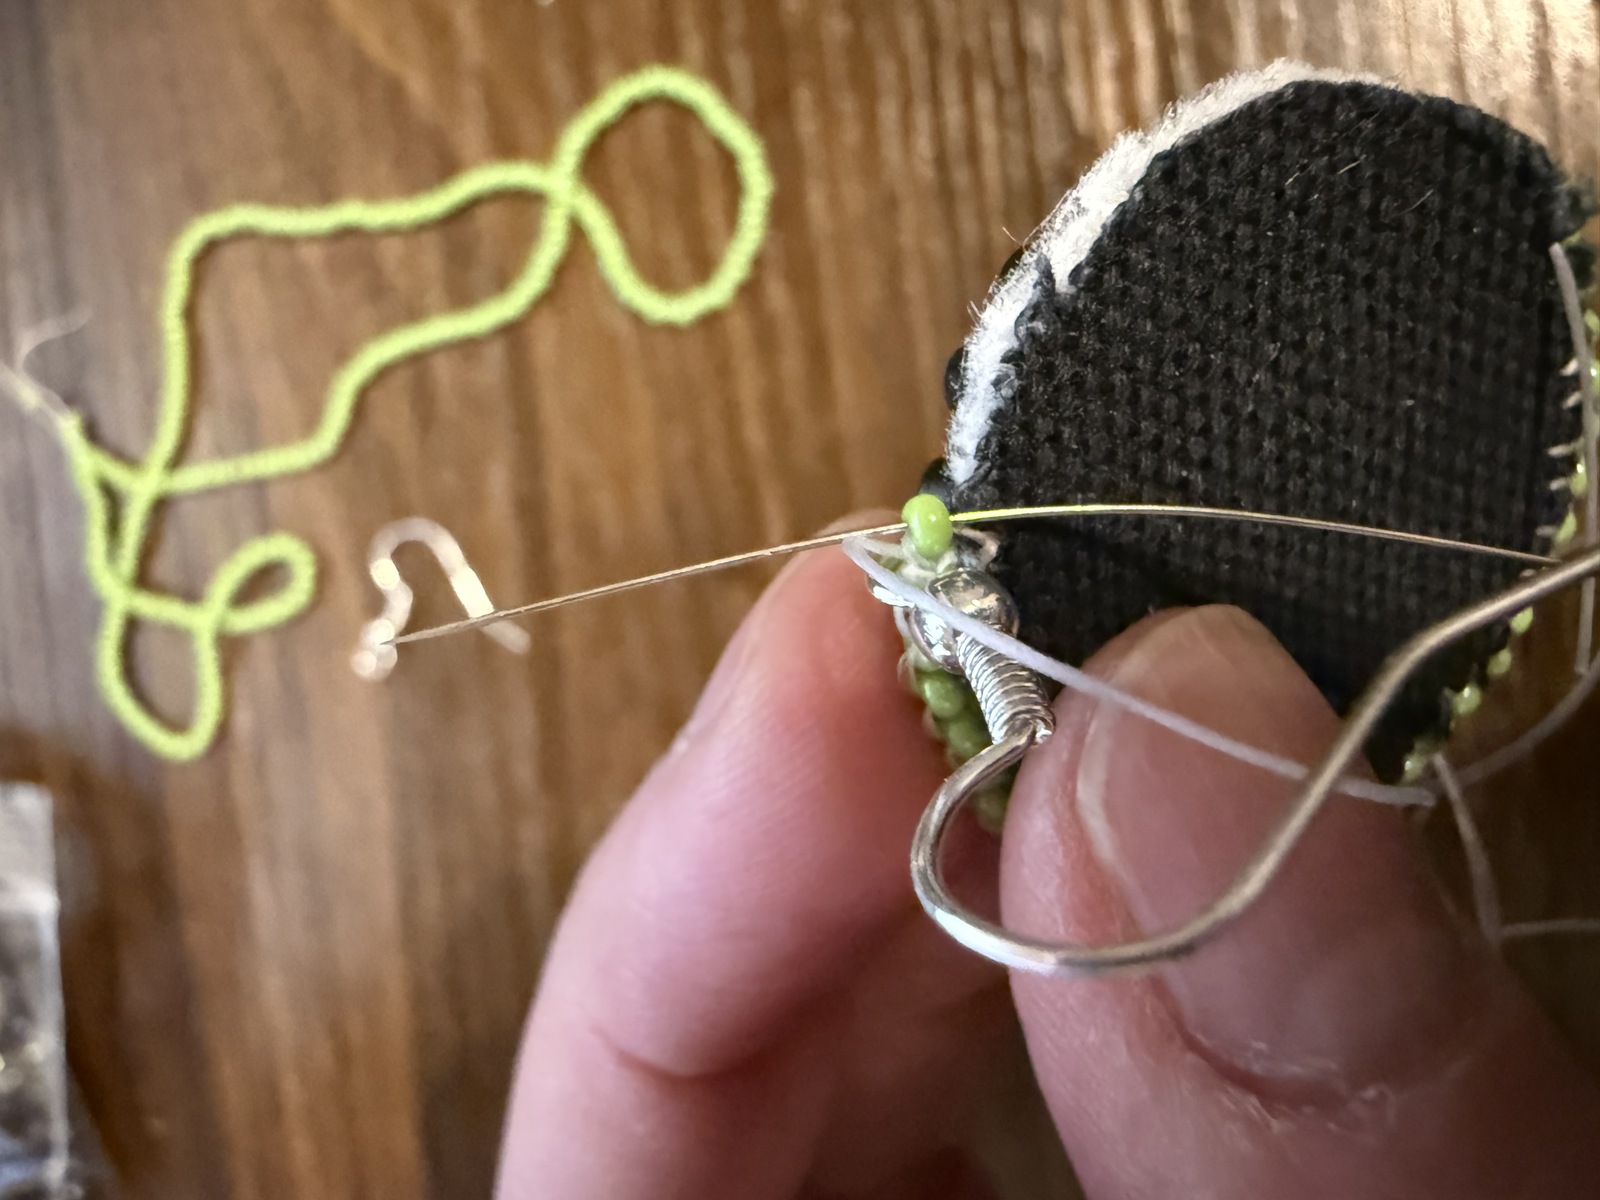
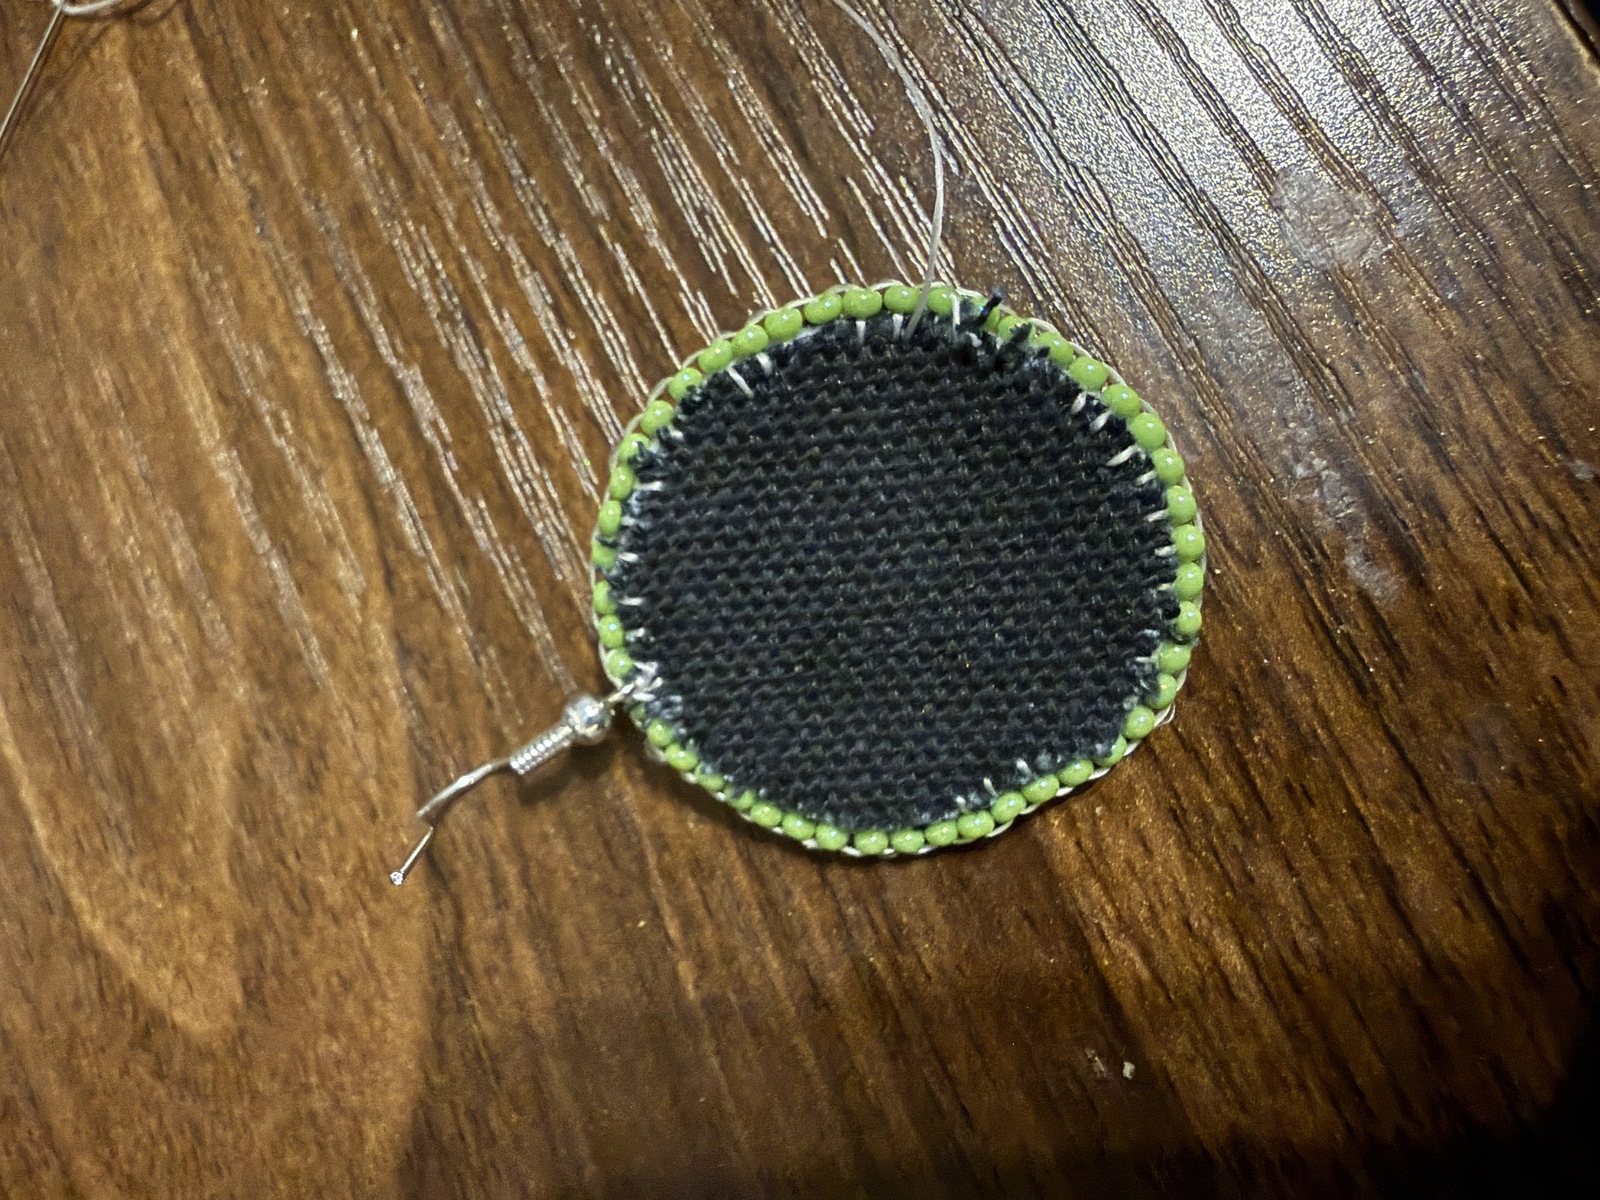
- Secure thread tail and you're done!
Images